Lathyrus ‘blue shift’ in the author’s garden and experience appreciating the change of the shifting blues!
Read moreScientific names rule. Here's why
common names suck.png
The argument for using scientific names (against using common names alone) in sourcing and discussing plants.
Read morePlease install the irrigation
Client: the irrigation is going to be expensive and I just want it done, so I'm going to hand water. I don't mind watering the garden myself.
Me: I strongly recommend that you install the system, here's why: (see the rest of this post)
But my brain is screaming: dear Lord, this again?!

160816 water ring 002
Yes. In California, you really do want to pay for that irrigation system... and no, I do not recommend you design it yourself with components from Home Depot. My own father, on hearing that I had attended several classes and installation workshops on drip irrigation asked me 'why? drip irrigation doesn't even work, the pipes always blow apart. 'uh, dad? That's 'cause you did it wrong. Sorry, man. Below are a couple of reasons to install that system:
Regular irrigation is sorta like regular nutrition. Everyone (plants, animals, you) does better and stays healthier on a regular diet - you wouldn't eat only 20,000 calorie breakfasts on Monday and nothing the rest of the week, right? (right?!) - well, your plants want water they can count on, too. Not 3x a day like you, no, but consistently? yes.
It isn't going to get cheaper if you wait....
It is MUCH harder to install the infrastructure (valves, sleeves, etc) once your plants have been growing a while.
You are probably not as reliable as you think. In my own garden, I'm planning for an irrigation system (I'd hoped this summer, but I don't think I'll make it) because even though I know a lot about plants and watch my garden very closely, constantly moving the hose around... I'm always battling unhappy plants! I miss one, it wilts. I forget, they die.
You'll eventually get old or busy or forgetful or go on a vacation. Your plants don't negotiate; they'll resent the neglect and look like hell... and if you think your neighbor is truly happy to water them while you are away, you've either been lied to or have an actual saint living nearby.
Dead plants are a terrible investment (same goes for unhappy, wilted, sick or stressed plants)
Healthy landscaping adds to property value (that's a whole 'nother blog post) and the value added will far exceed what it cost you to install the irrigation!
You can always save a little money by getting smaller plants.
You save nothing and risk your investment by scrimping on the irrigation. Invest in your investment - your property, your plants, and they'll pay you back.
Stressed plants get diseases and pests that the exact same plant (in the exact same place, etc) would not get if it were happy.
Irrigation "ET" (evapotranspiration) controllers these days can shut off if they detect rain - there are oodles of technological advances in these mini computers so one that was properly specified and programmed will out-perform even an excellent gardener's seasonal adjustments or your carefully considered efforts. They can be programmed for different soils and a myriad of conditions. Get one! See here from Hunter on their line-up of ET controllers.
WELO - California state law that requires water efficient irrigation be installed on new and renovated landscapes 500 sf or larger as of 1 December 2015 (those that are involved in a permit process will learn).
Listen, it isn't sexy or exciting to pay for the invisible stuff - the best irrigation systems are the ones you don't notice - there's no bling here except for total weirdos like me (and my colleagues!) who geek out on it. However, to impress your dinner guests, a healthy and happy landscape speaks volumes and will provide years of happy bling-y green.At the time of this writing, I am finalizing a slide deck for the "Lose Your Lawn" talk that I am giving in 4 days. If you found yourself here thanks to that talk, then I want you to know I appreciate your reading this, I wrote it for you!My blog posts come from real conversations with real clients, students, and trainees, so don't be surprised if you ask a question and find it answered in my blog later!In the Bay Area, I highly recommend asking the Urban Farmer Store for irrigation designer referrals or to get clarification on irrigation questions.
"drought tolerant" = misleading bull

2014 mid march 040

succulents wucols
I've had a few conversations recently that revealed to me what a dumb thing it is to call a plant "drought tolerant". Wikipedia gets this right technically, but leaves us without enough to apply the information: "Drought tolerance refers to the degree to which a plant is adapted to arid or drought conditions. Well, okay - so when we say a plant is drought tolerant, what the heck does that mean? It means that plant has some degree of adaptability to drought. But here's the thing - how much adaptability? How do I use this information? What does this plant do in response to drought conditions? Saying a plant is "drought tolerant" is like saying there is a temperature outside. Is it cold, warm or hot? See what I am getting at? "drought tolerant" only means that there is some degree to which the plant may tolerate (not die immediately) a shortage of water. More information is needed: enter WUCOLS. I won't bore you with the details and technical stuff behind WUCOLS, they do well enough - read through their website.
Not bored yet? Good! Now read through the rules on WELO, the California ordinance for water efficiency in the landscape. Bet you're bored now. The deal is that these classifications in WUCOLS mean something. Their water needs categories quantify how much water a plant wants in a particular region of California. This does not take into account sun/shade exposure, wind, soil type, microclimates, or any of the other factors involved in meeting a plant's water needs. It is not a perfect tool, but it is the best thing we have going. WUCOLS isn't the only resource, you can get information from nurseries and books also, but it is the most helpful hydrozoning tool I use. The other sources do not correspond to a quantity of water, and they don’t all use the same terminology.
In WUCOLS, the classifications are "very low", "low", "moderate", and "high". It may also say "inappropriate" or "unknown". This is pretty self-explanatory, but what is most interesting here is that these words correspond to a percentage of ETo. ETo is a reference point - a baseline of sorts. So a "high" water use classification means 70-90% of ETo which is based on the water needed to keep a 4" tall cool season turf VERY well watered and super lush, or to put it another way, the "high" water classification is 70-90% of a whole lot of water.
To illustrate the uselessness of using “drought tolerance” as a means of grouping plants, I indulged online - I pulled up an article on "drought tolerant" plants from Sunset magazine. Of their 12 plants, that I looked up in WUCOLS for my home town of Oakland, one was classified by WUCOLS as "very low", one was "moderate", and the rest were "low". So if you go by a judgement of “drought tolerance”, you could wind up with plants that are literally not allowed to be planted together per state law (MWELO) assuming the ordinance applies to your project. Even if it does not, that doesn’t make it a good idea to plant a low water use plant with a high one.
Additionally, Nassella tenuissima / Mexican Feathergrass is listed as an invasive plant by PlantRight and should not be used at all, but WUCOLS isn't about invasiveness, it is about water, and it was in that list of drought tolerant plants. Shame on Sunset! Not only should we keep plants with different water needs separate, we need to not install invasives, period..
Just incidentally, if you absolutely must use plants together that WUCOLS gives different water needs classifications to, then the classifications should be next door neighbors - so "low" and "moderate" is kinda okay (provided you irrigate and do your calculations for the higher amount), but "moderate" and "very low" is no bueno.
Next I went to the "drought tolerant" poster child: succulents. Low water use, right? Drought tolerant?! erm.... no. Again, WUCOLS demonstrates my point. In the plants WUCOLS lists as succulents, 3 classifications are included - very low, low, and moderate (screen shot is just of the alphabetical early birds, I didn't pick favorites here). So much for that assumption.
So really, drought tolerant is anything that will grow with less than 70% of a boatload of water if you include all that Sunset does.. That could still an incredible amount of water, folks. Granted, the lower classifications are pretty good and some plants truly do have a relatively dry footprint, but all plants need extra water during their establishment period, that is a post for another day. Oh - and about those drought tolerance adaptations emphasized in the first paragraph: a drought tolerant plant might go dormant, drop all or some of its leaves, wilt, or shrink in size in times of stress (stress being the drought they're tolerating) as a way of coping .... and if not watered in time, drought tolerant plants die. Tolerance is about not being dead yet - it has nothing to do with living well, being healthy, or looking good, it is about living to drink another day. Thanks for listening!
Test, don't guess

A. p. 'Seigen' LF2 mom
A. p. 'Koshibori Nishiki' LF1 mom
A. p. 'Shishio Hime' LF mom
I have a handful of stories from professional practice where soil or plant pathology testing should have been performed but wasn't. I personally believe that soil should always be tested before any fertilizer or amendment is added, and follow-up testing should be done every couple of years to see how the soil health has changed. Not testing soil or sick plants before spraying or amending the soil is like prescribing medication without knowing what disease you are treating. You wouldn't do that to your body, so why do we do this to our biggest investments (your home or commercial property) ?!Thankfully, getting lab tests done is not difficult if you take the few minutes needed to do it right. Most soil and plant pathology labs are easy to work with, they'll tell you what to do and how to send it in, and will provide you with a report explaining their findings. Bammo - diagnosis! Proper treatment! Hooray!Now for my cautionary tale:Years ago I was working for a firm in San Francisco and we had a client with a mature beloved Japanese Maple. It had a nice shape, and was reportedly absolutely beautiful in the fall. Their project involved building an underground garage underneath this tree which required that we dig the tree out, box it, crane it off-site, and have it cared for while the garden was re-made in a new design on the roof deck of this garage. The tree would be the centerpiece for the new design, and I thought how lovely that they were willing to spend tens of thousands of dollars to have it salvaged and brought back when a new tree would be so much cheaper.Before we started demolition, the client called and said that the tree wasn't as leafy (this was mid-summer) as it had been the year before. We called a couple of arborists out to the site who took a good look at it, tested the trunk with a densiometer, and decided that it needed a little more water - we had just gotten through a few unusually warm weeks, so we all thought no big deal. The gardener was asked to provide it with some nice deep watering and we waited to see how it would respond. It repaid us with a flush of tender new leaves and we delighted in this result.I wish I could remember how this next step was decided on - we asked the gardener to fertilize it. The gardener was a well-meaning fella who had done a good job so far. His English was not great, but nobody had a problem with that. He fertilized the tree and within a week, WHOOMP! Naked tree. It dropped every single leaf. We could not understand why - it was just recovering! We finally sorted out that the gardener had mis-understood the label on the fertilizer package and used 10x the recommended amount! That tree was sitting in a toxic wasteland of salts and chemicals. Rather than wait for his next visit, I was dispatched to put soaker hoses around it and try to water the fertilizer out of the soil. I left those soaker hoses on for hours, they were coiled around and around under the entire dripline of the tree. We had the gardener follow-up, soaking the soil thoroughly on his next couple of visits, and we hoped that the excess fertilizer had been literally washed away.You can imagine how glad we were when it repaid us with a second flush of new leaves.... only there was something different.... these leaves were smaller, slower, not quite right. Nobody knew what to do; we just kept watch and hoped for the best. About a week later, it was dead. Dead-dead. All those new leaves fell off and you could feel that it had passed all the way on.This was such a disappointment for the Owners and for us - after-all, here we were, a team of arborists, landscape architects, and the well-meaning gardener. It sure looked like we killed it. This is when we did the first intelligent thing: we had the tree and the soil tested. We took samples of the leaves, the branches, some root clippings, and the soil, and sent it all off for analysis. Care to guess what we learned?That poor tree had a raging infection of some kind of pathogen with a long name I've long since forgotten, and the lab said that this infection had likely been there for a couple of years already to be this bad. The tree was doomed from the start; our screwups just pushed it over the edge. In a way, this nightmare saved the Owners a bunch of money, but that didn't make anyone feel any better. We'd spent so many billable hours trying to figure it out, they ended up wasting a lot of time and money paying us to professionally accidentally kill their beloved tree.So you know, the lab that we used was Soil and Plant Lab. They are my favorite lab because their people are helpful and knowledgeable and their reports are thorough and easy to understand. It isn't so expensive to do, and one test can save not only your money, but your peace of mind and the health of your investment.BTW, I took the photos at Momiji Nursery in Santa Rosa back in 2006 when I was working on this project. They sell beautiful Japanese Maples.Thank you for reading, as always, I look forward to your comments!J
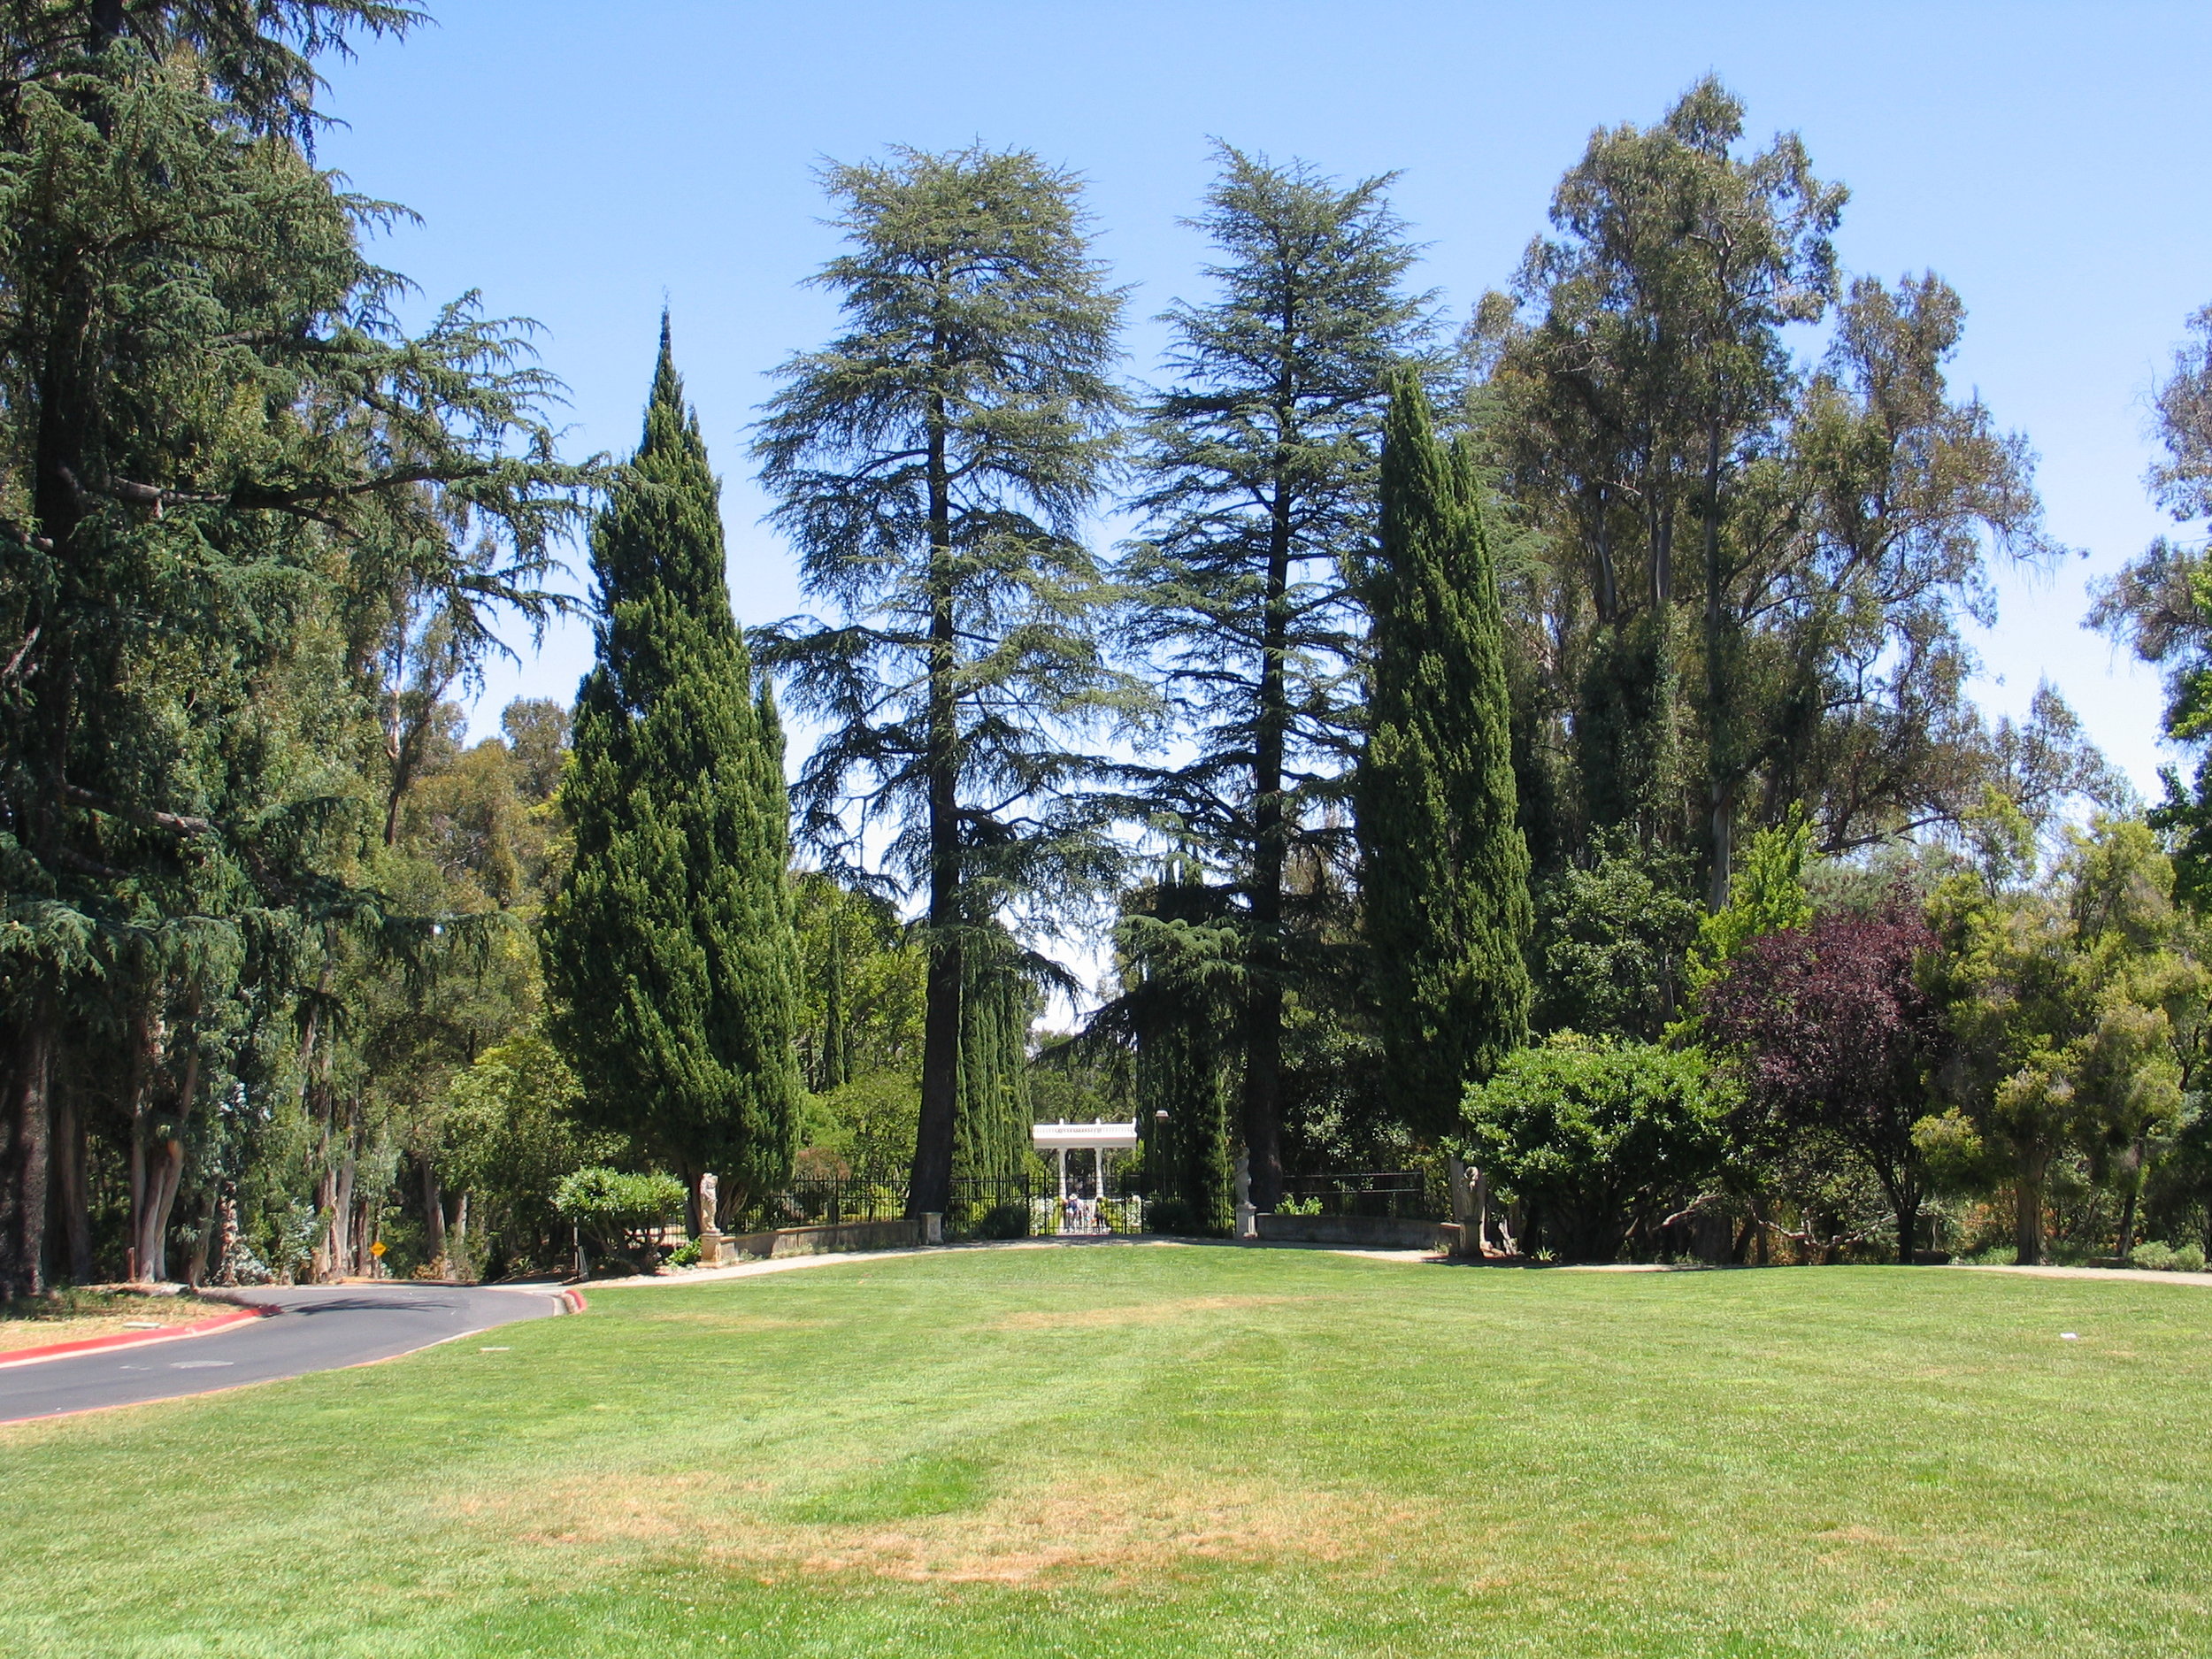
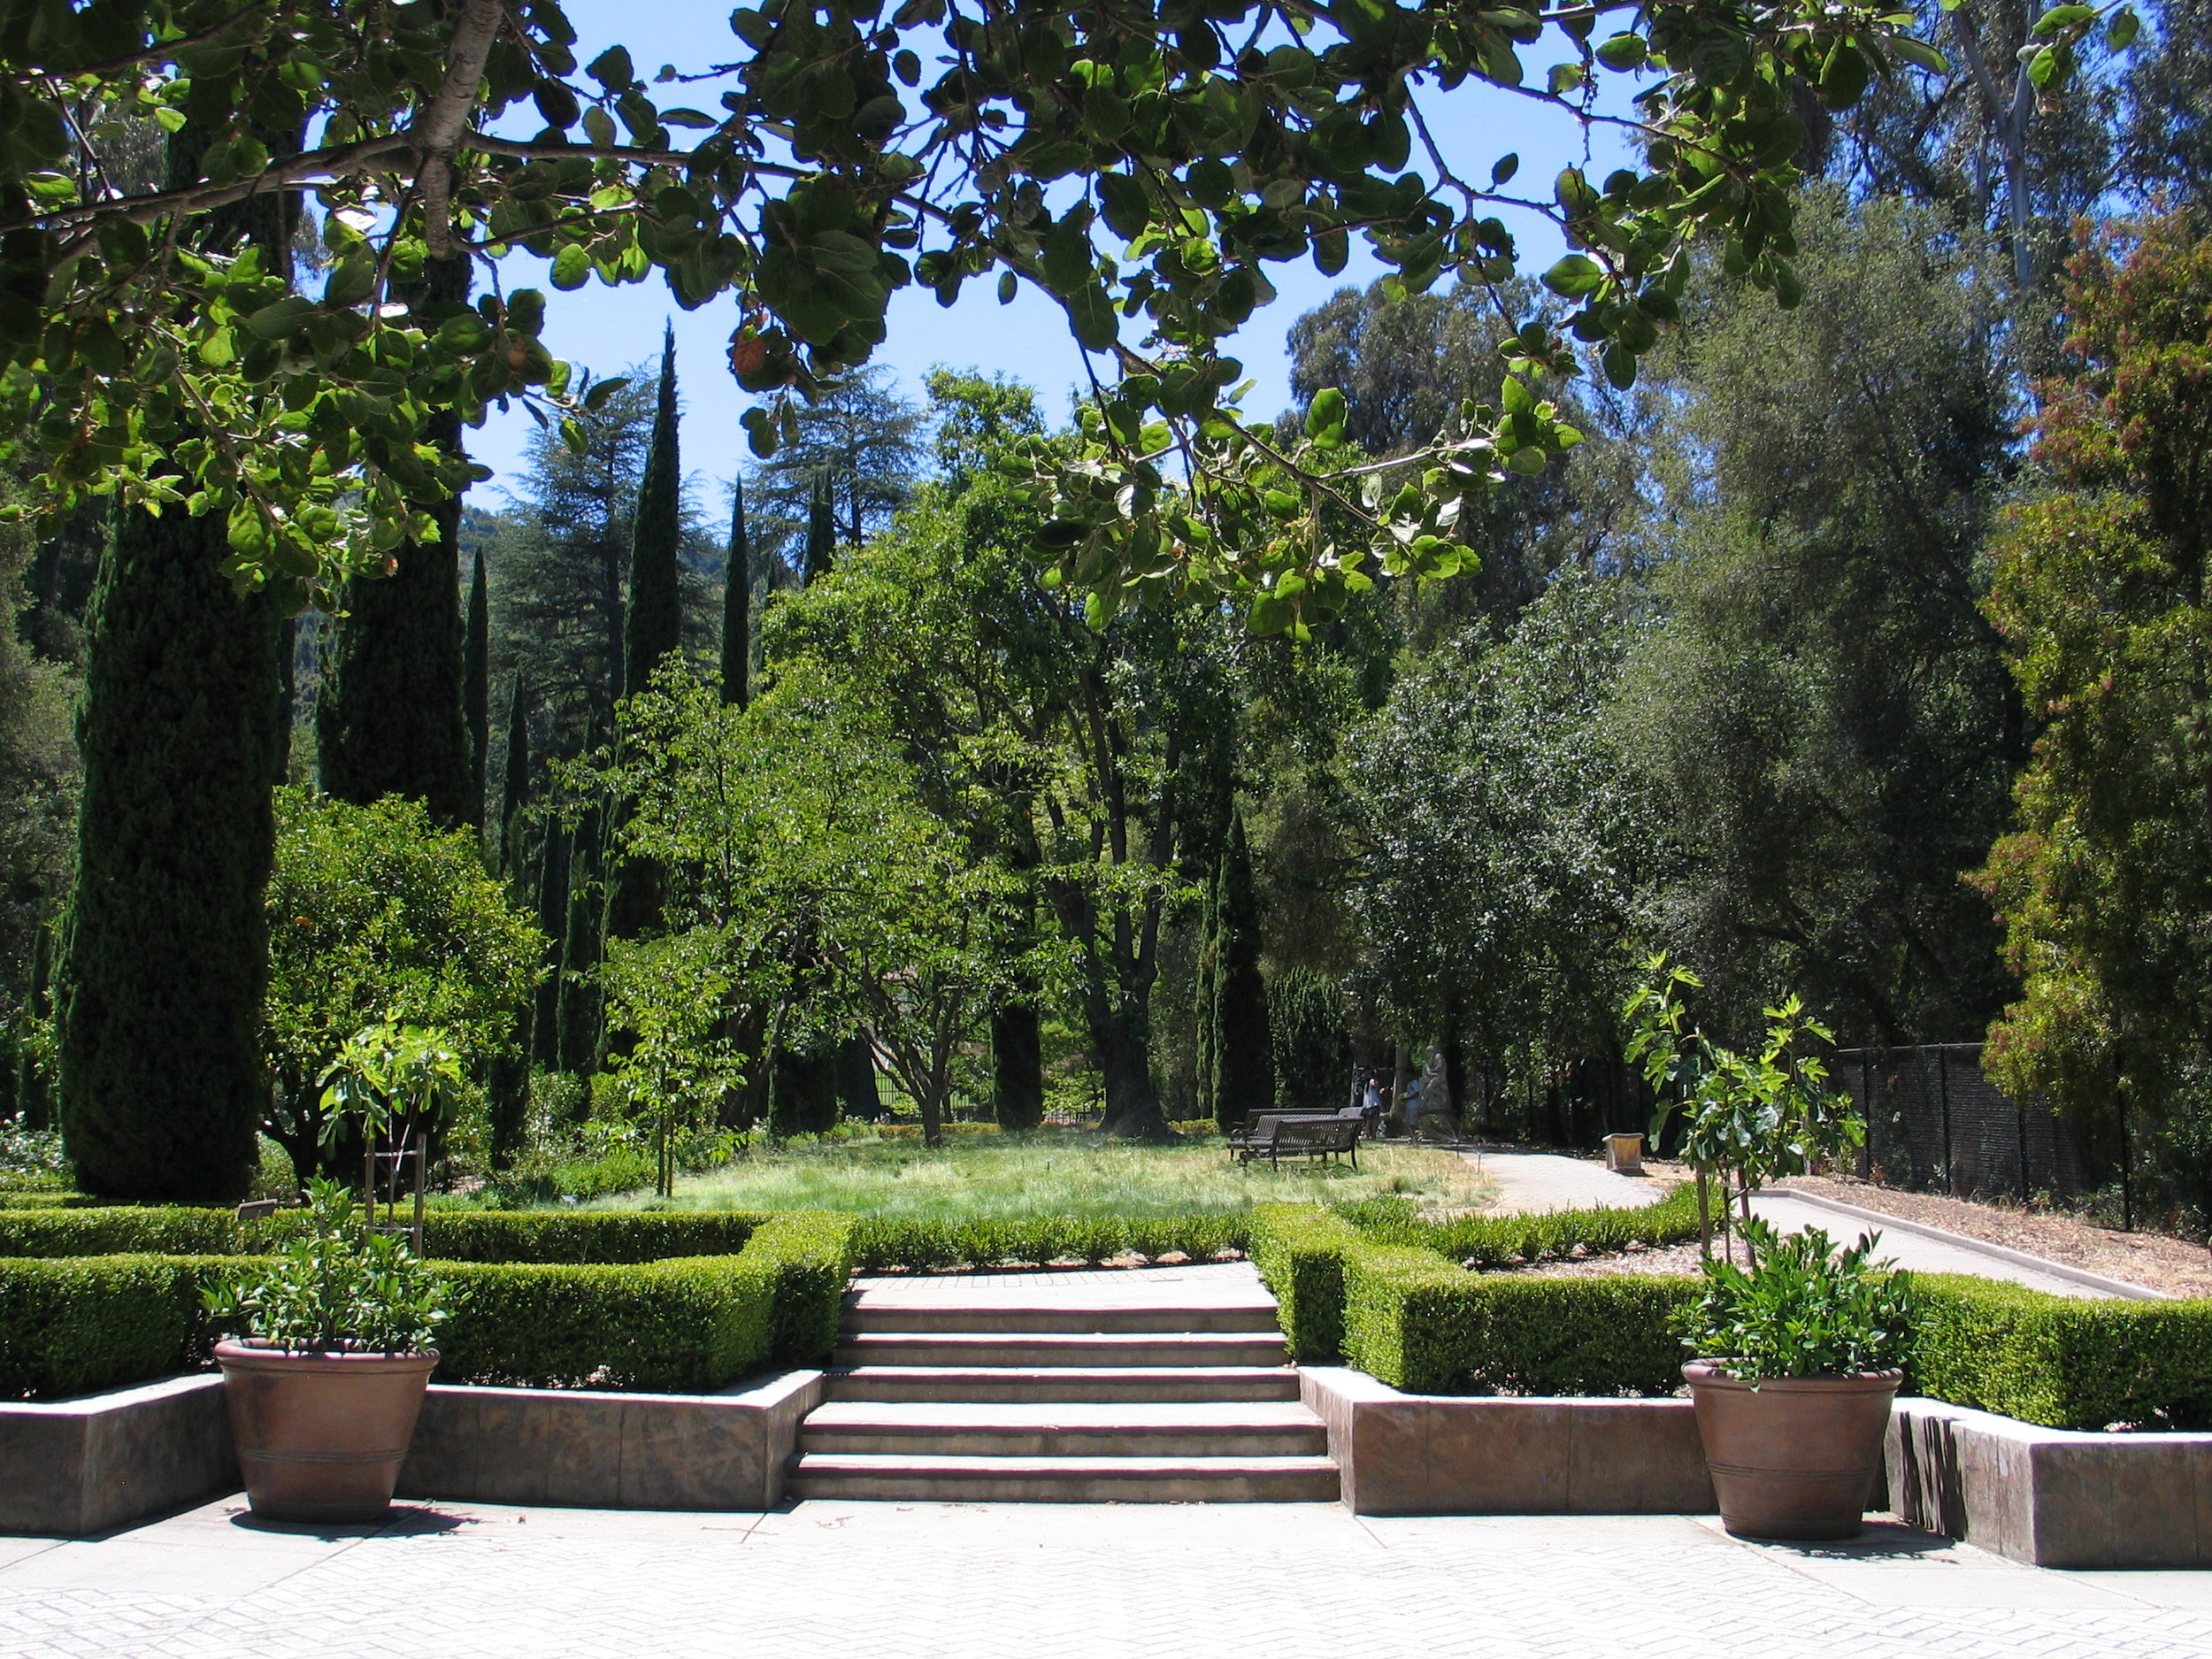
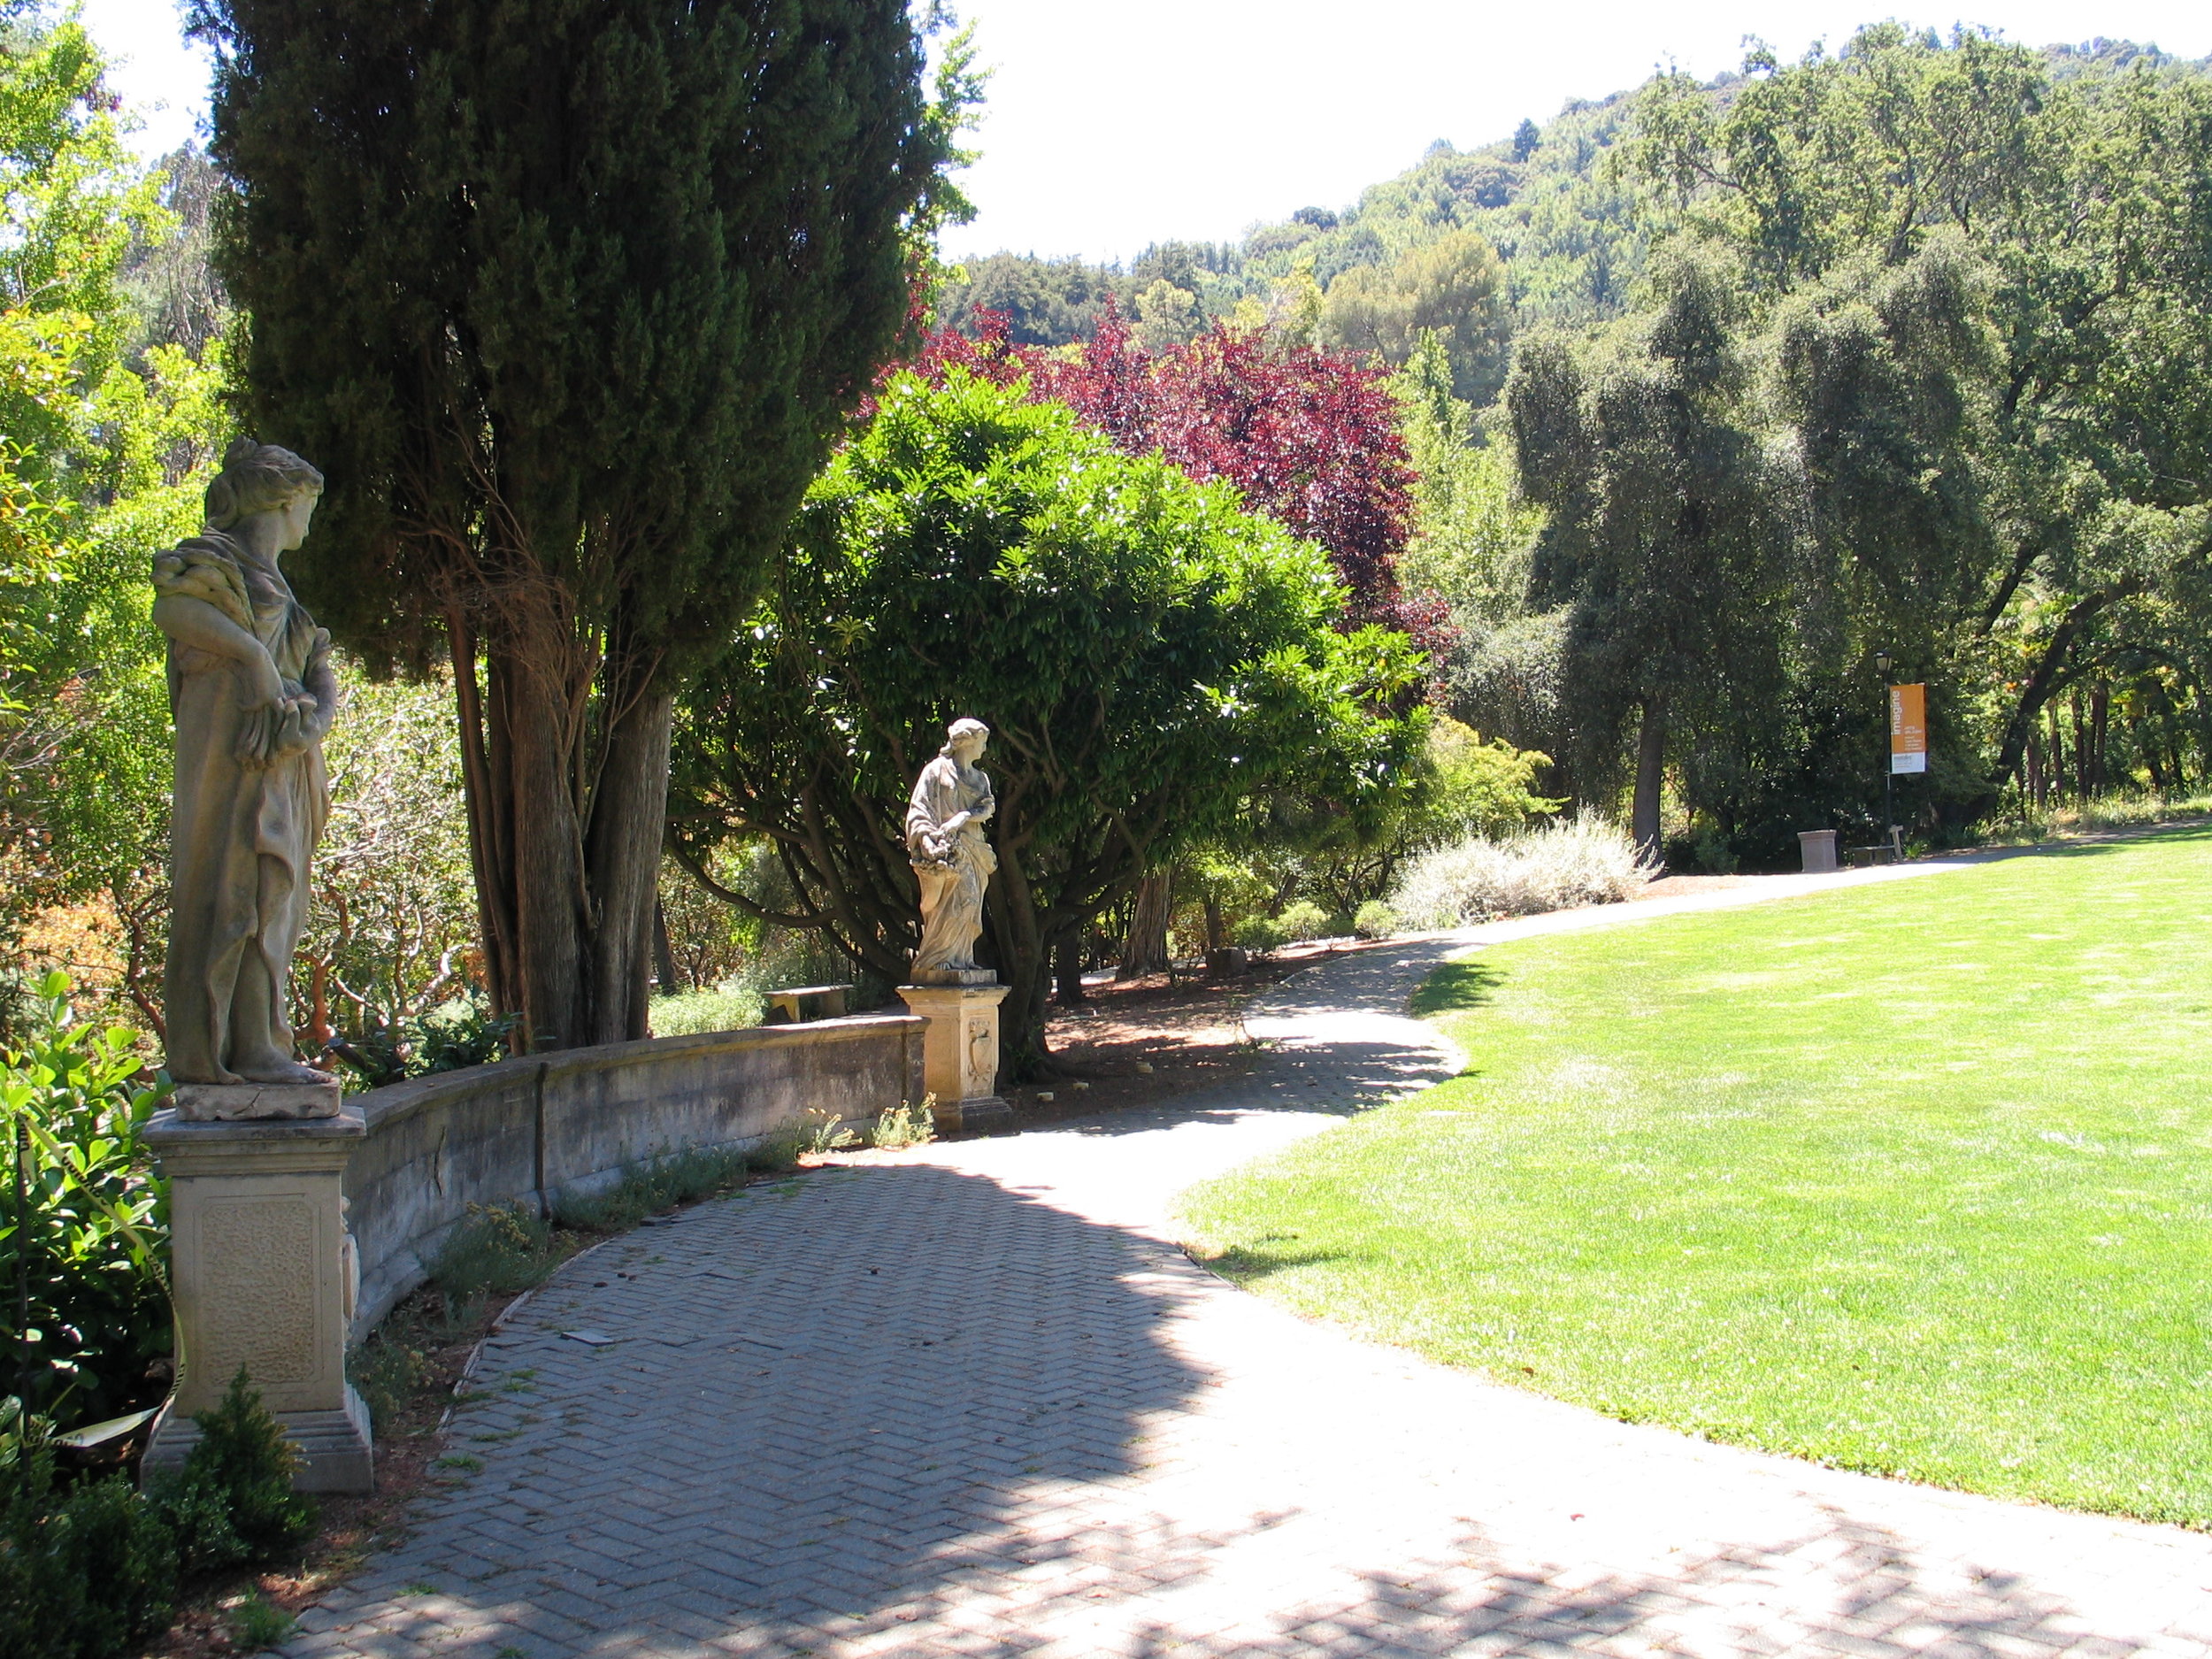
Filoli Again, in August Again
I've talked enough about Filoli - so I'll just post the photos from last weekend: 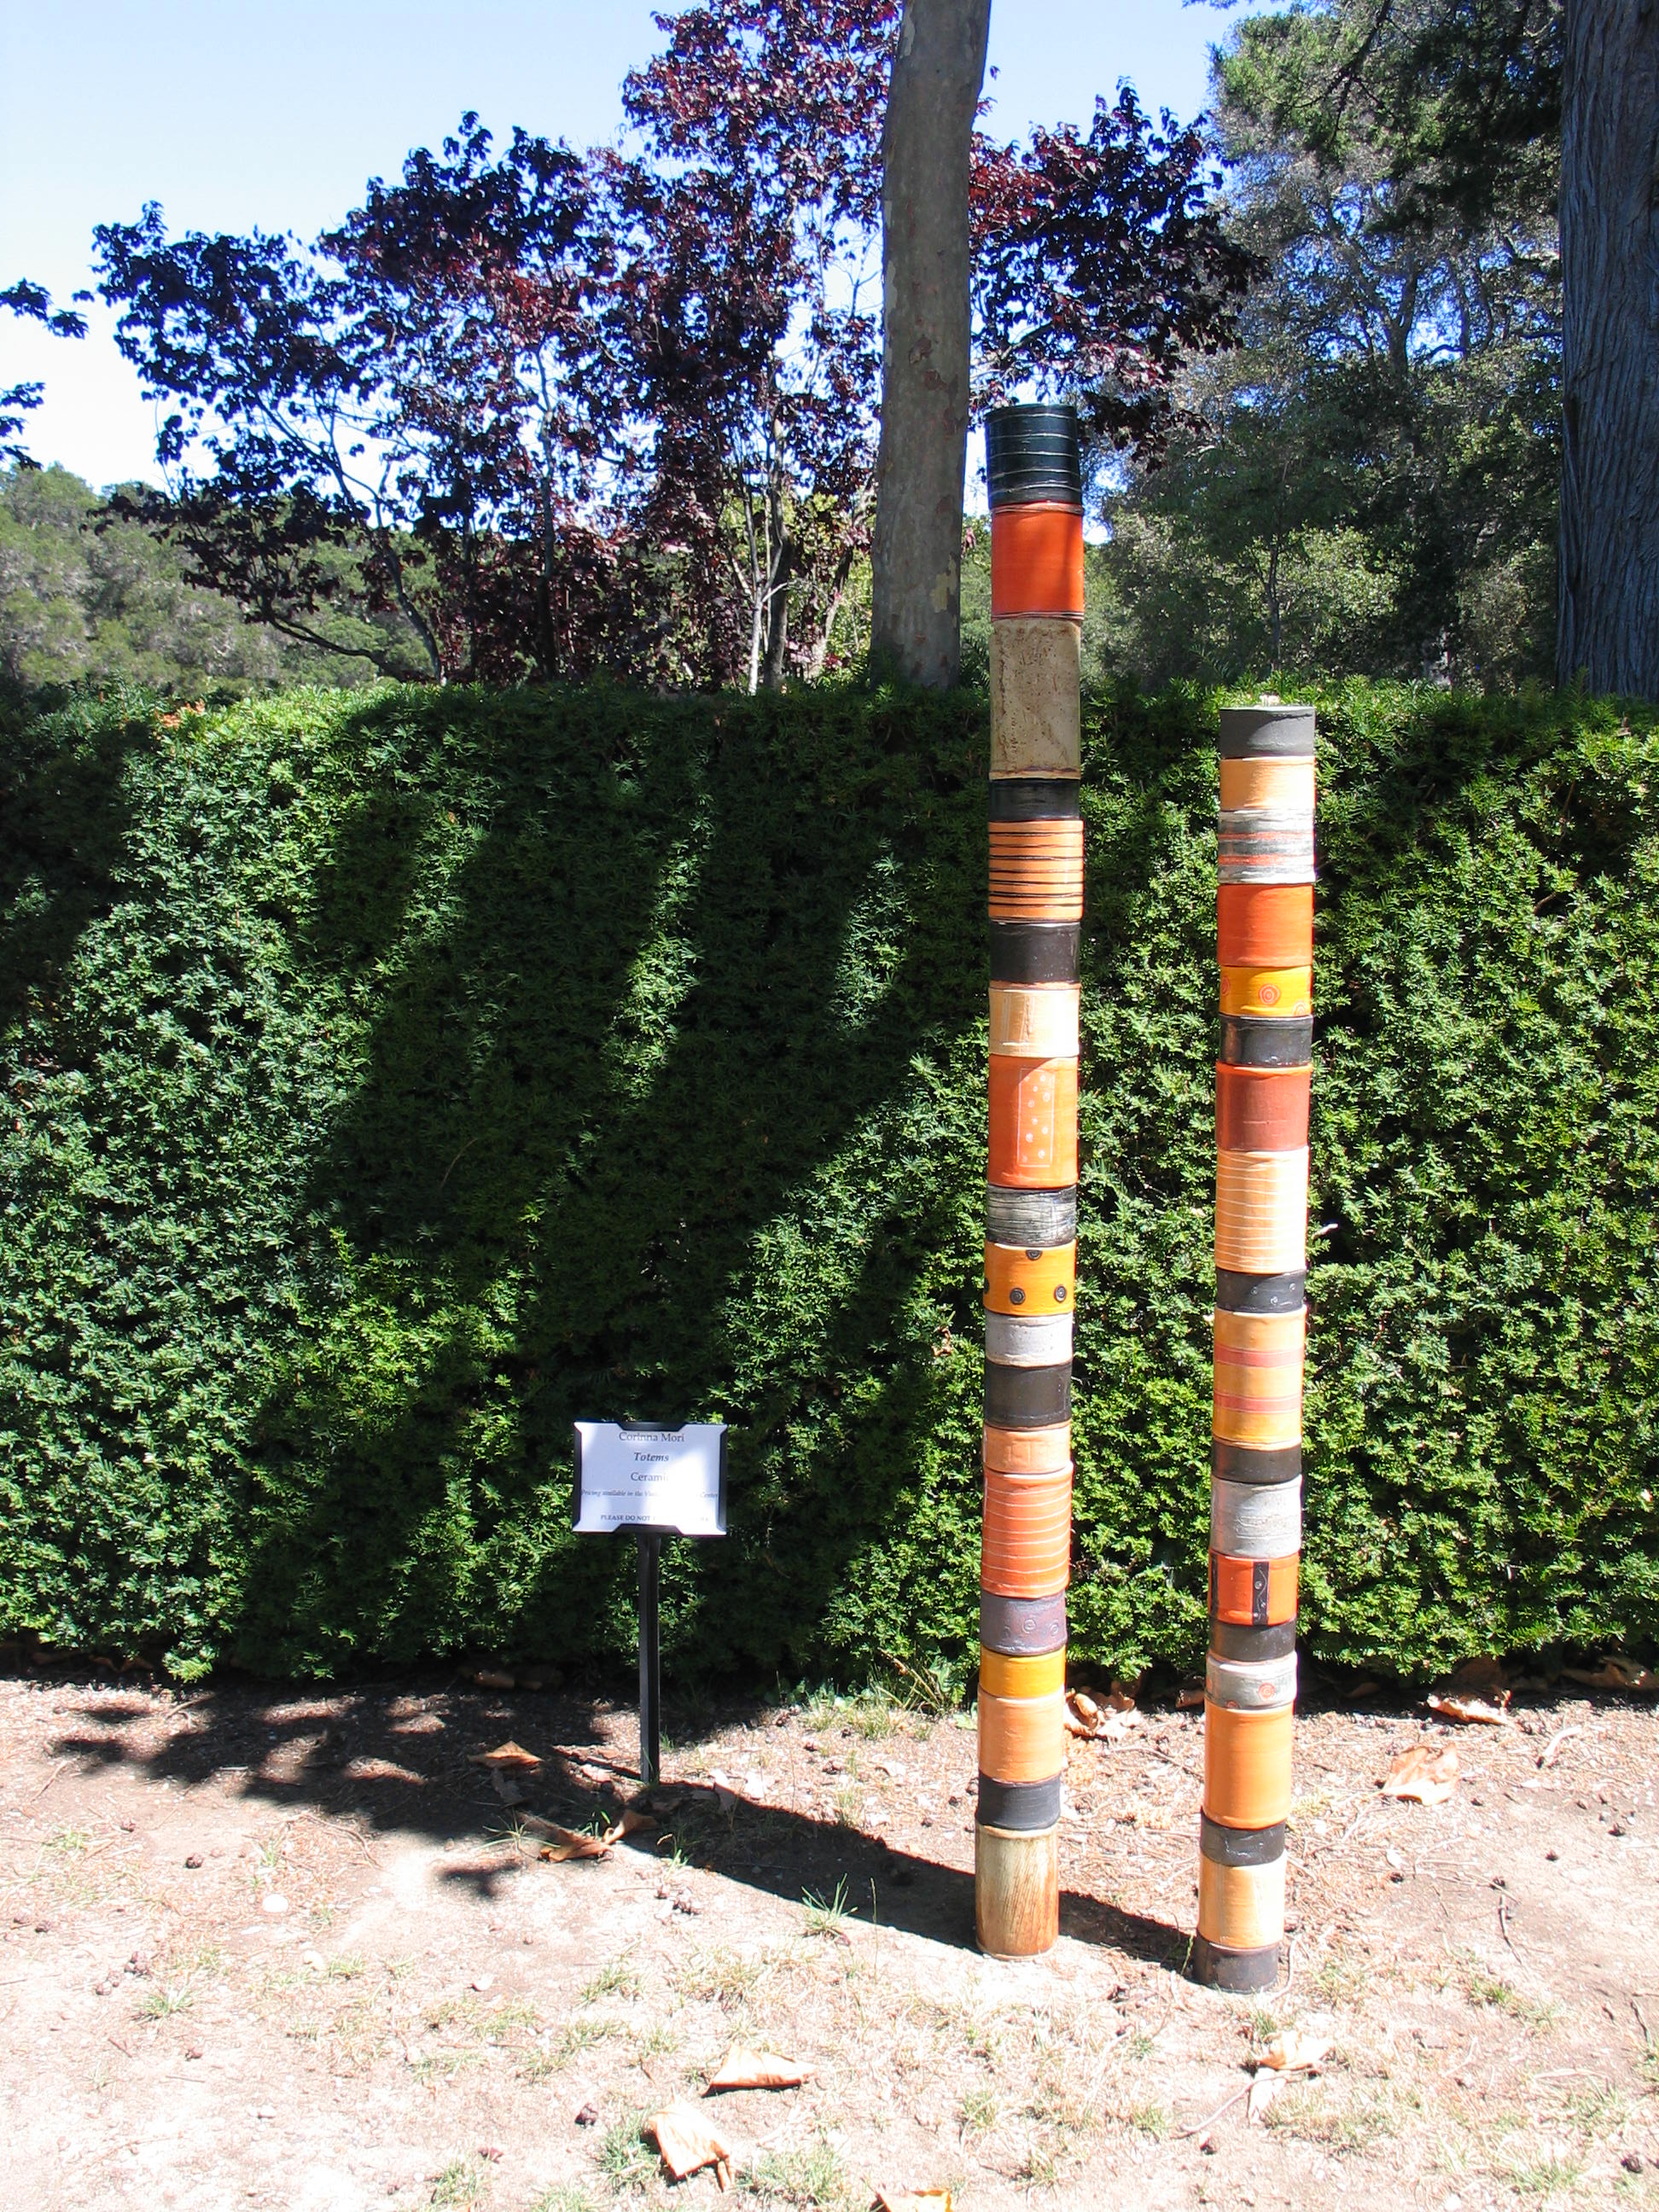
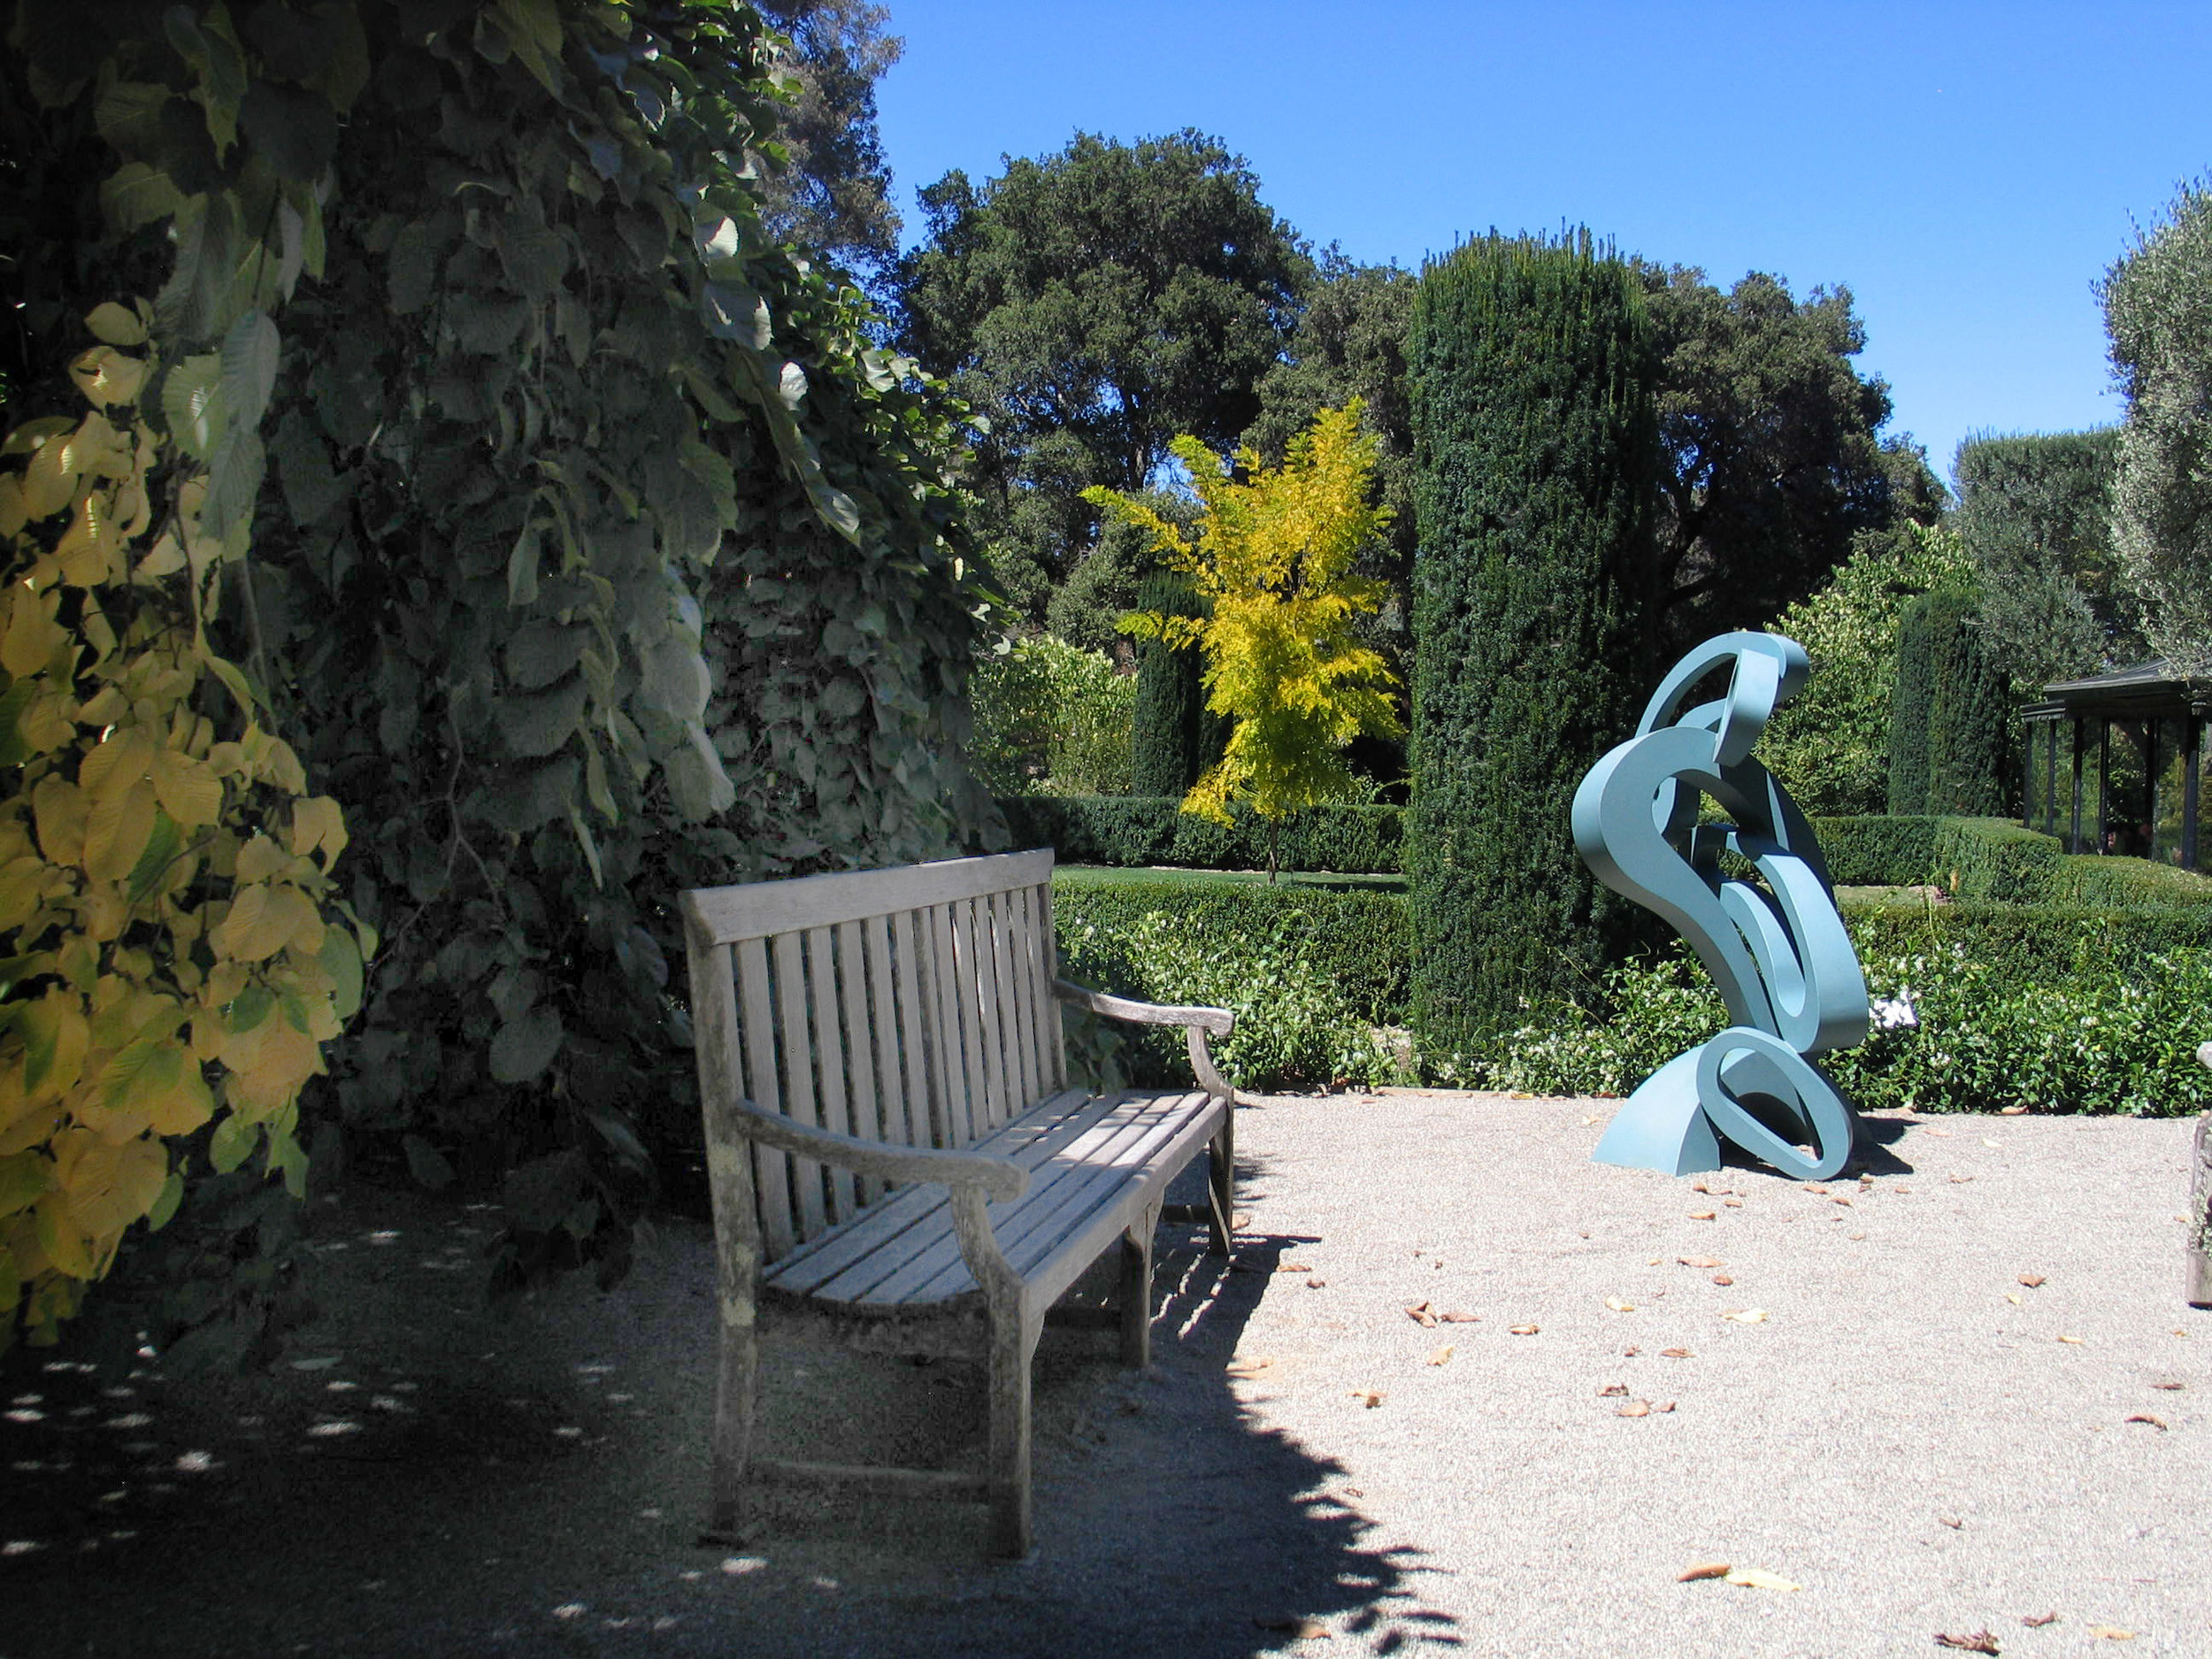
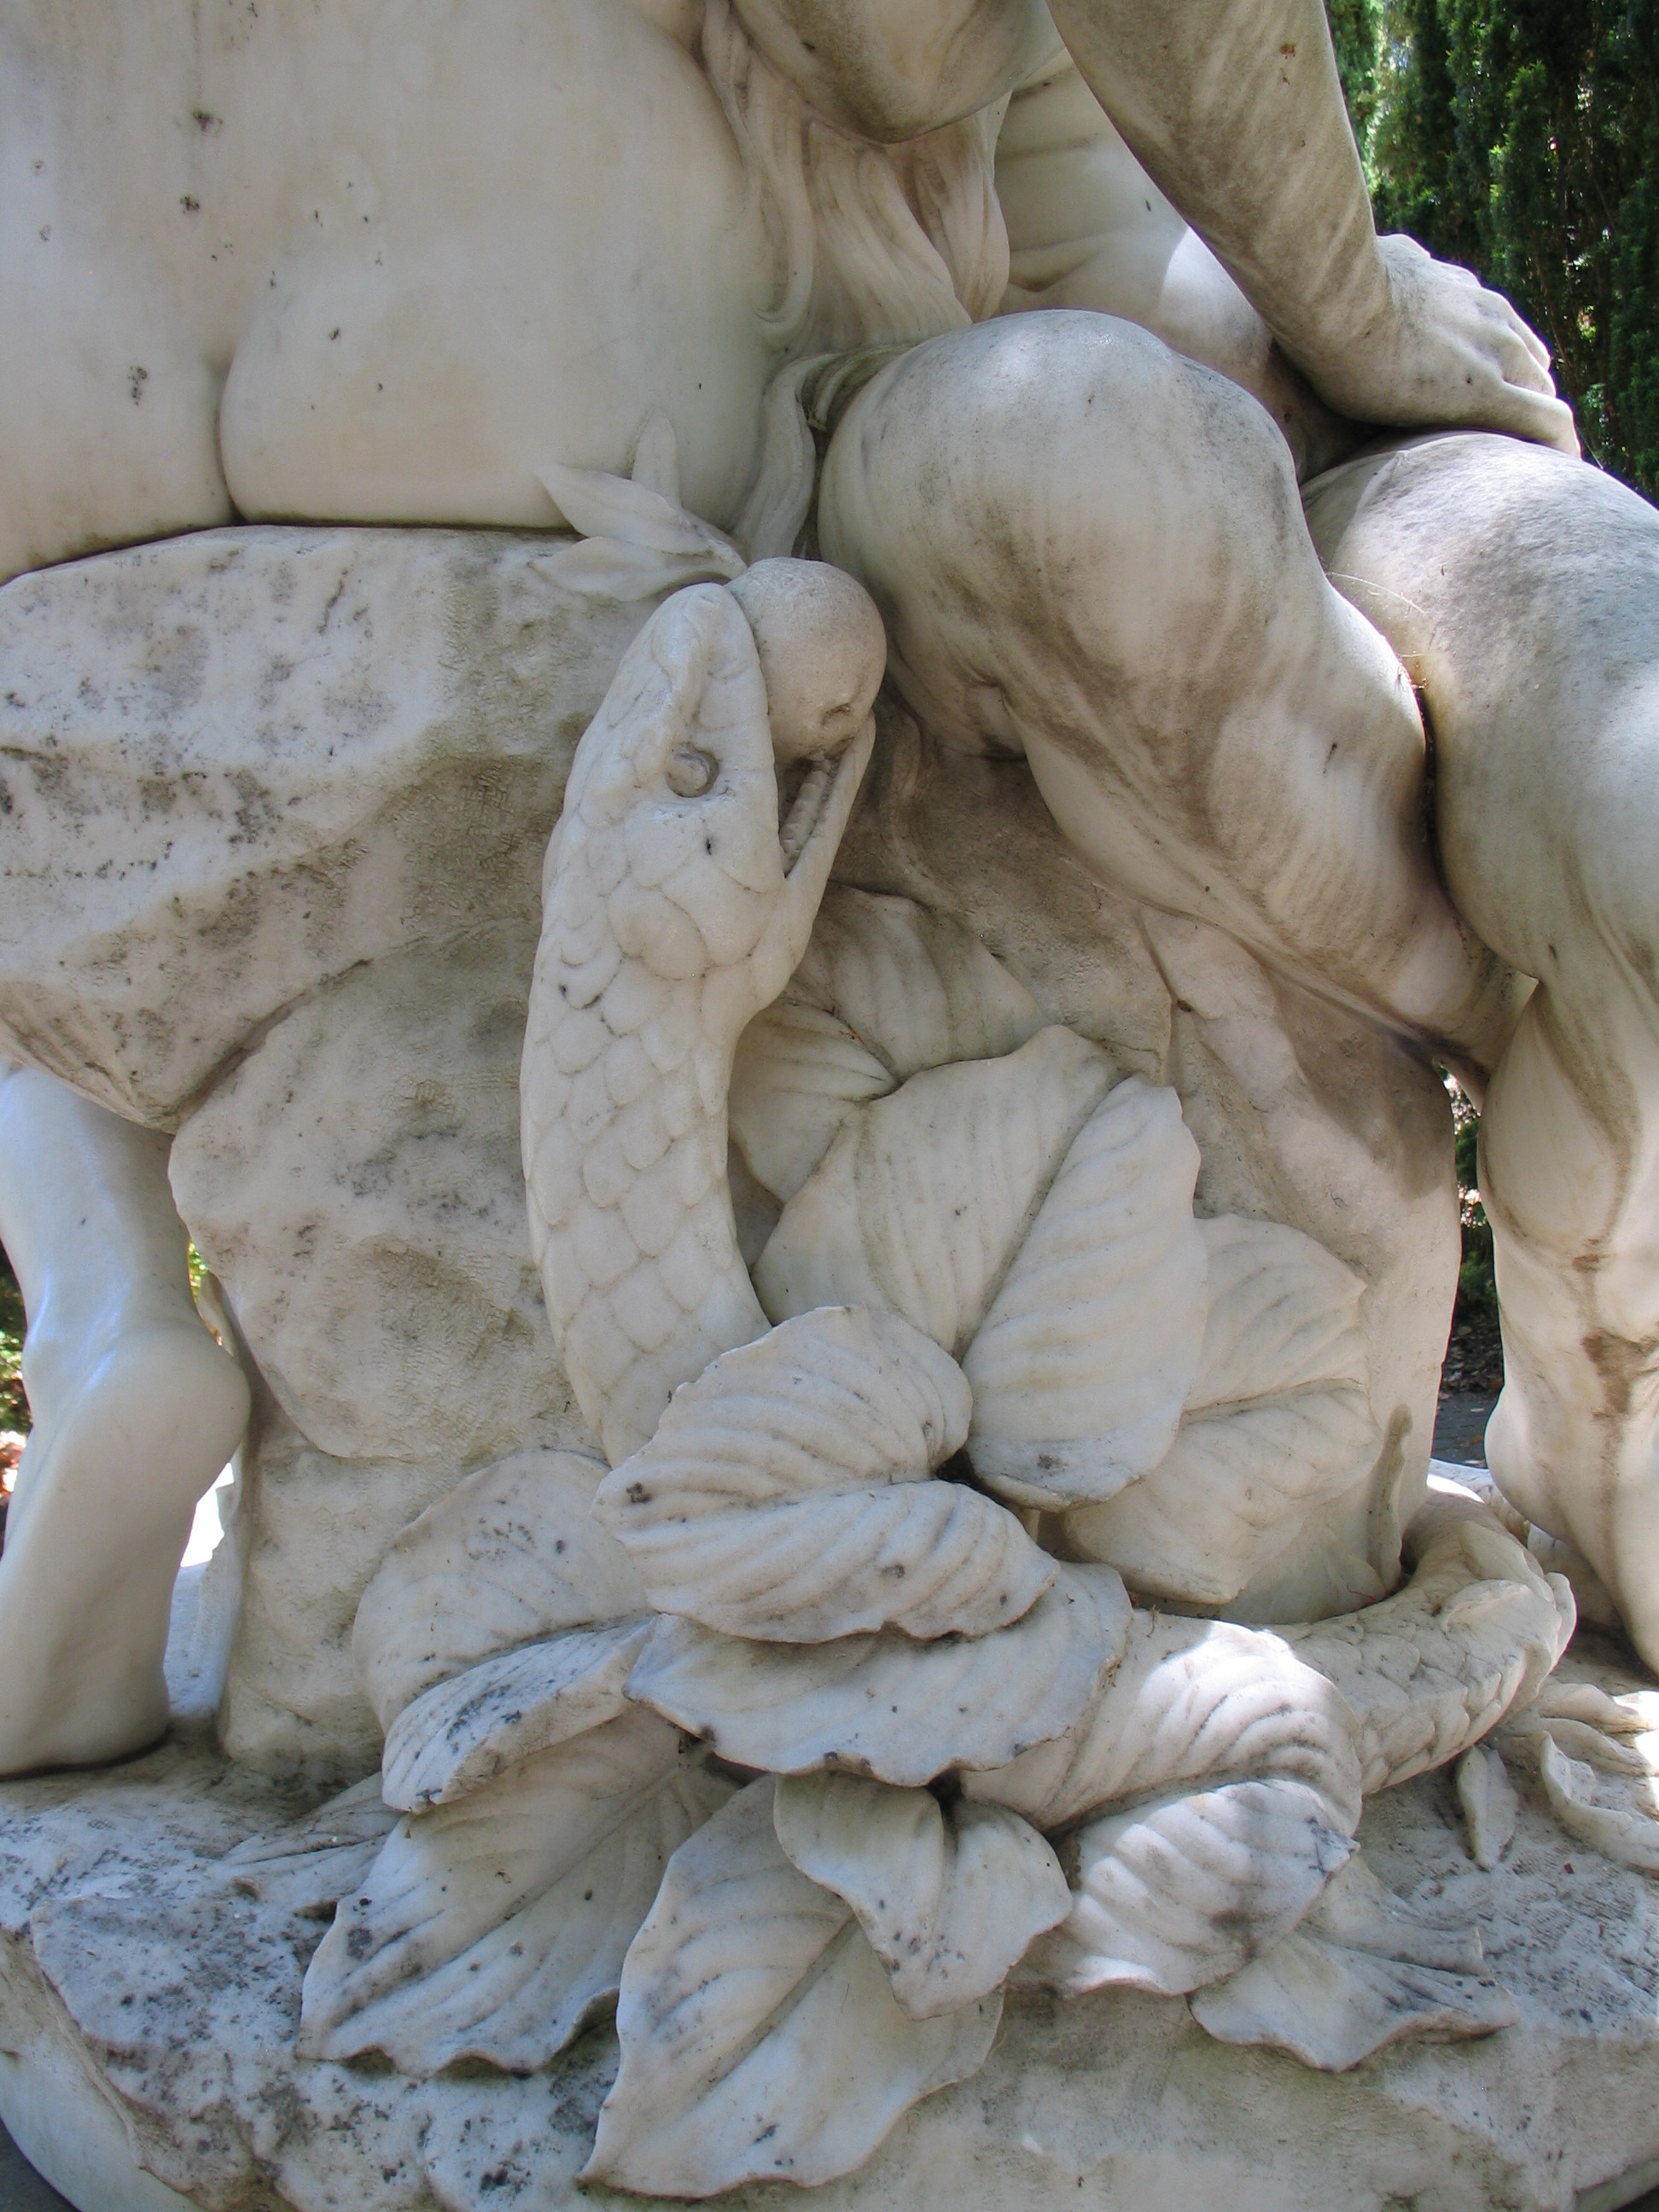
Something I did not know was that they had a ton of sculptures installed - with price lists in the gift shop, apparently. I like the new additions.
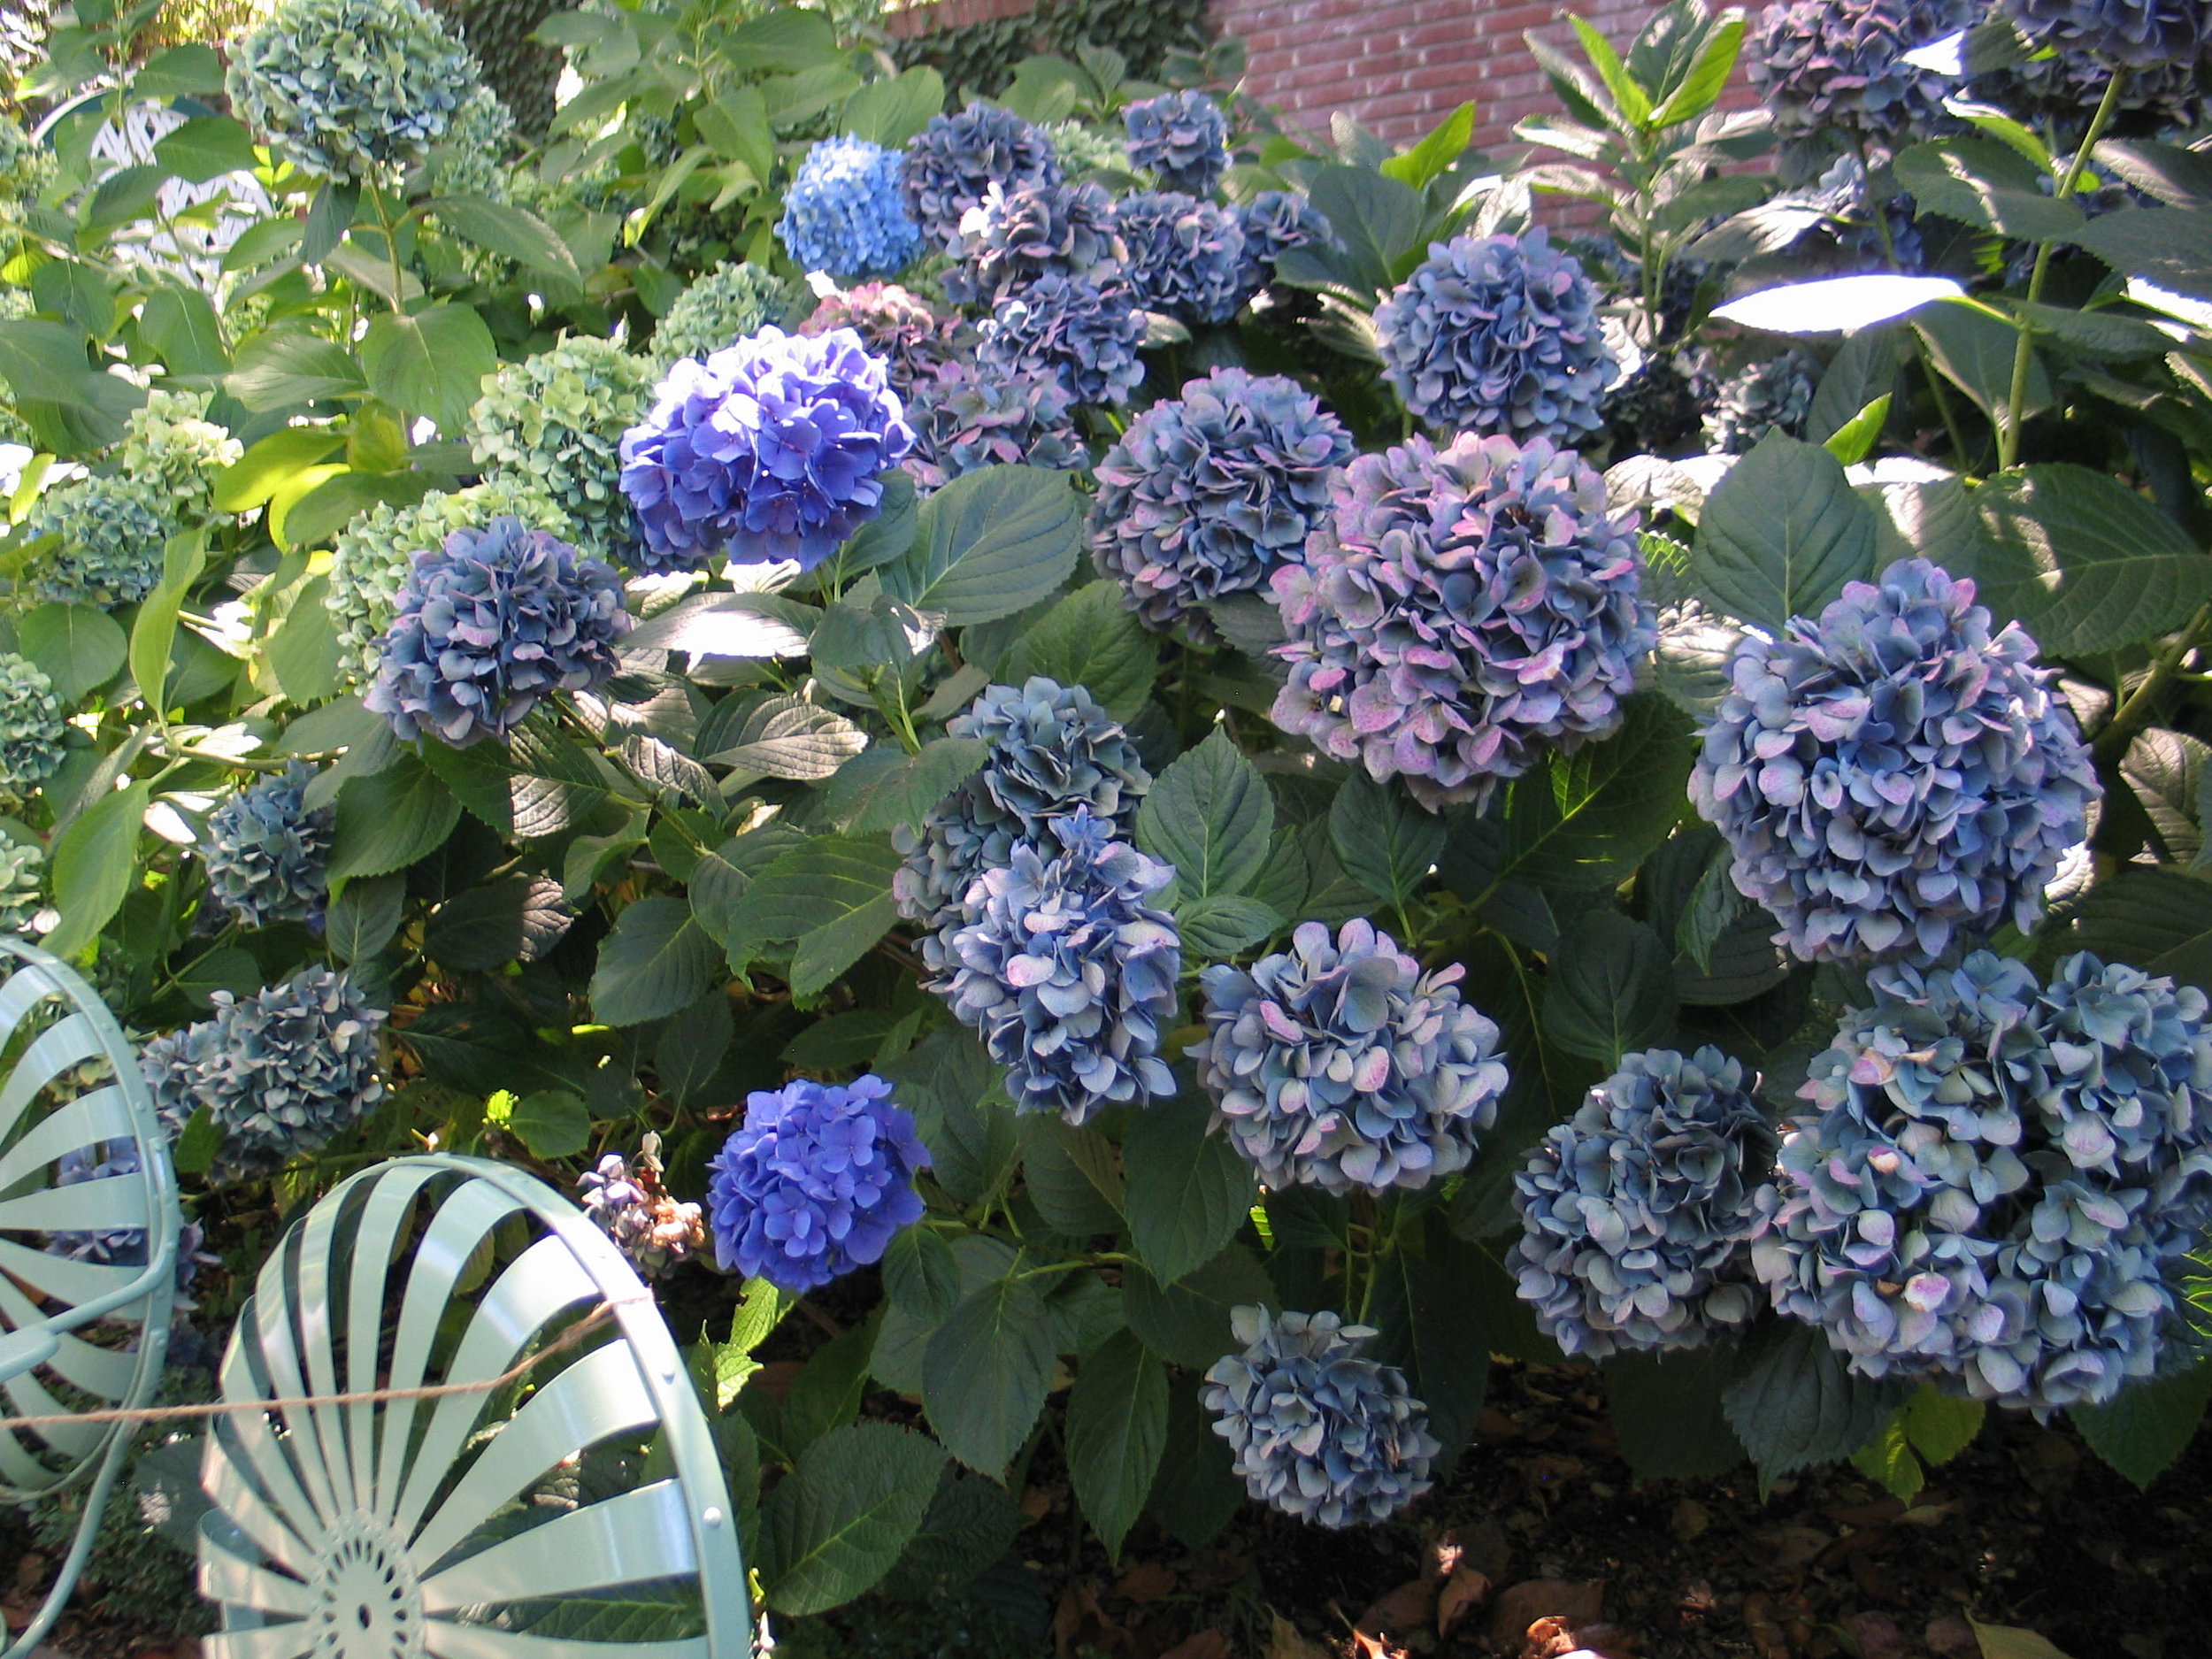
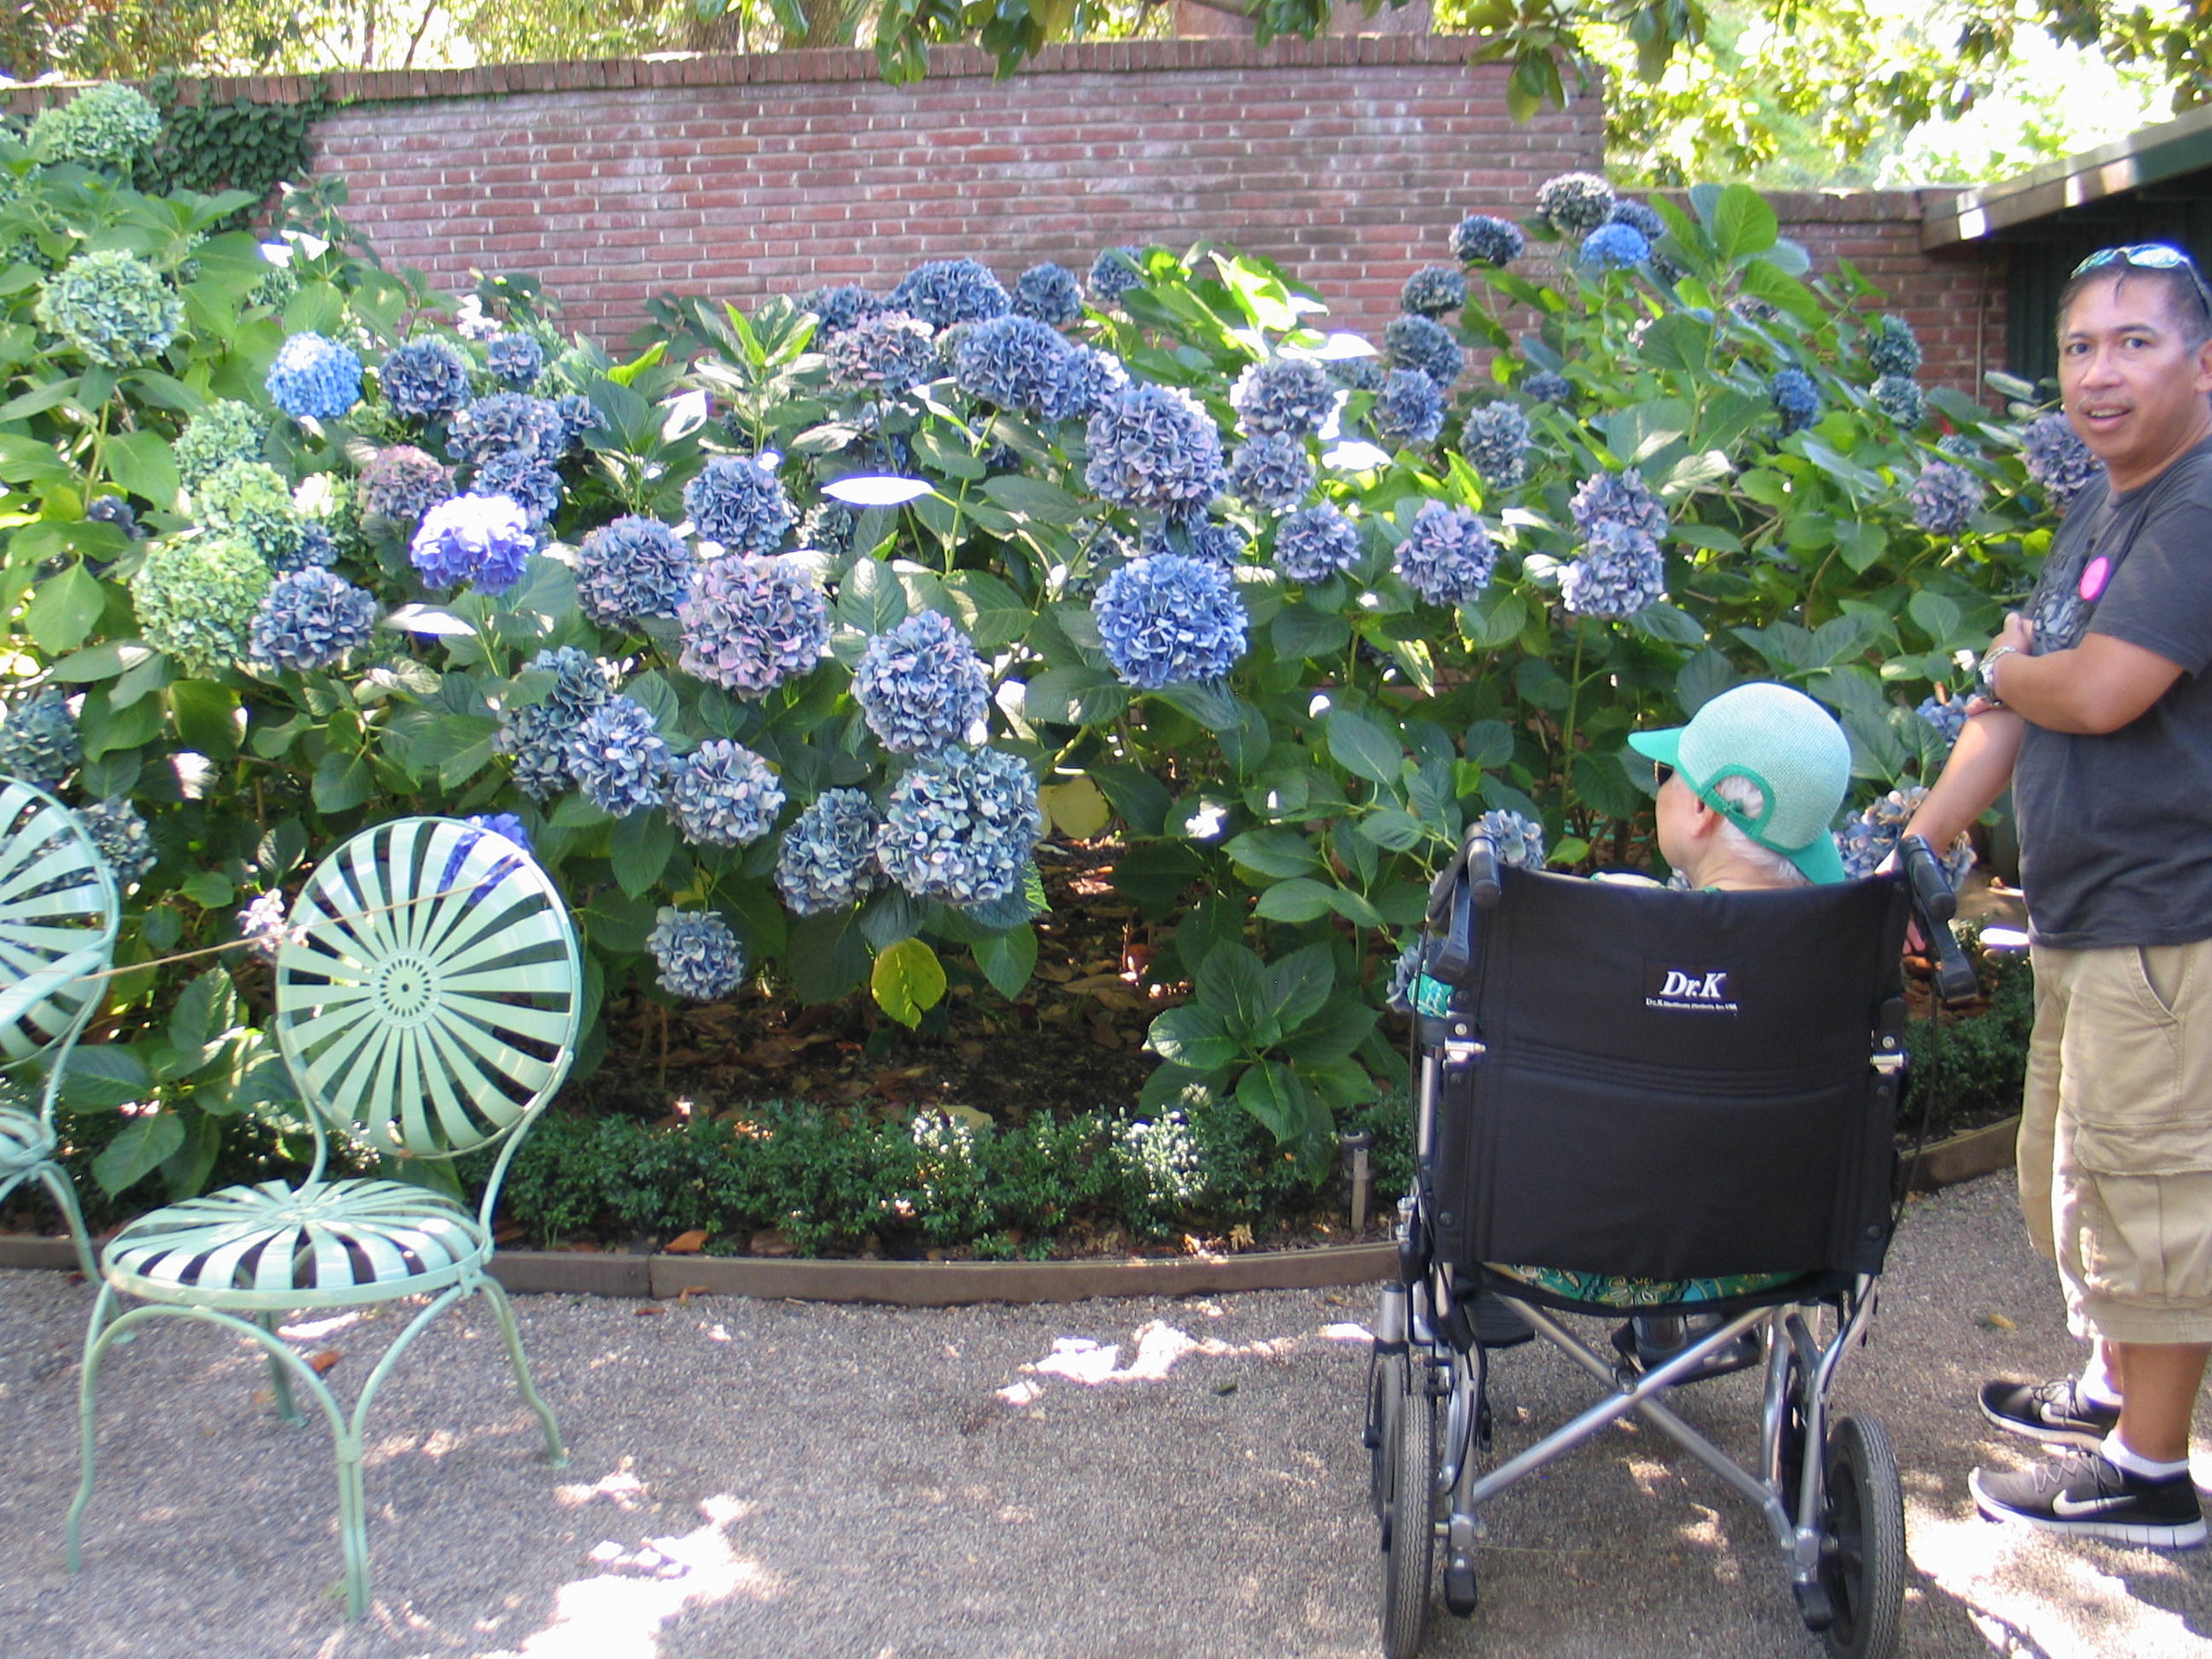 I love catching people in my photos right when they're wondering if they can possibly escape before I click the shutter. Sorry, I was too quick this time, but holy crap - lookit those Hydrangeas!


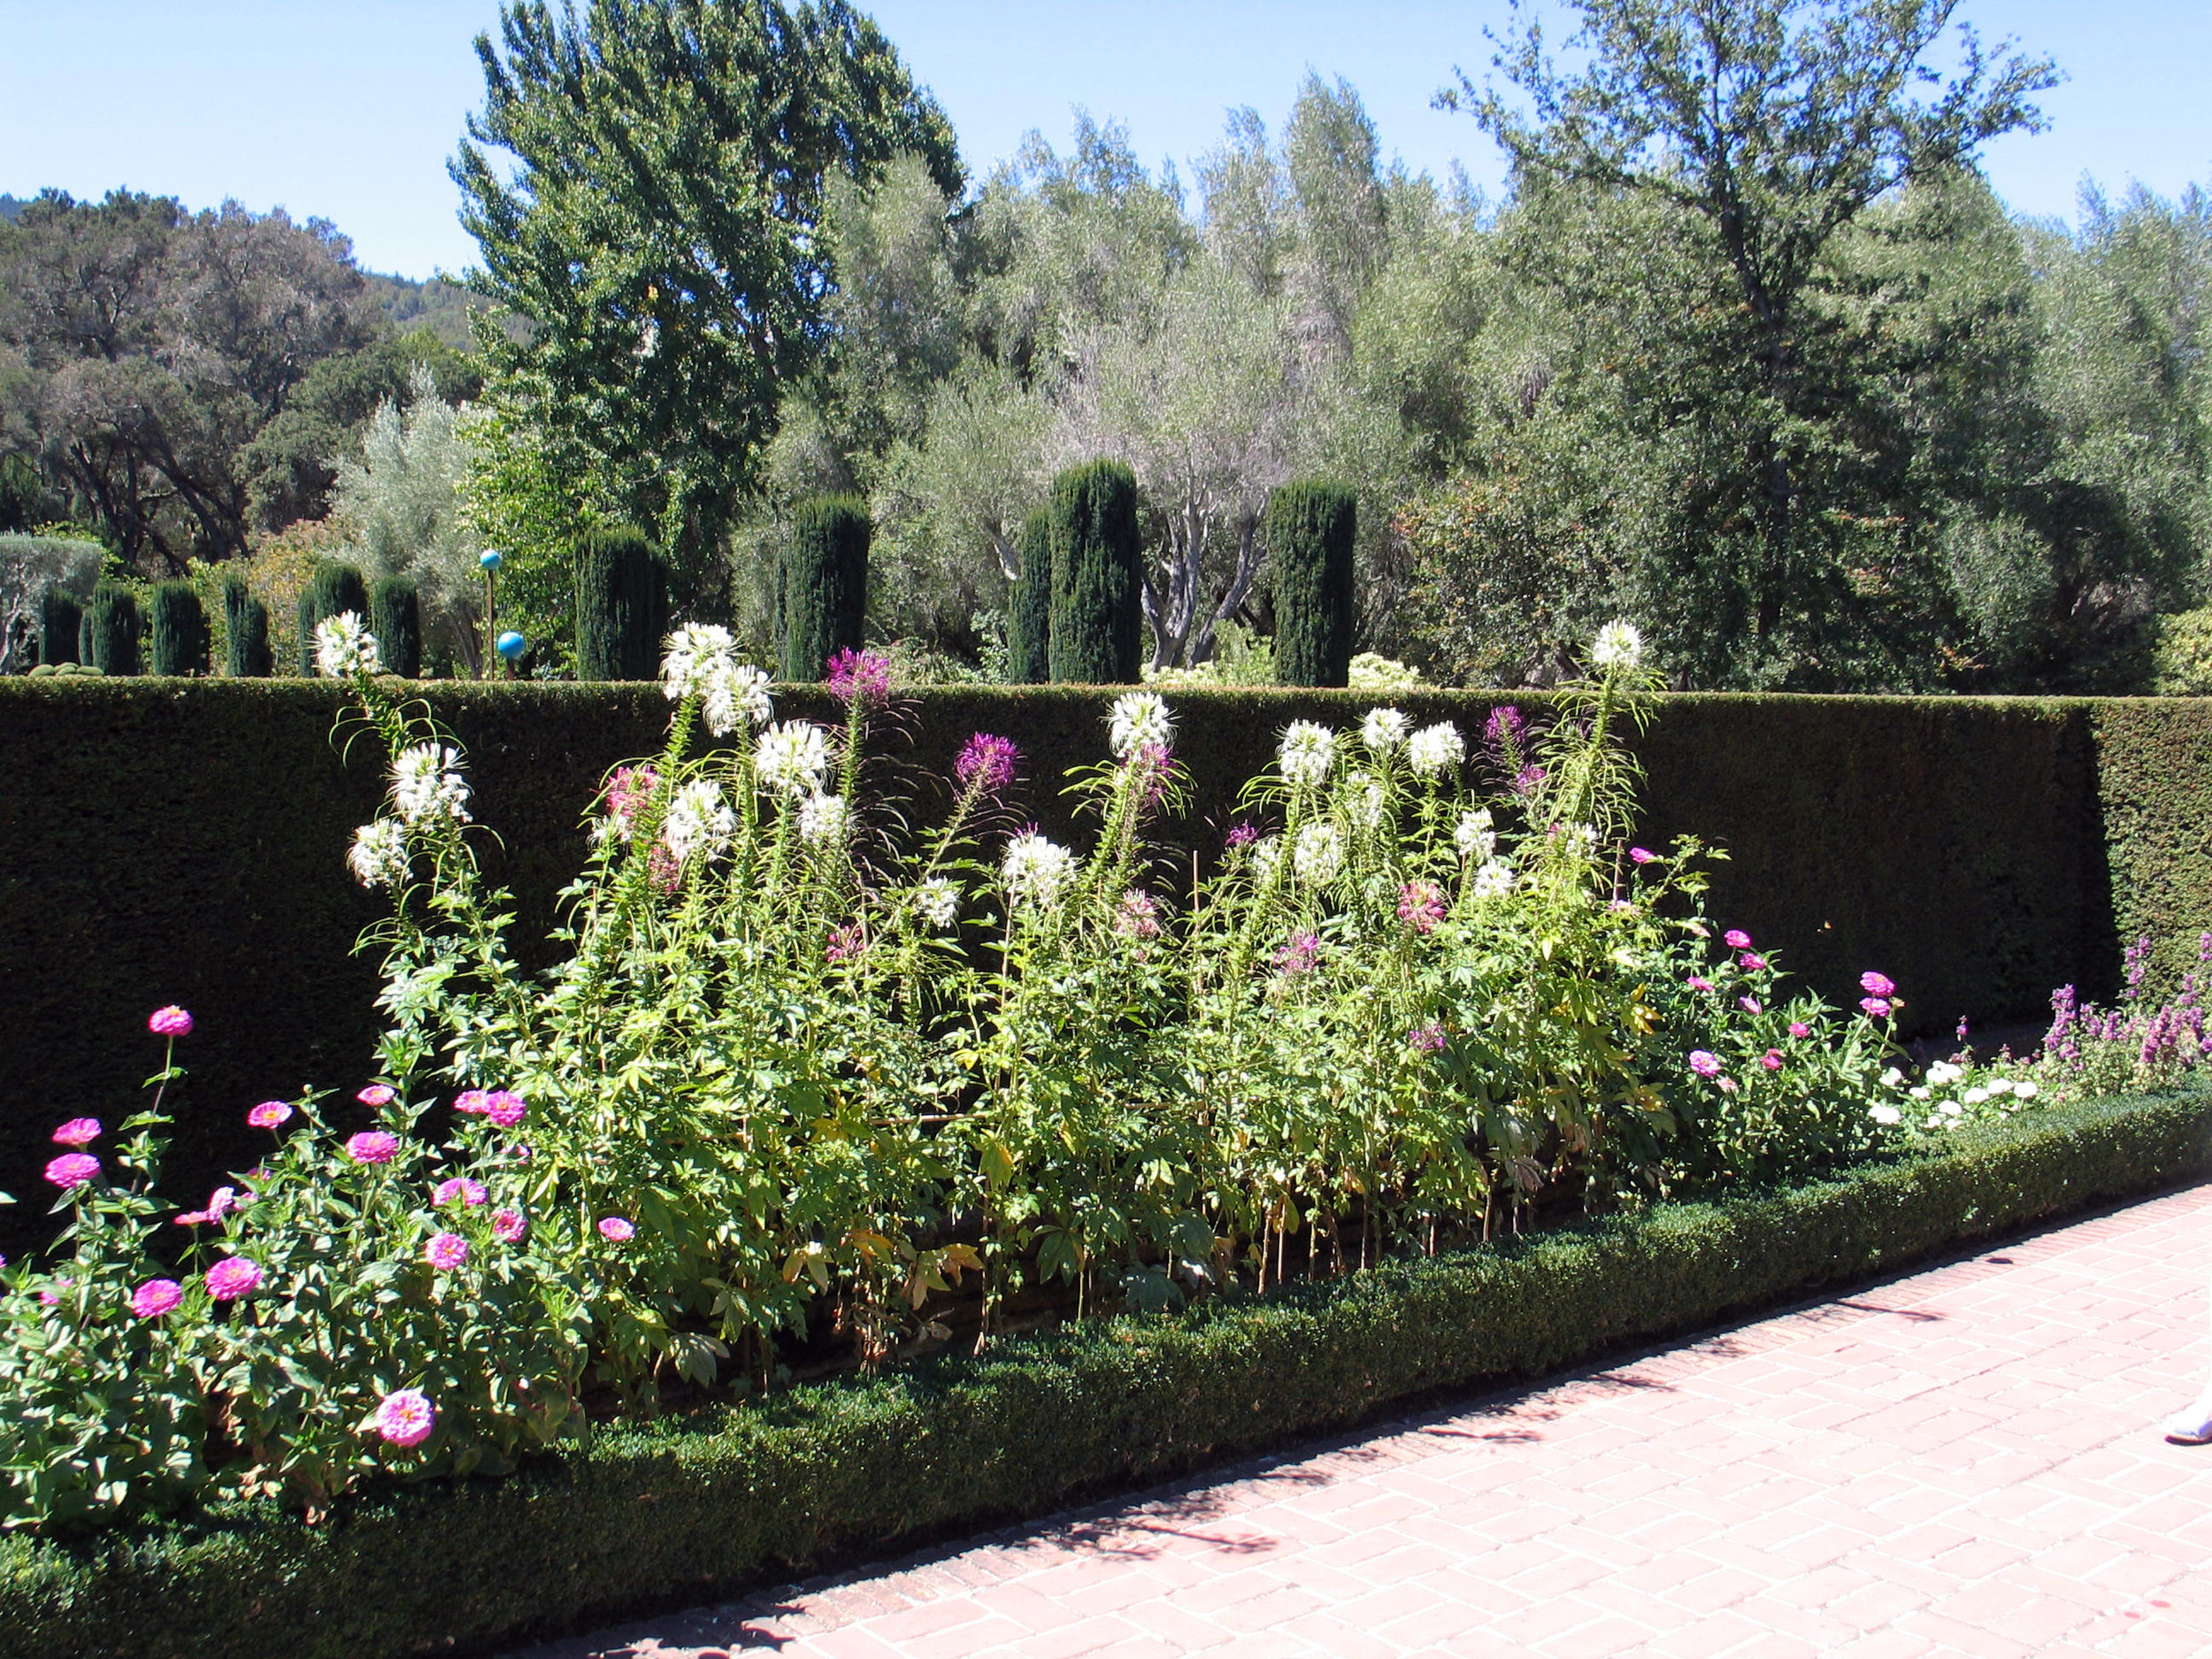 The Cleome were incredible - again, people in the shot to show just how BIG they are (the Cleome, not the people)!
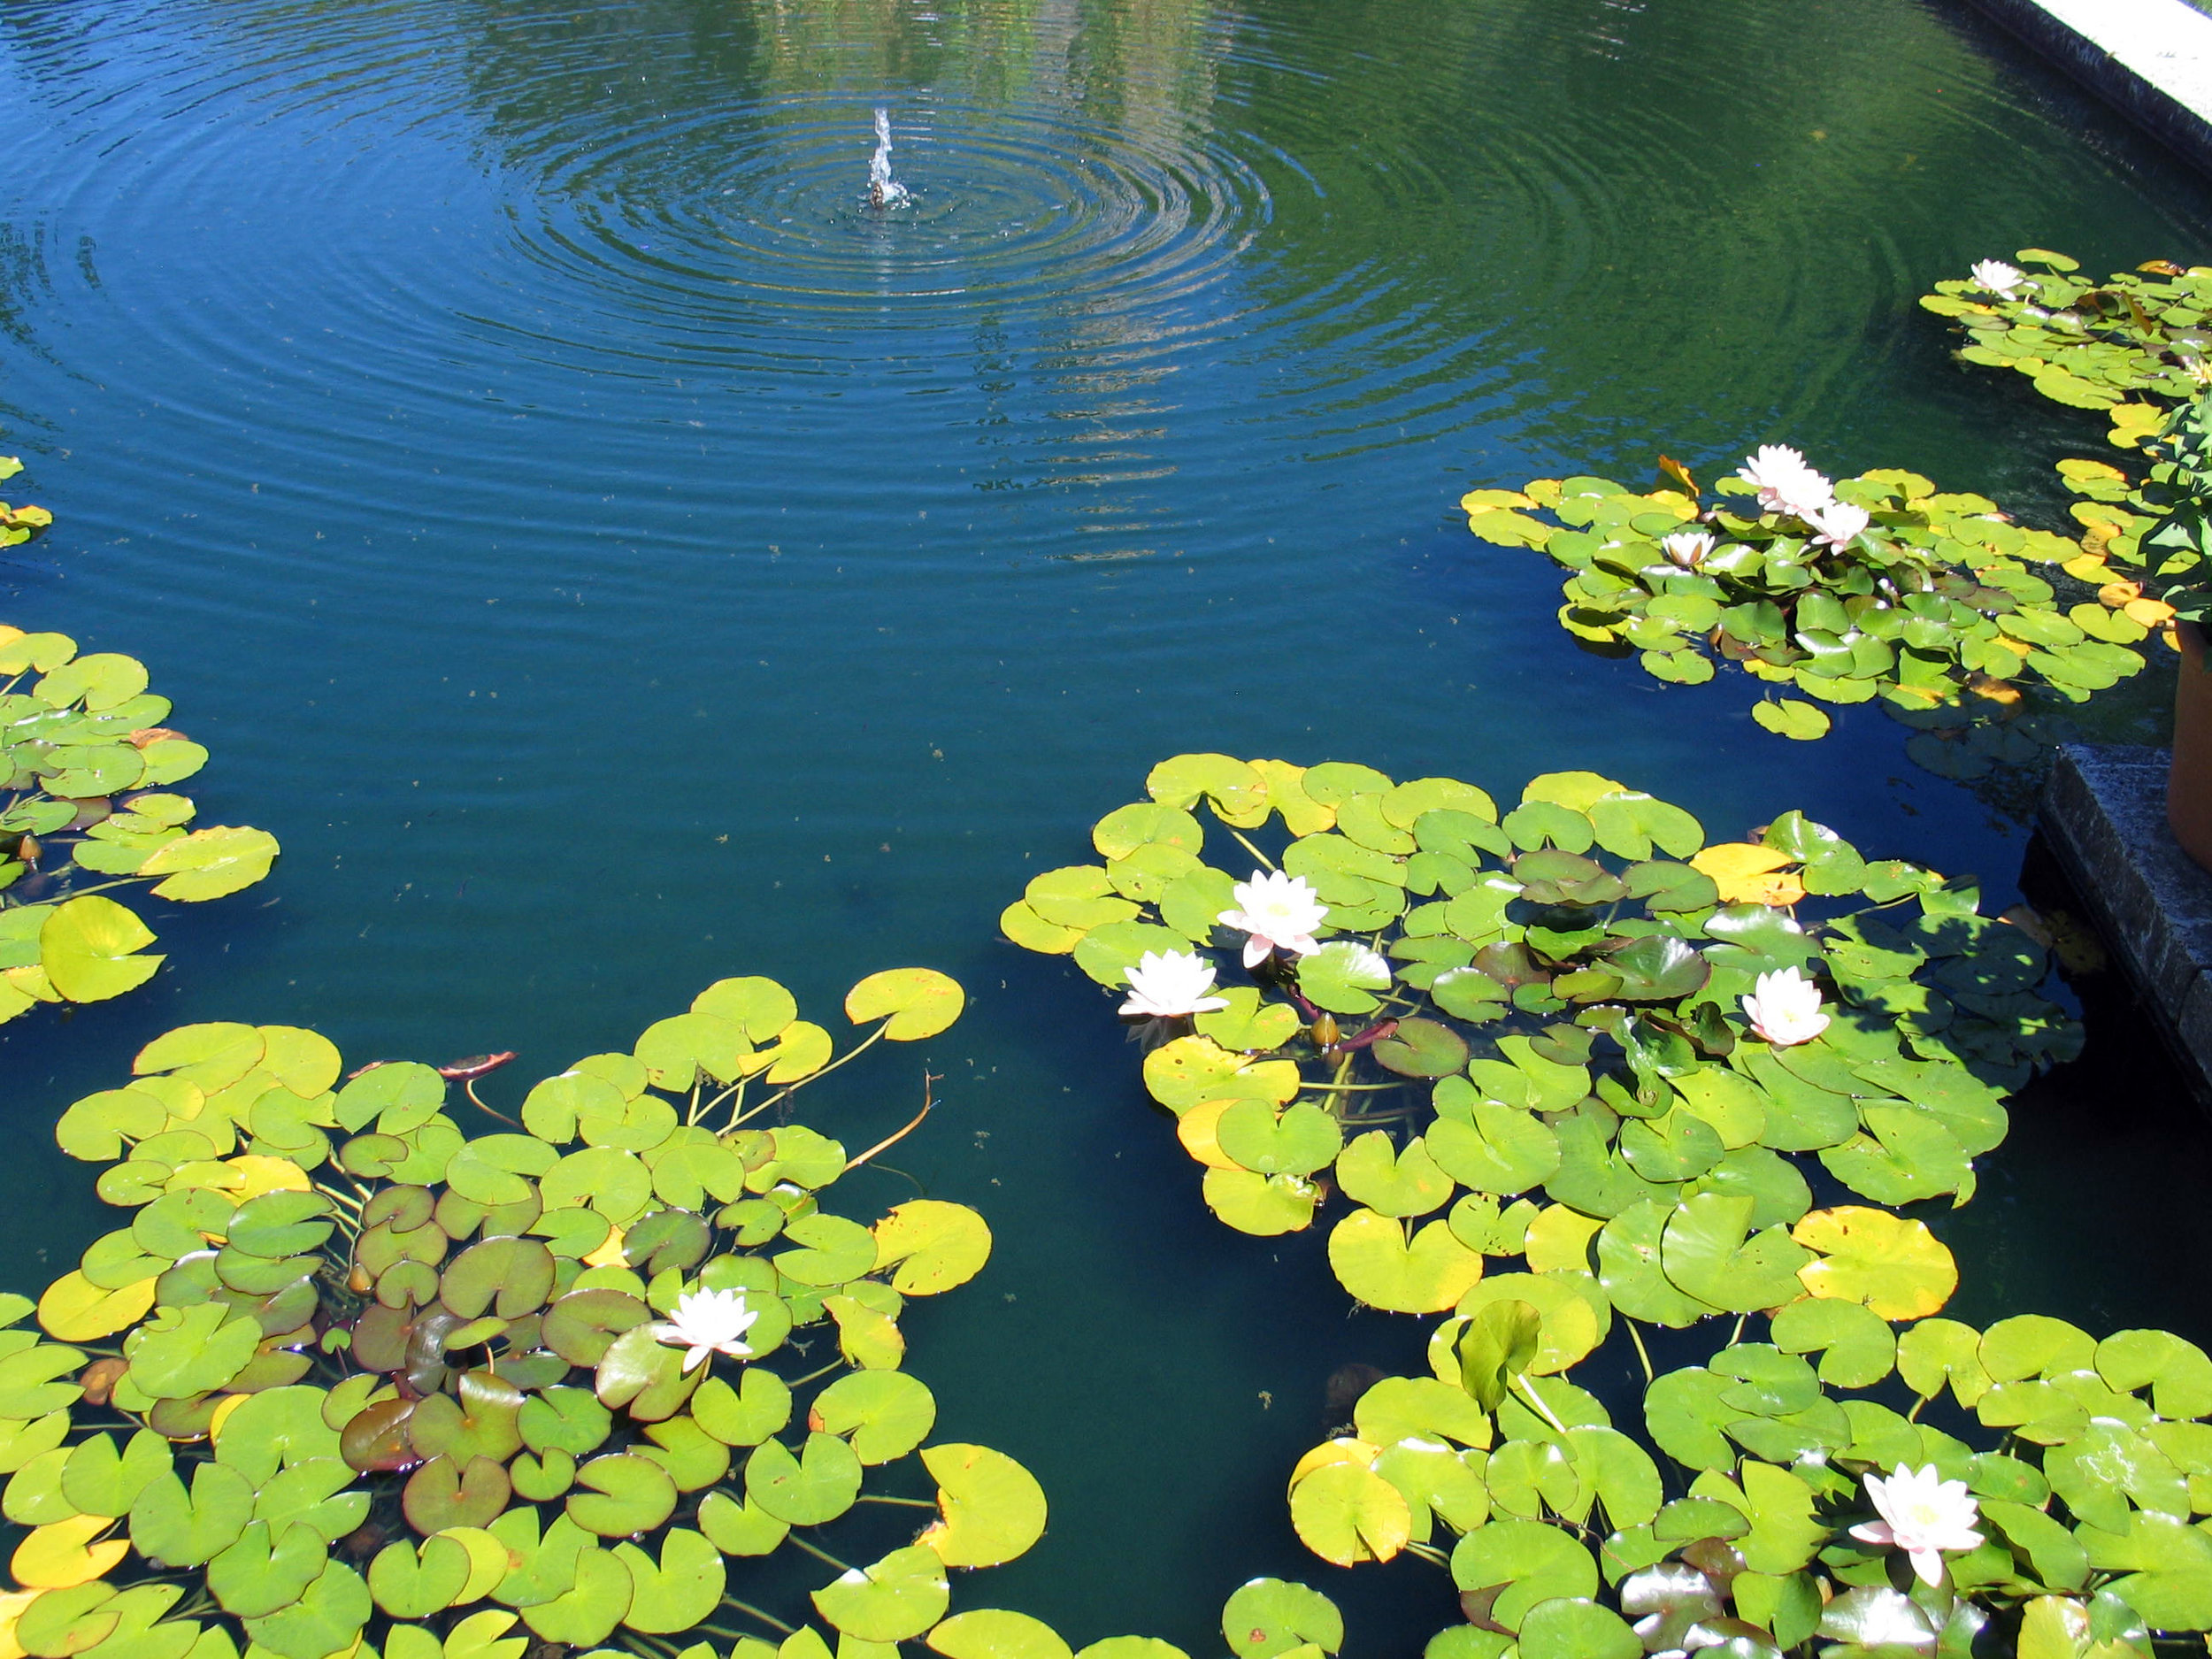
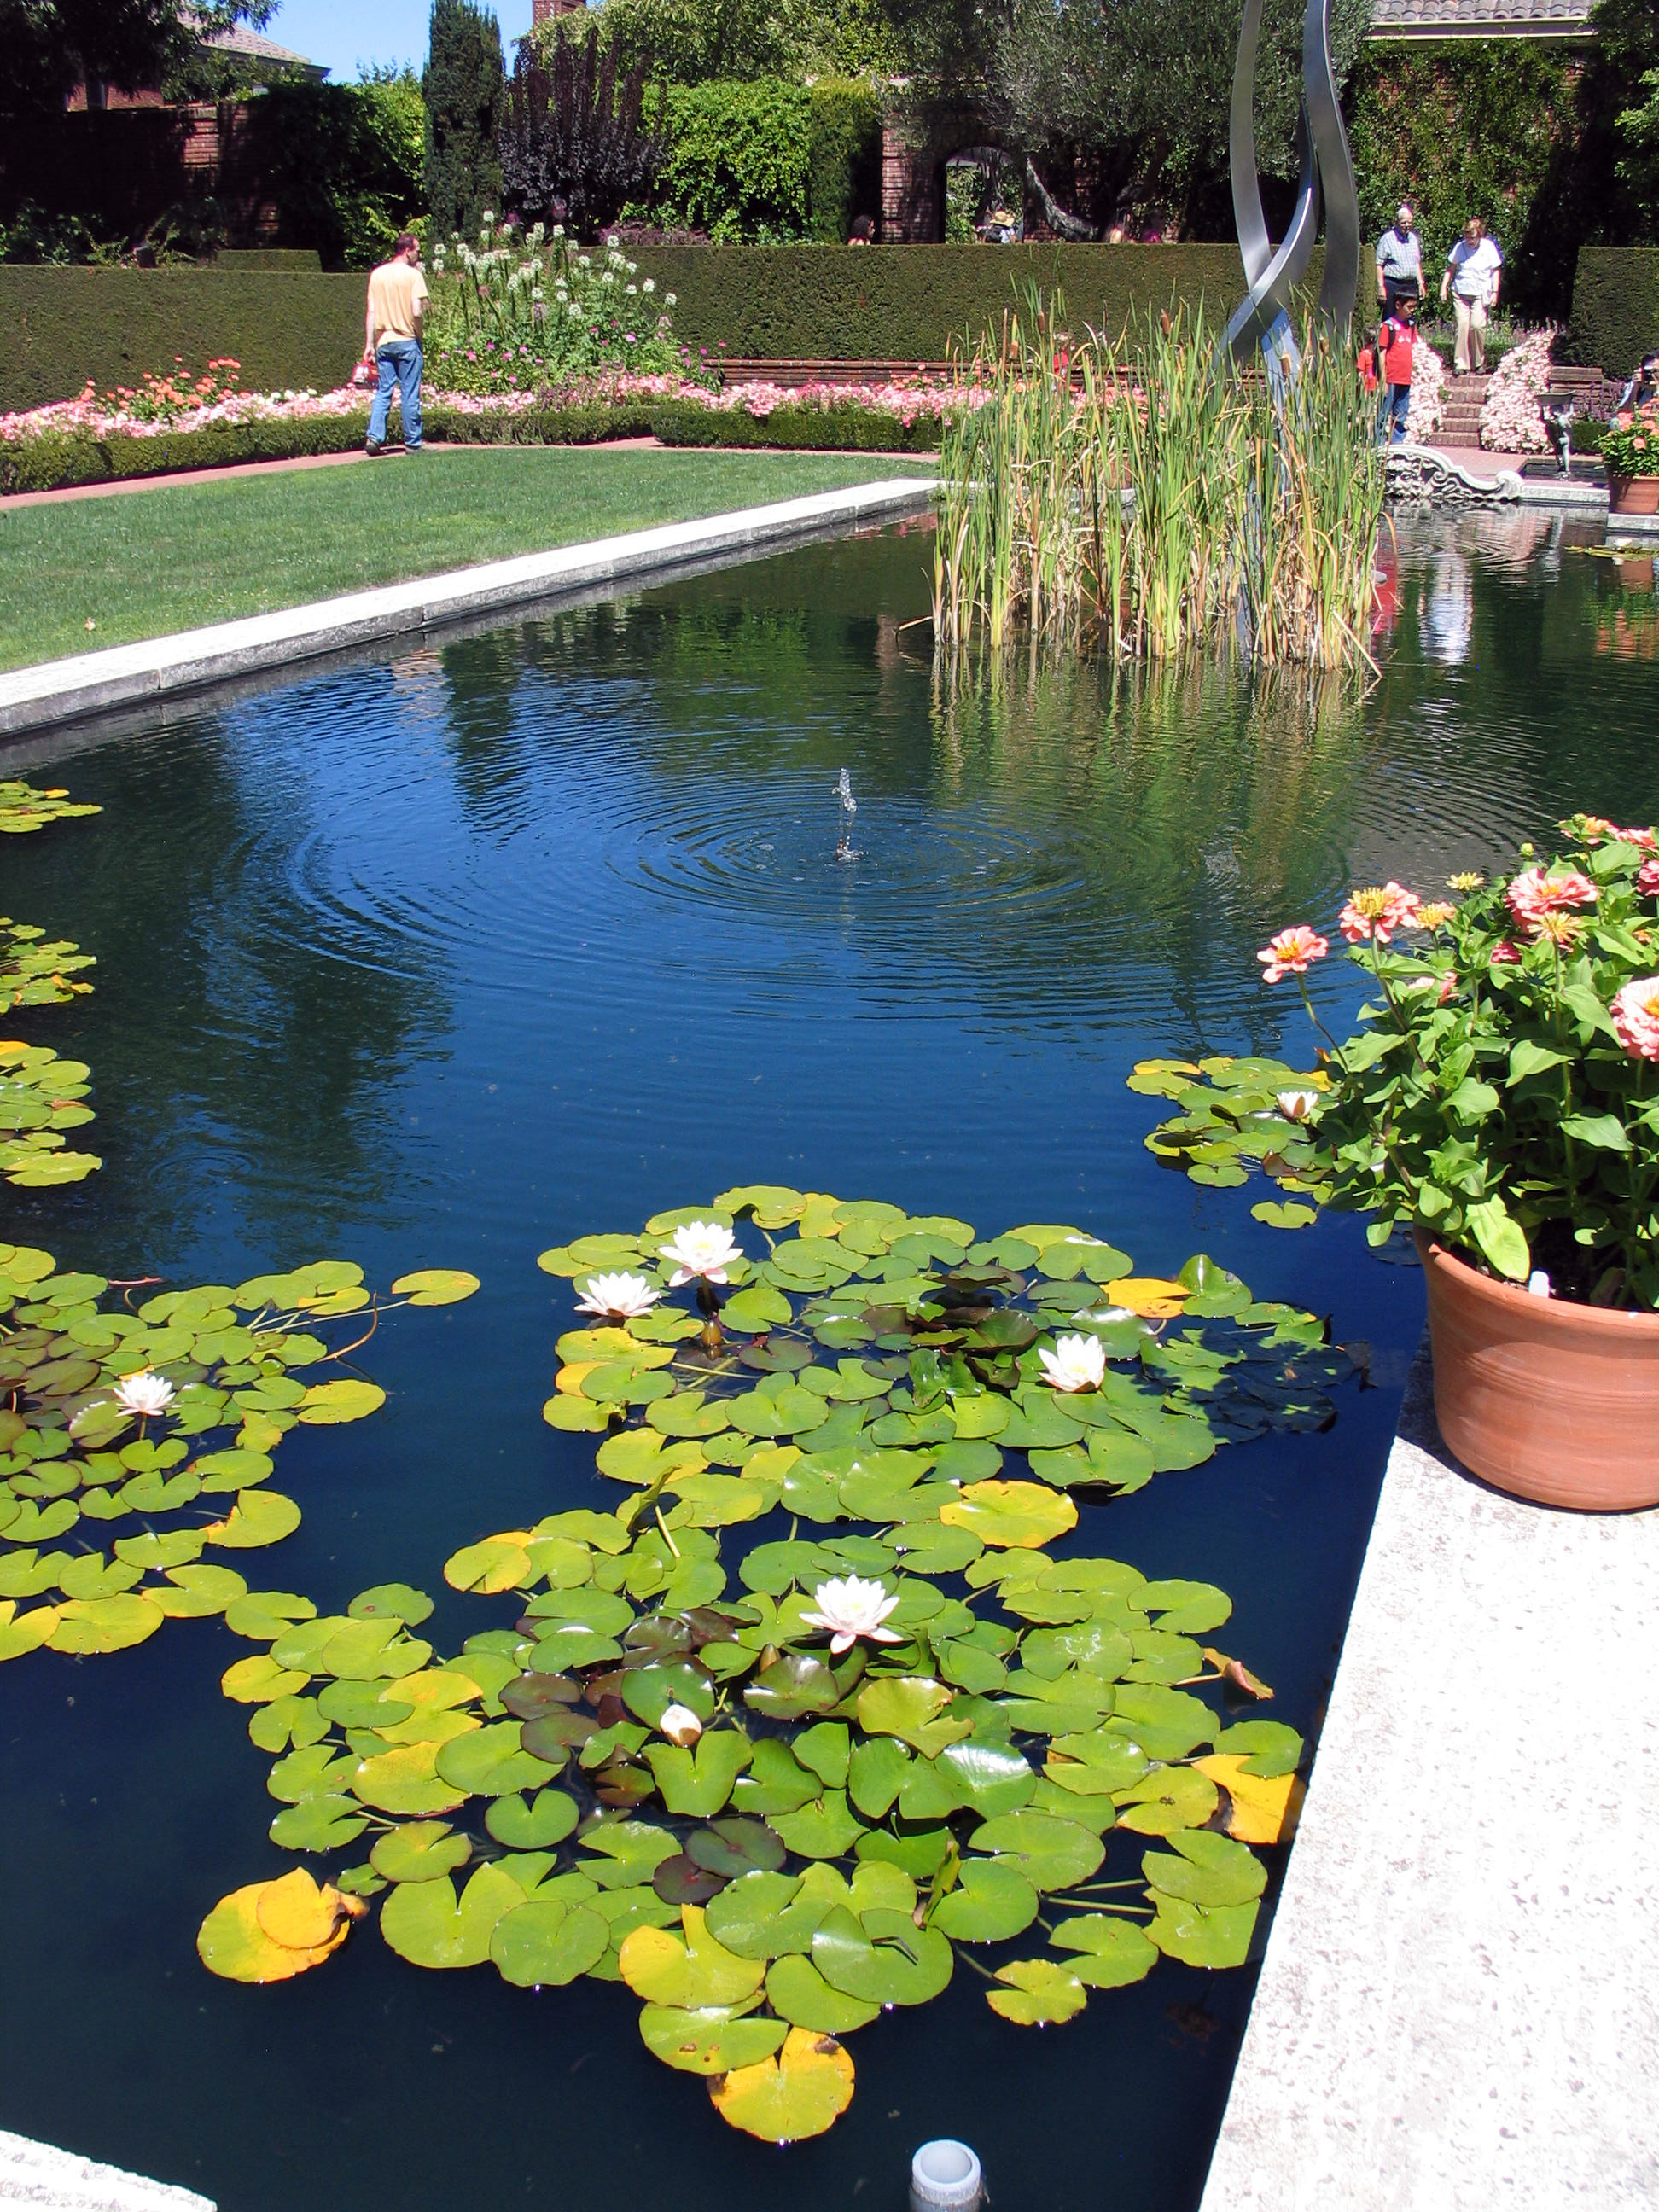 Love the pond, there are fish in there too - I don't know what kind, but I could sit and watch them for a good while, goofing off in the waterlilies (not sure who would goof off more, the fish or me).
 Here I thought I was taking pictures of Magnolias, but these two are so sweet.
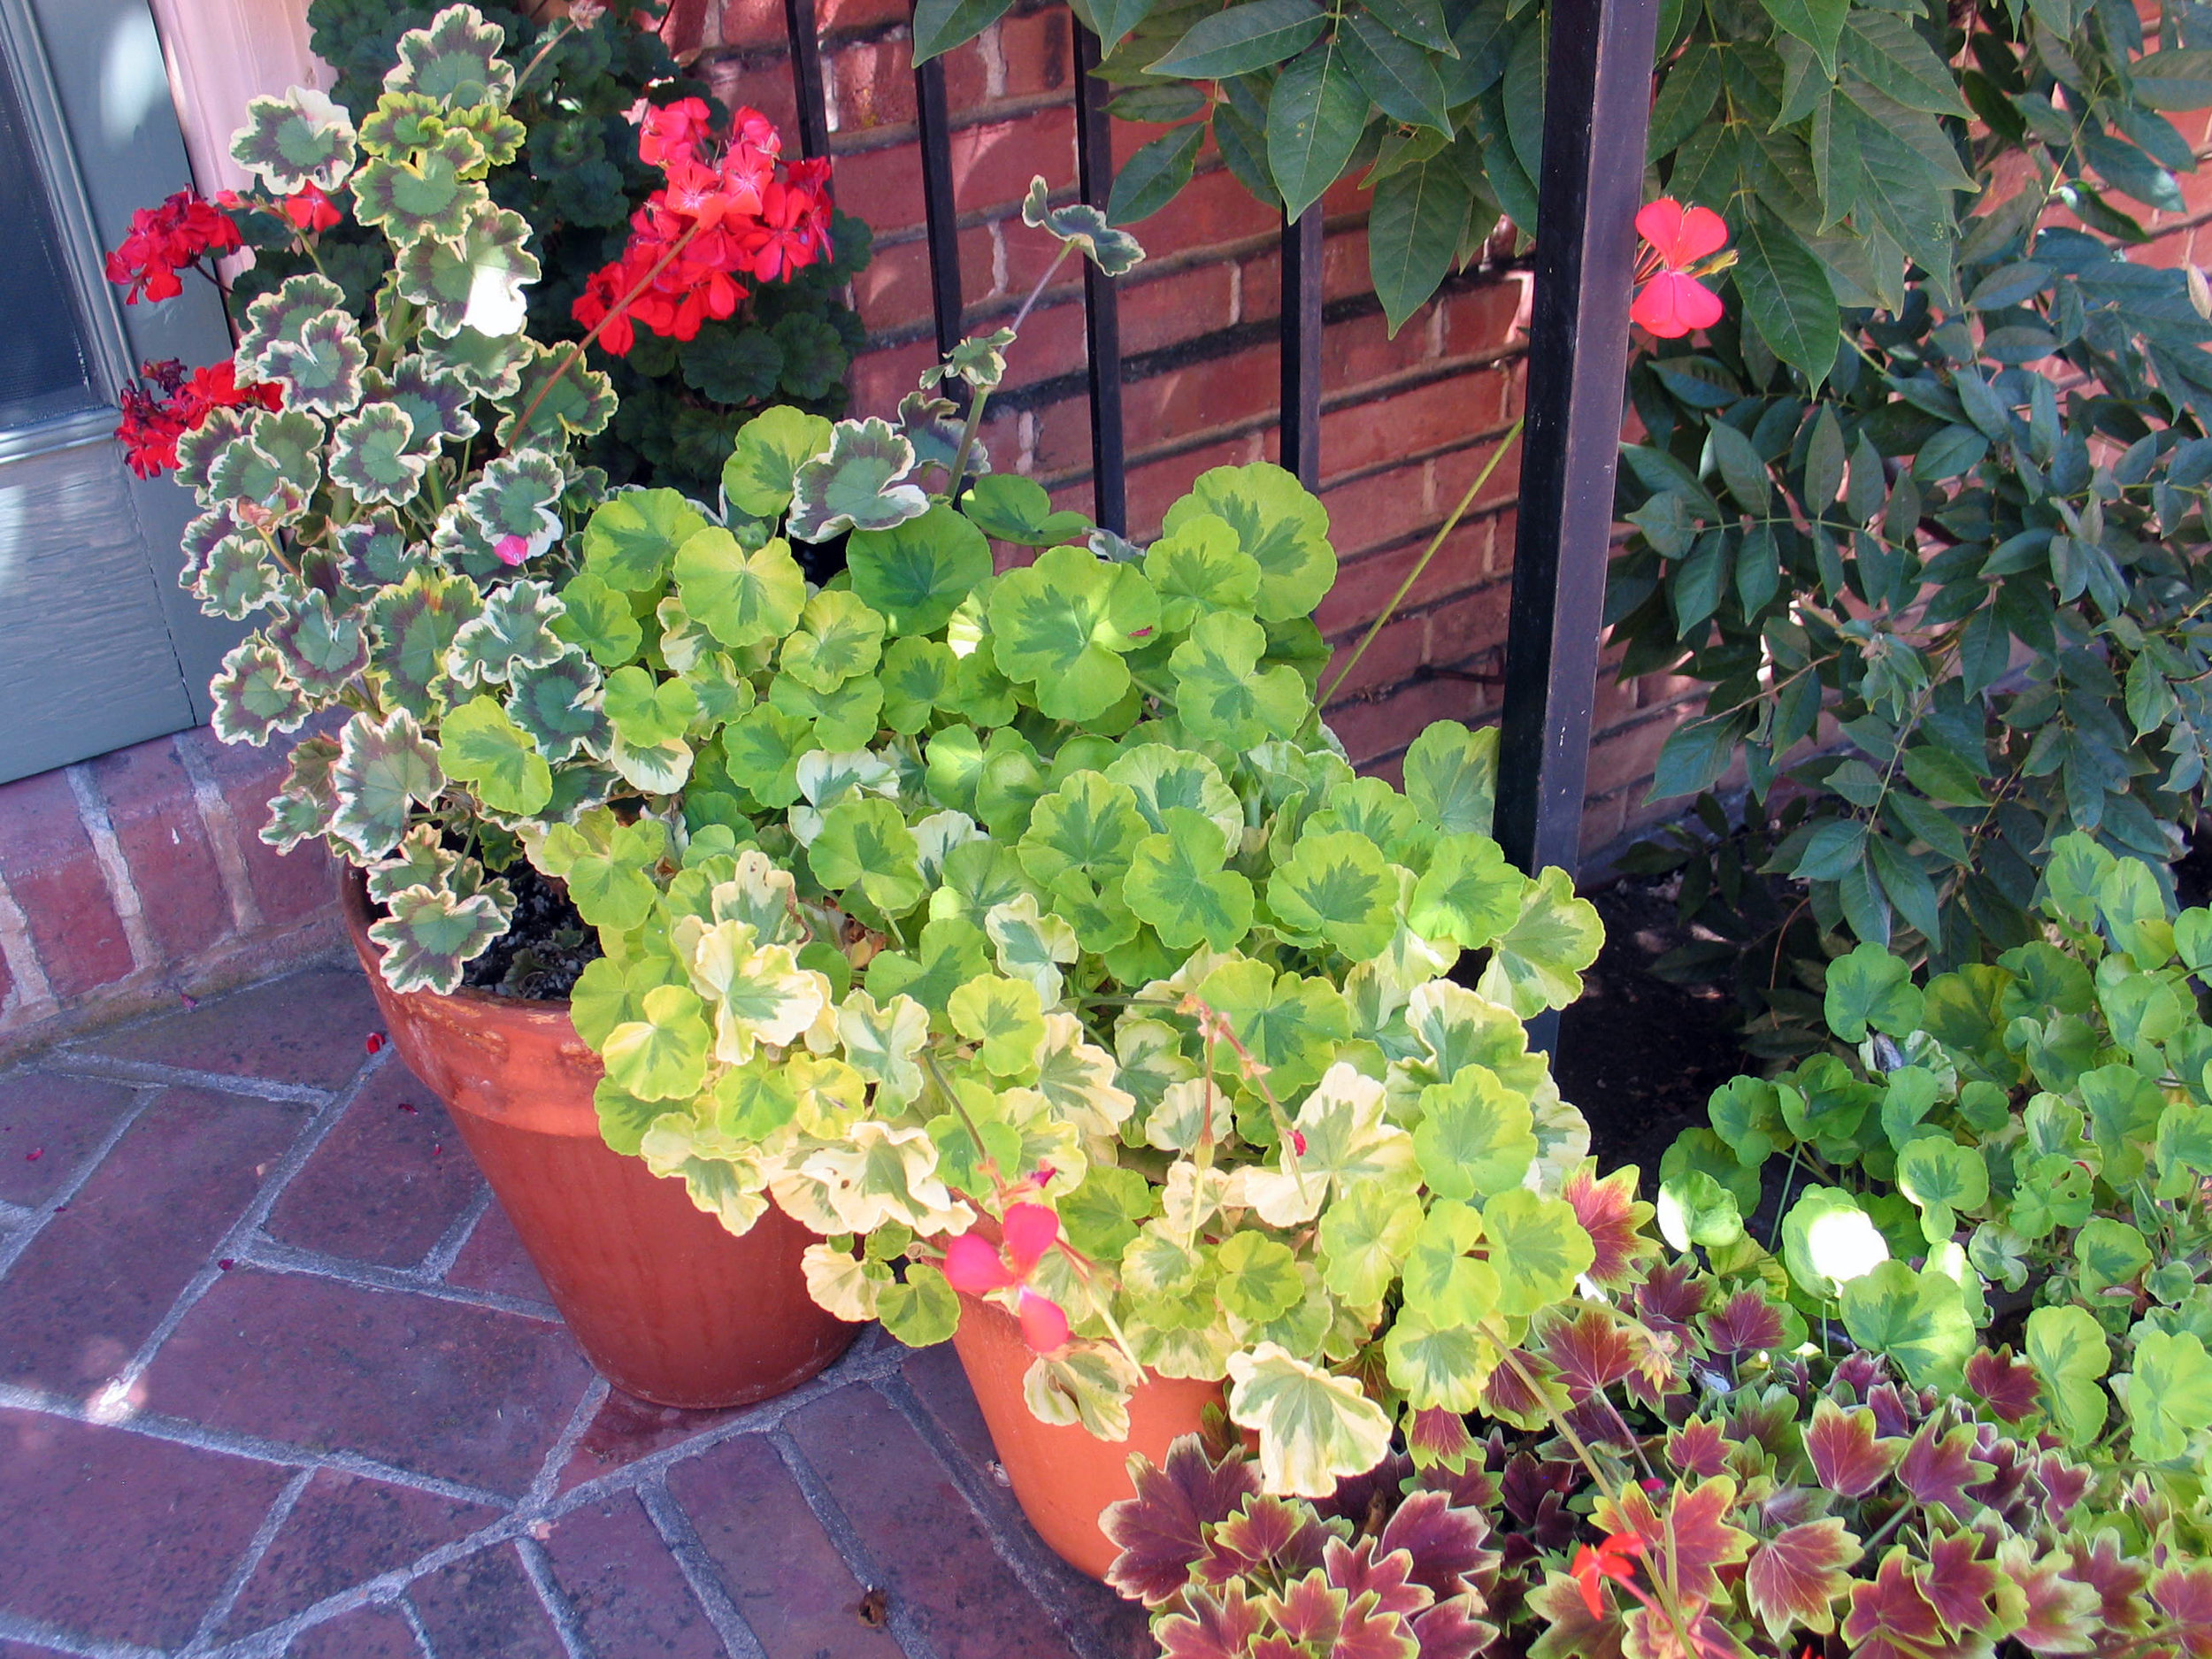
 ...and again, Filoli manages to make even ordinary Pelargoniums look amazing! I bought one at the gift shop, just could not resist, so don't be surprised if you see them in future posts...
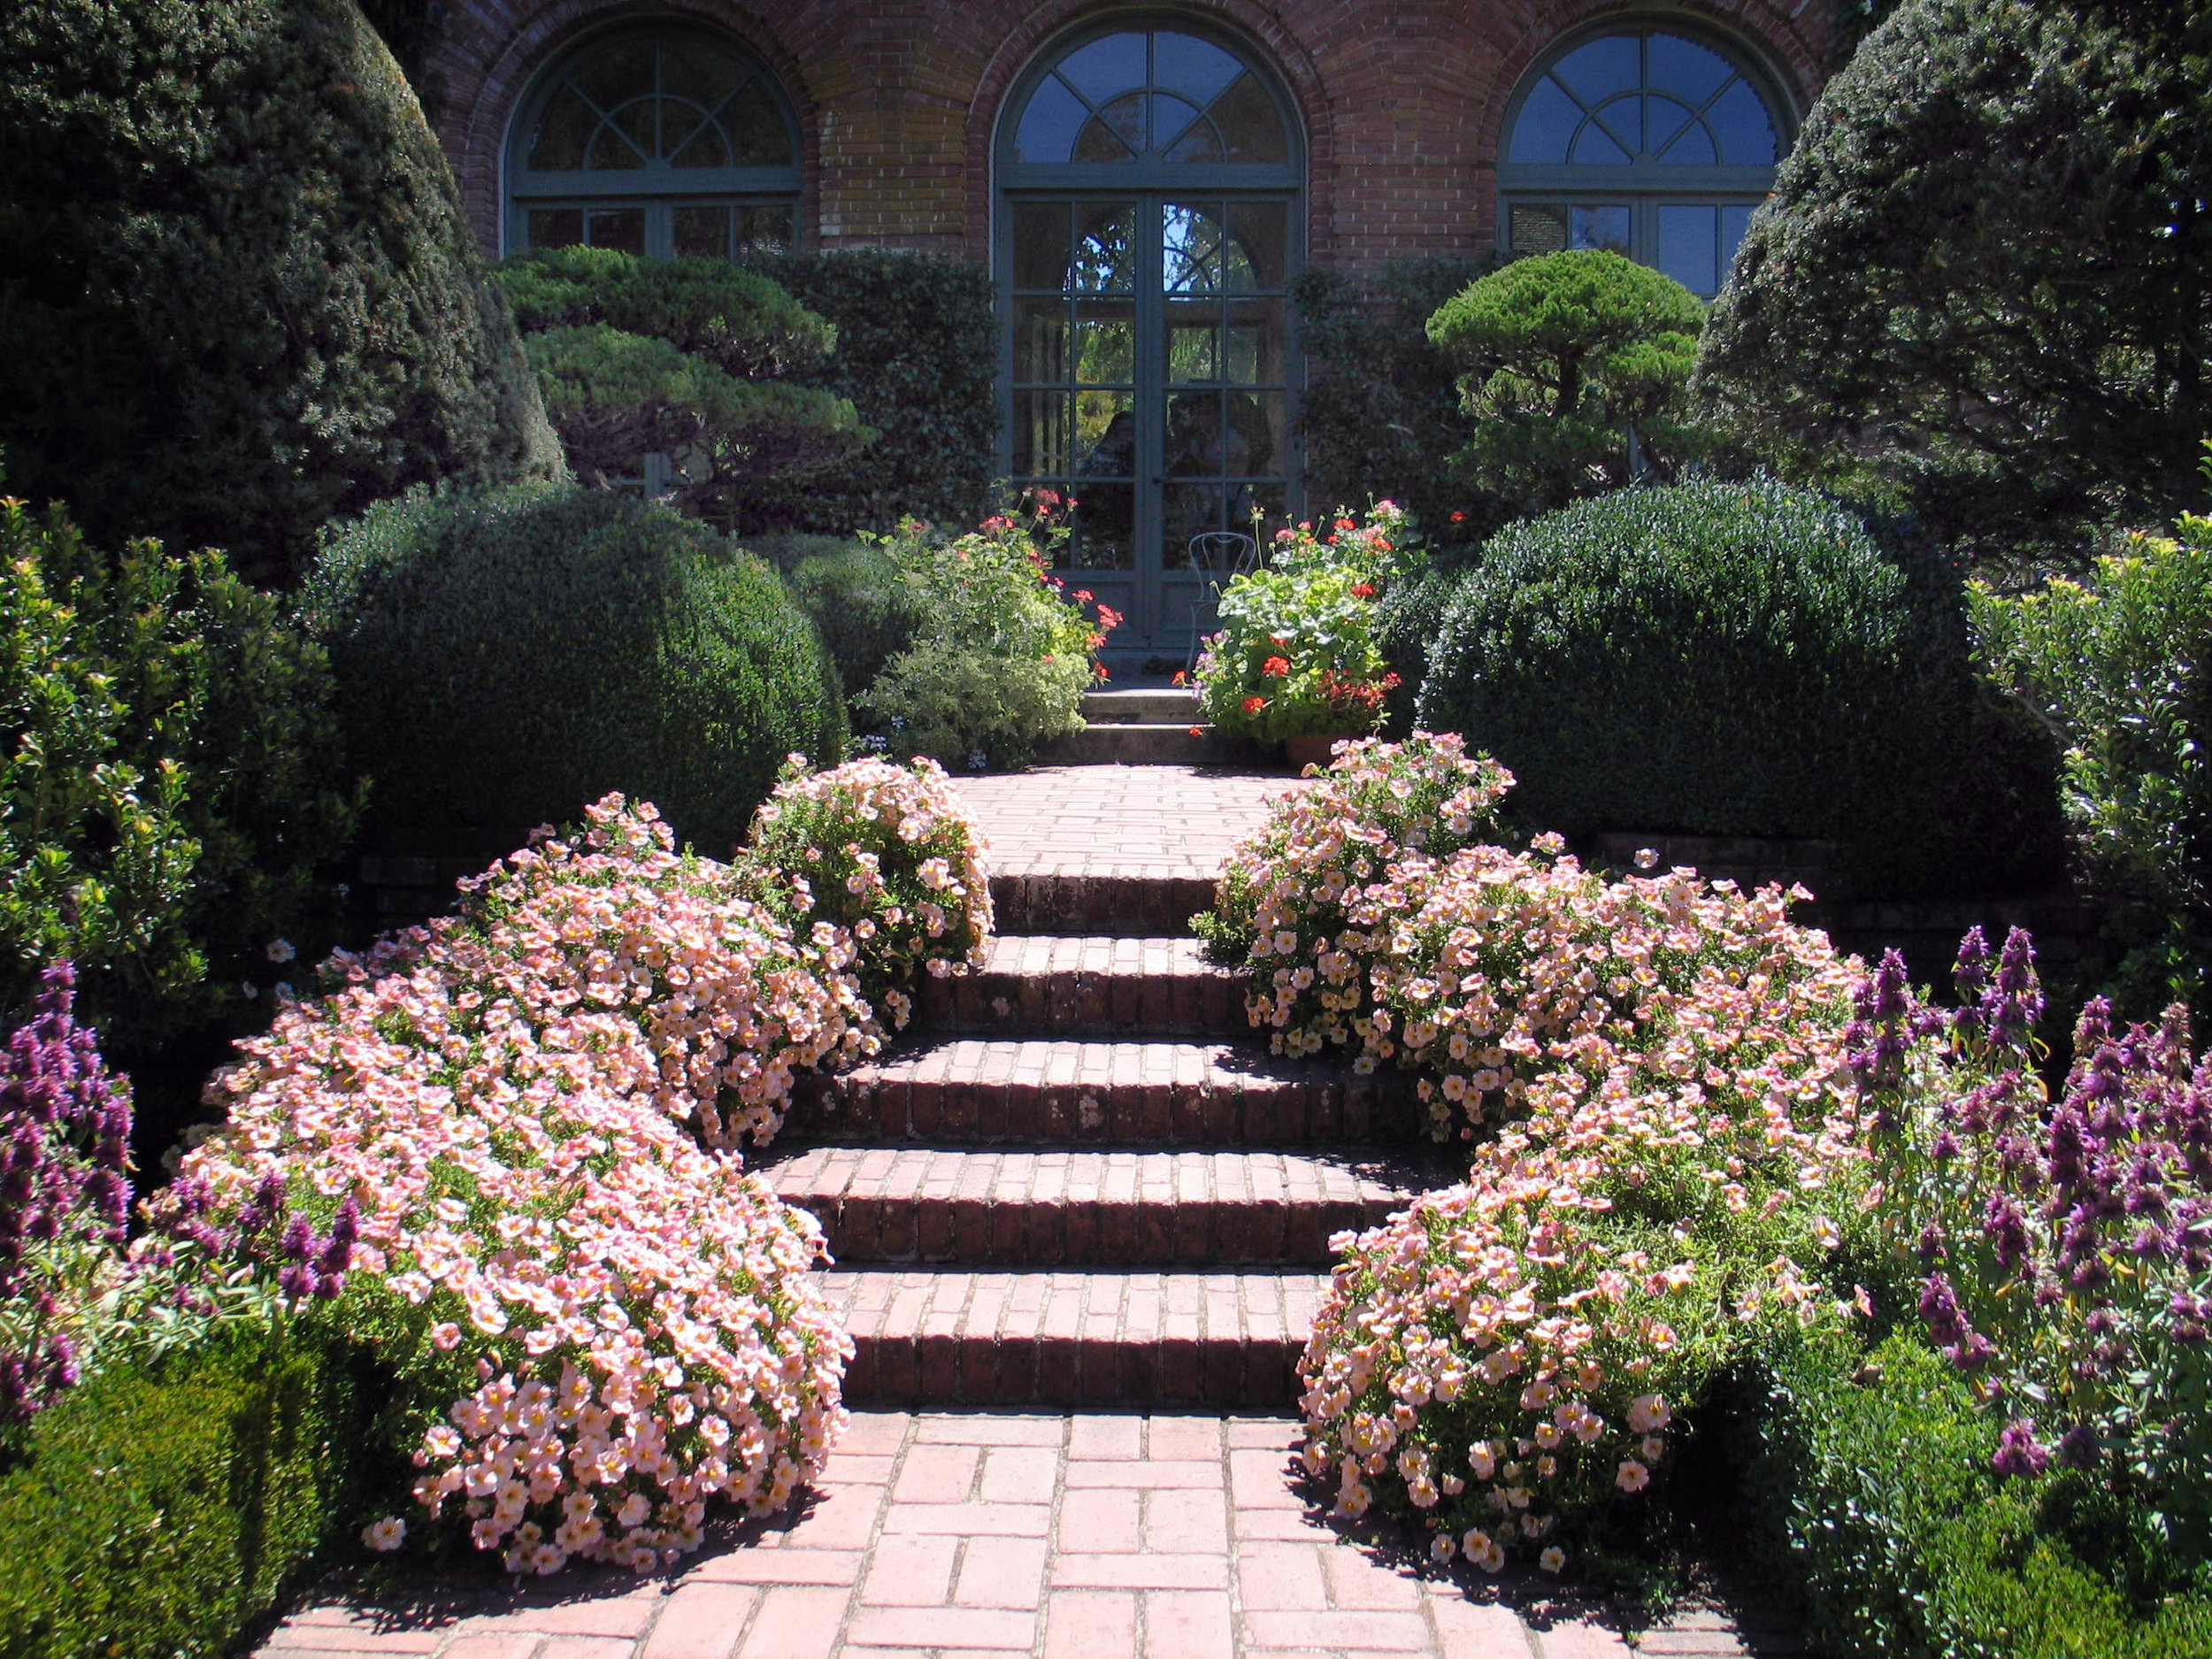
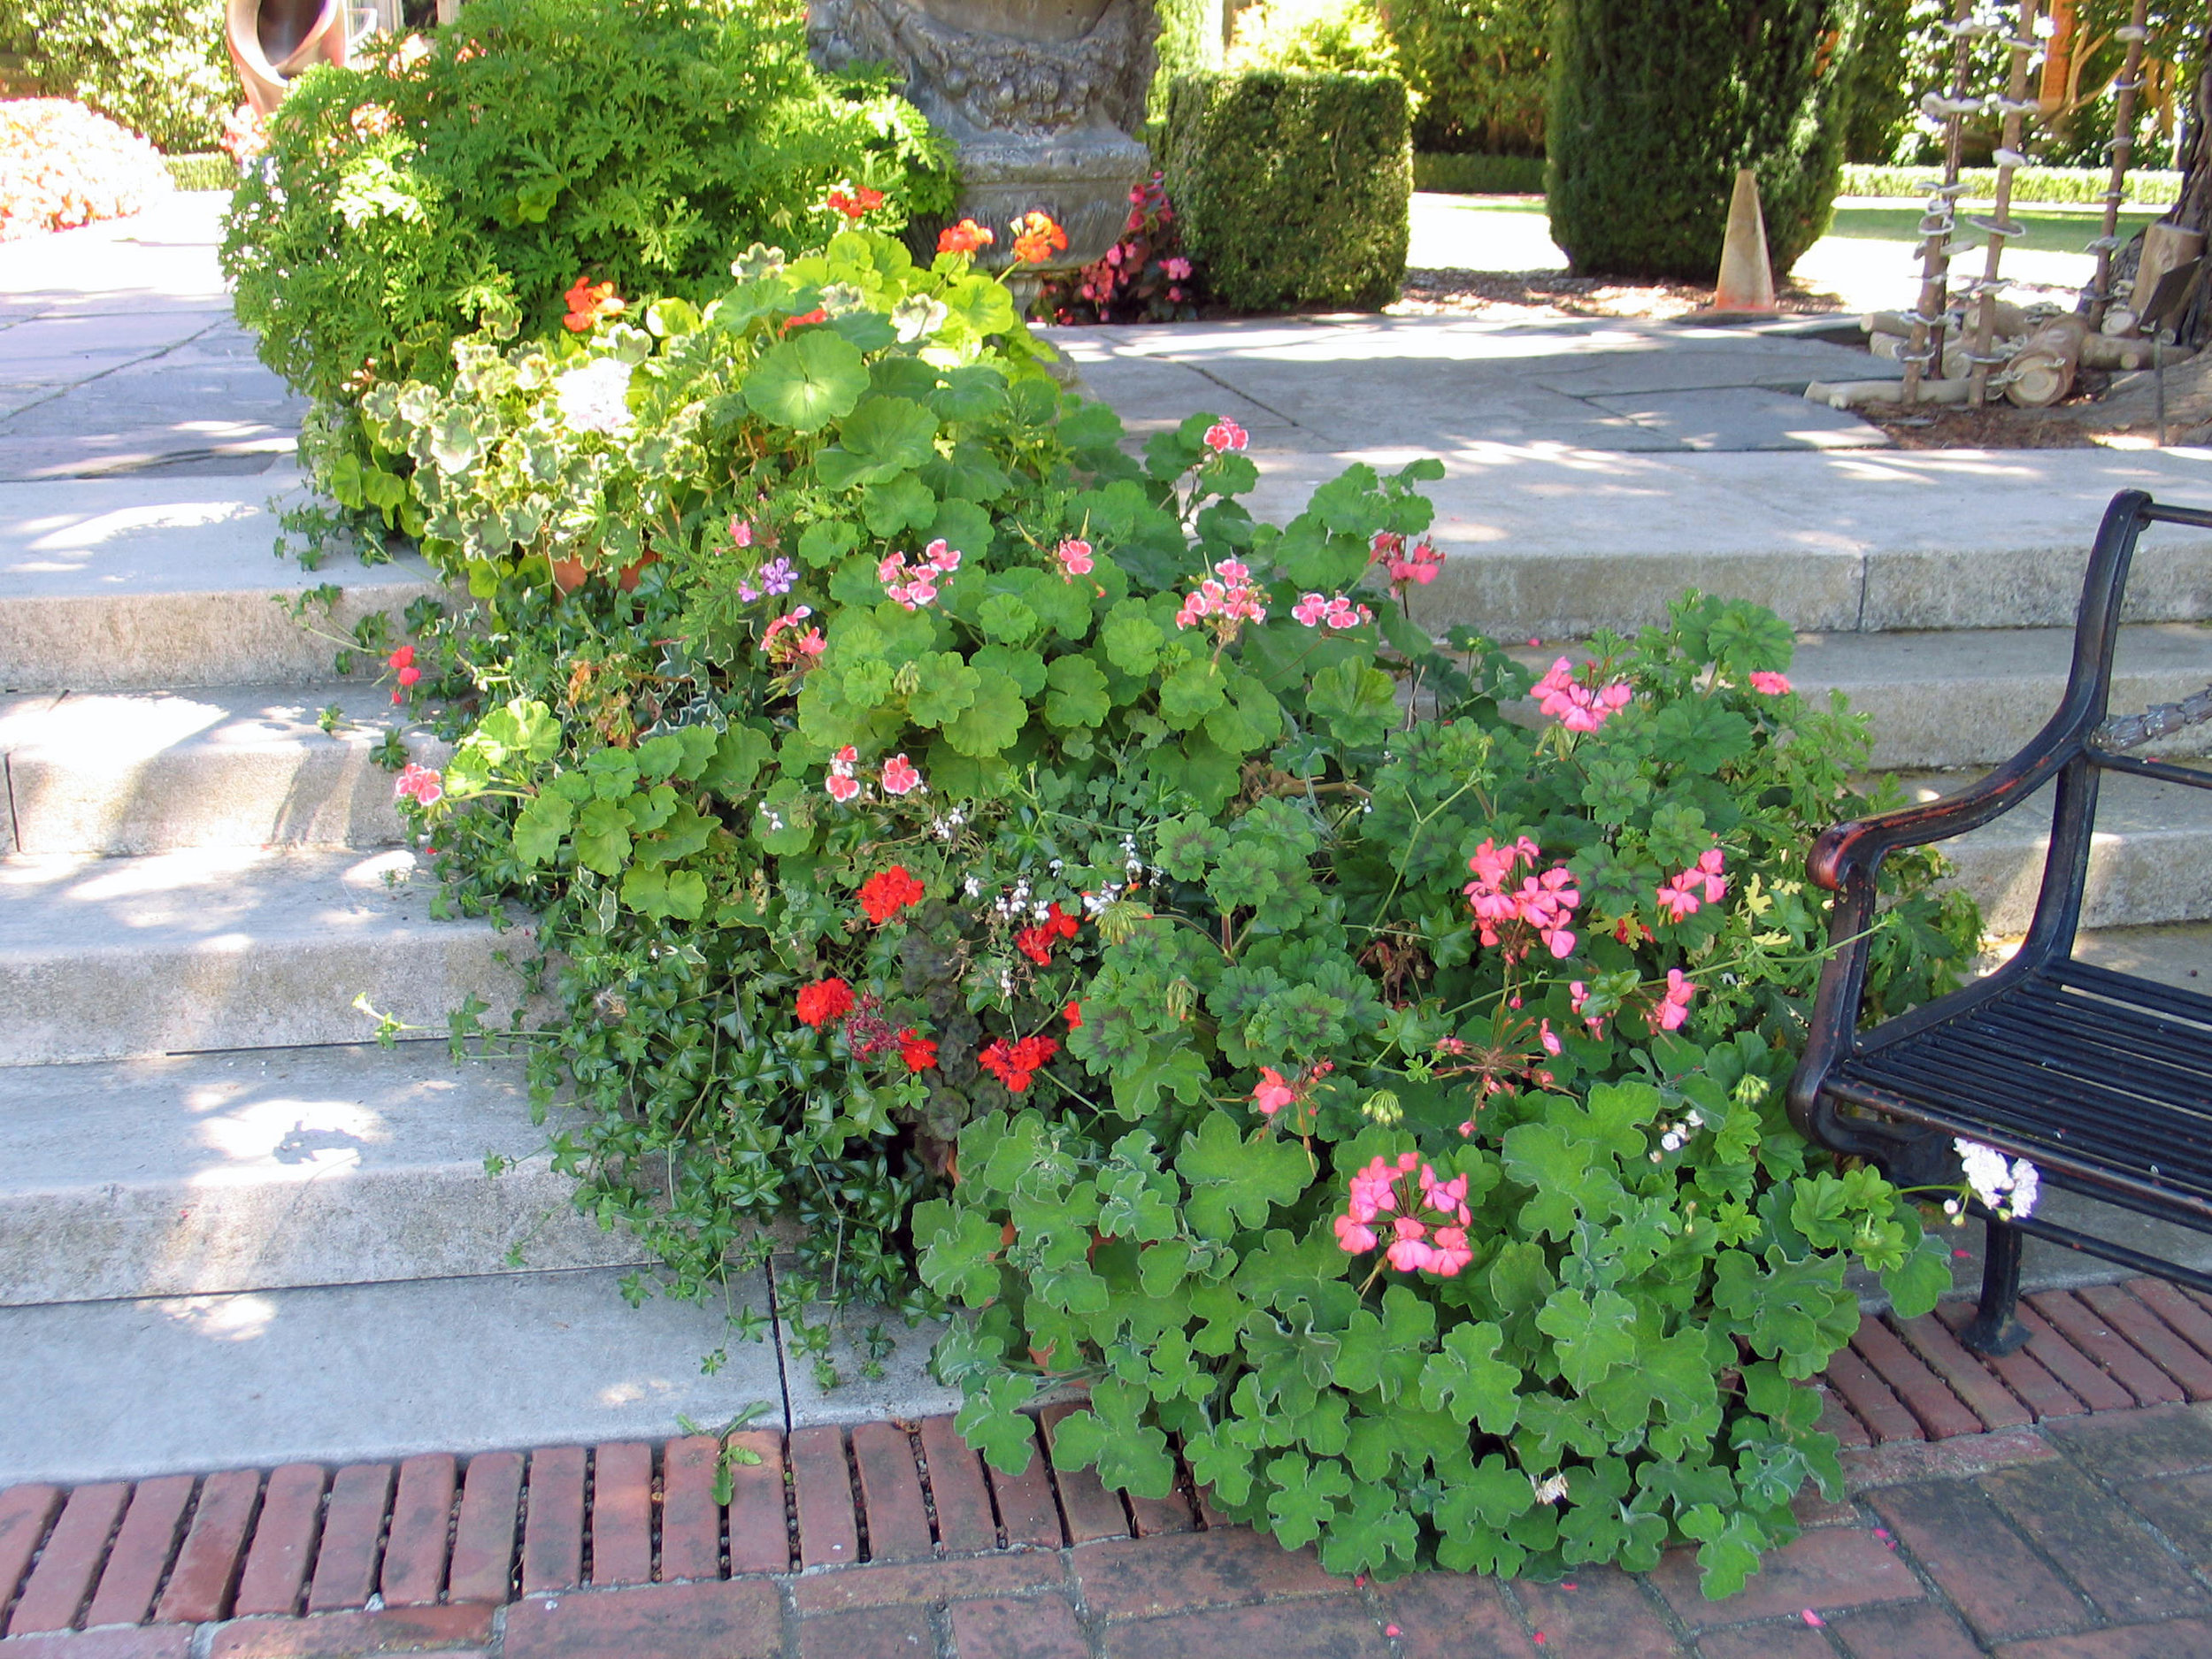
 as usual, the intense exuberance of the plantings are utterly breathtaking. Vigor and vibrance around every corner.
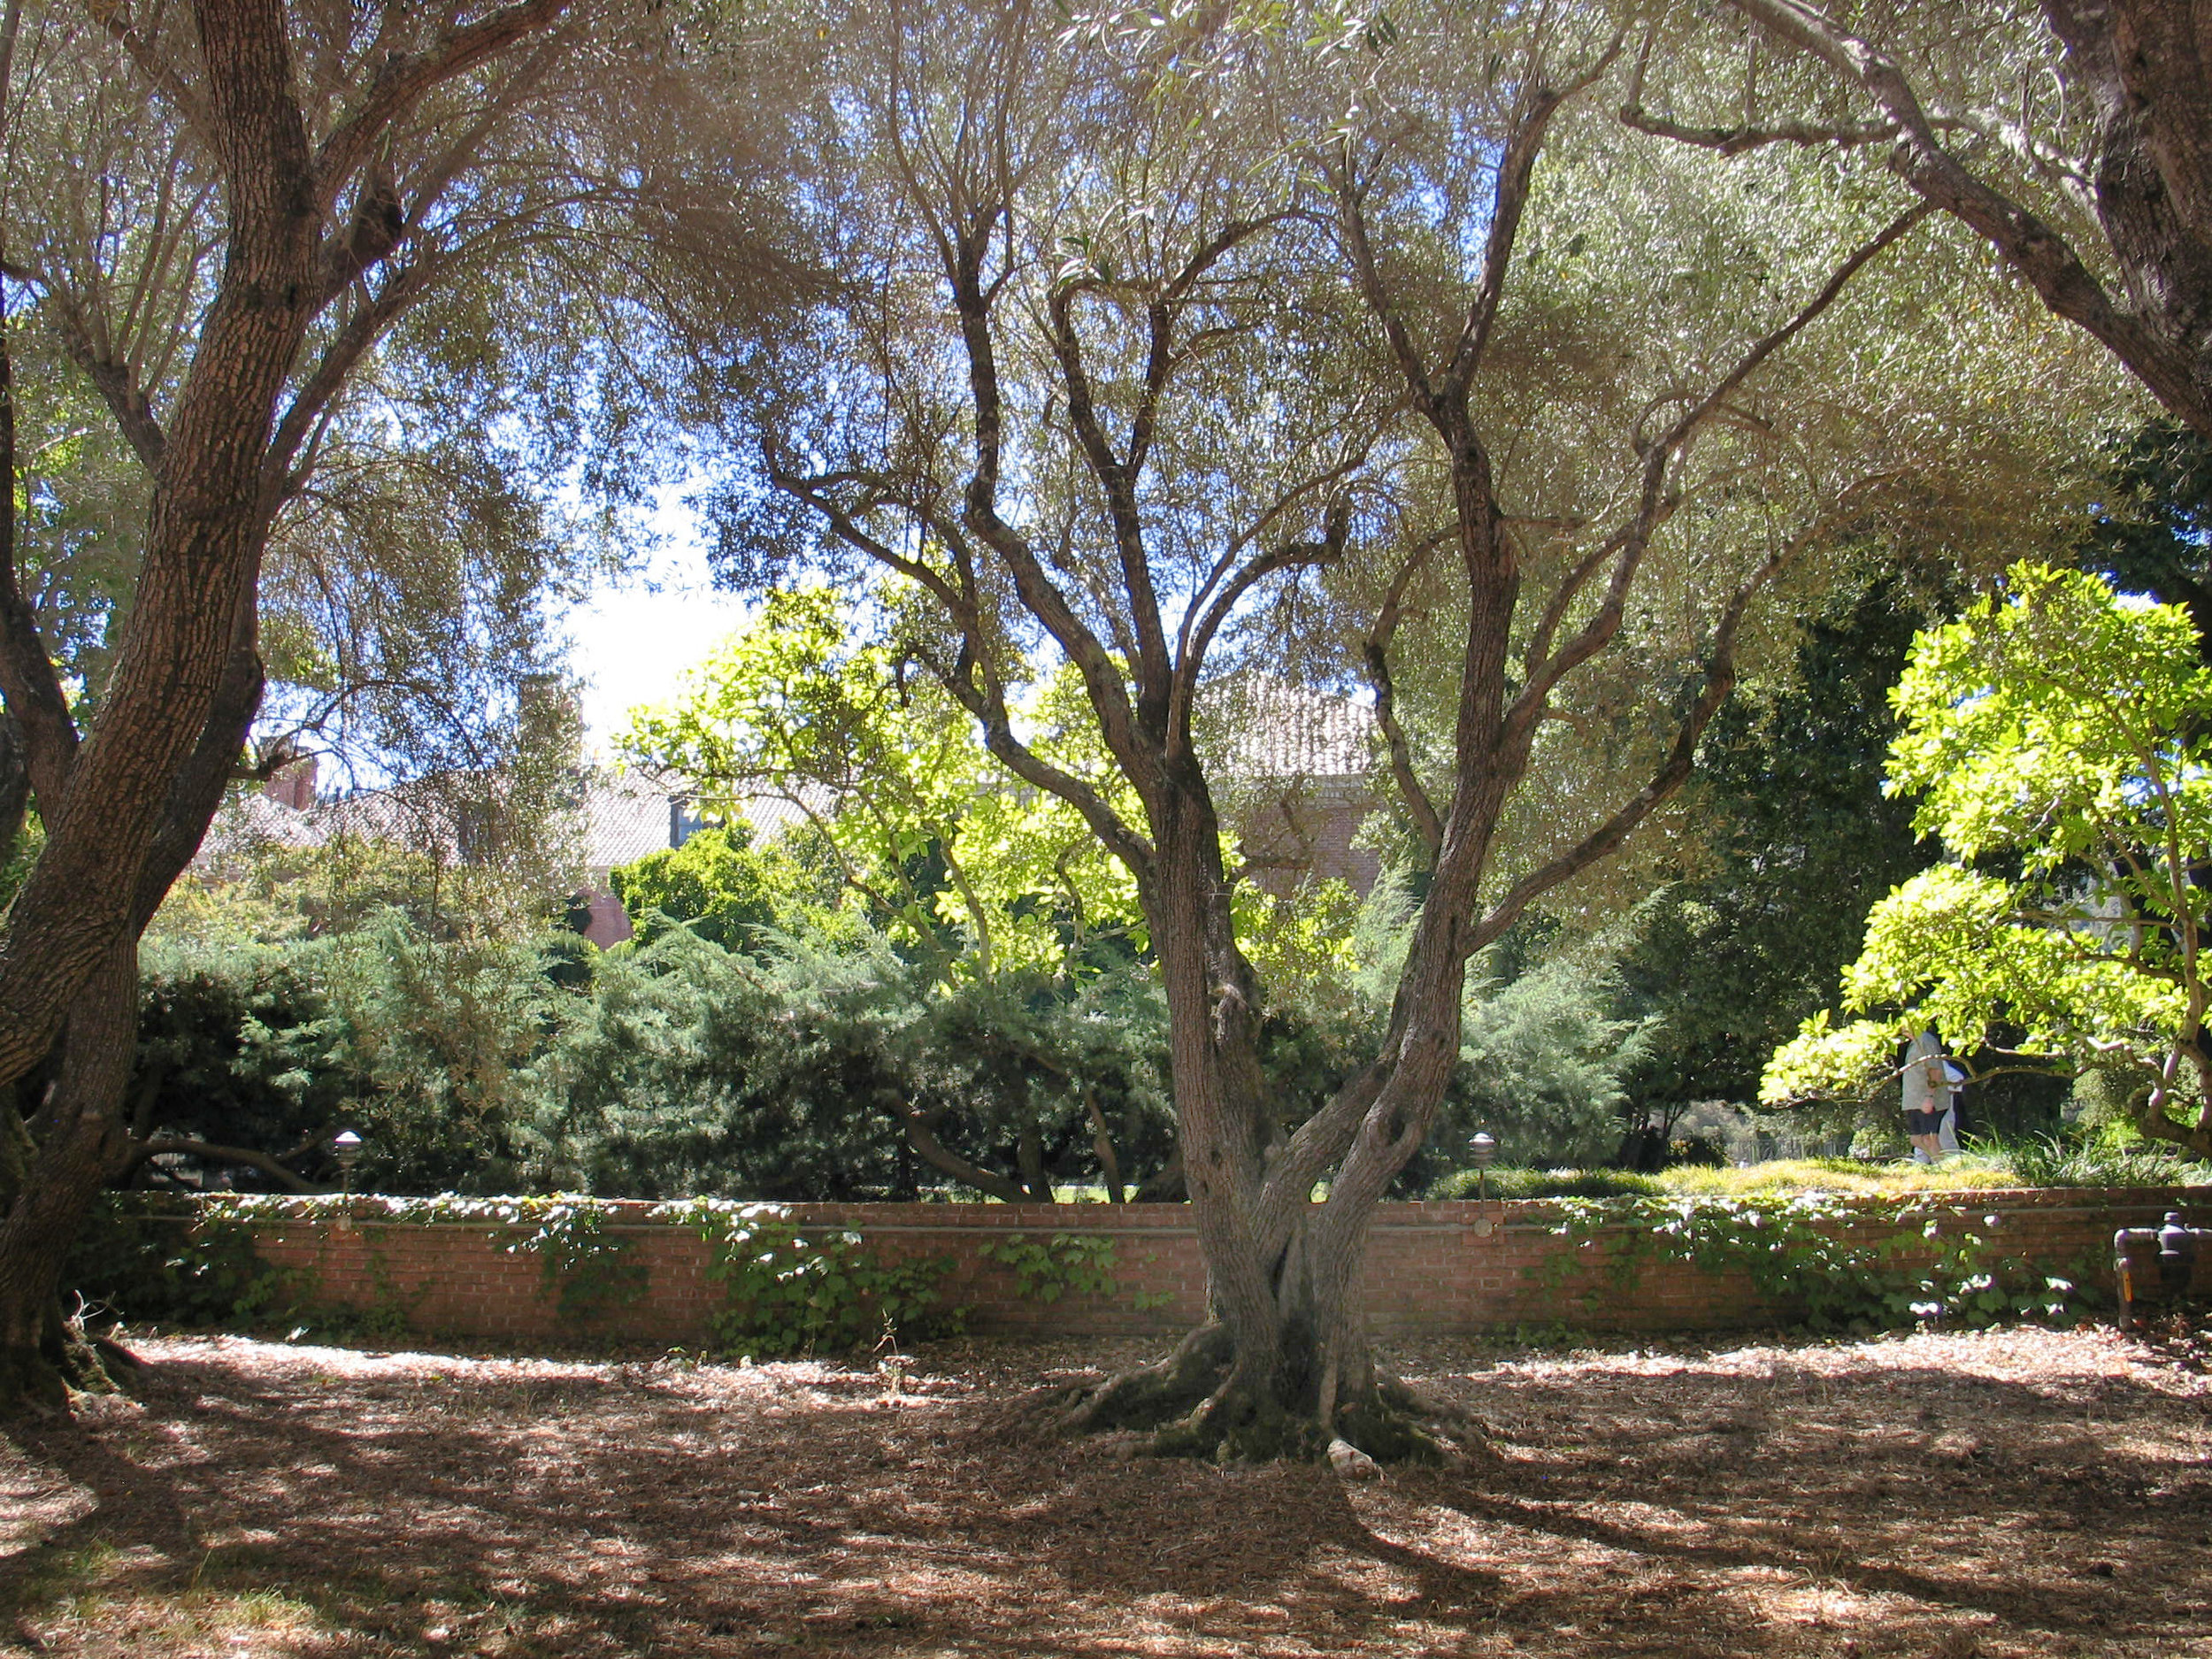
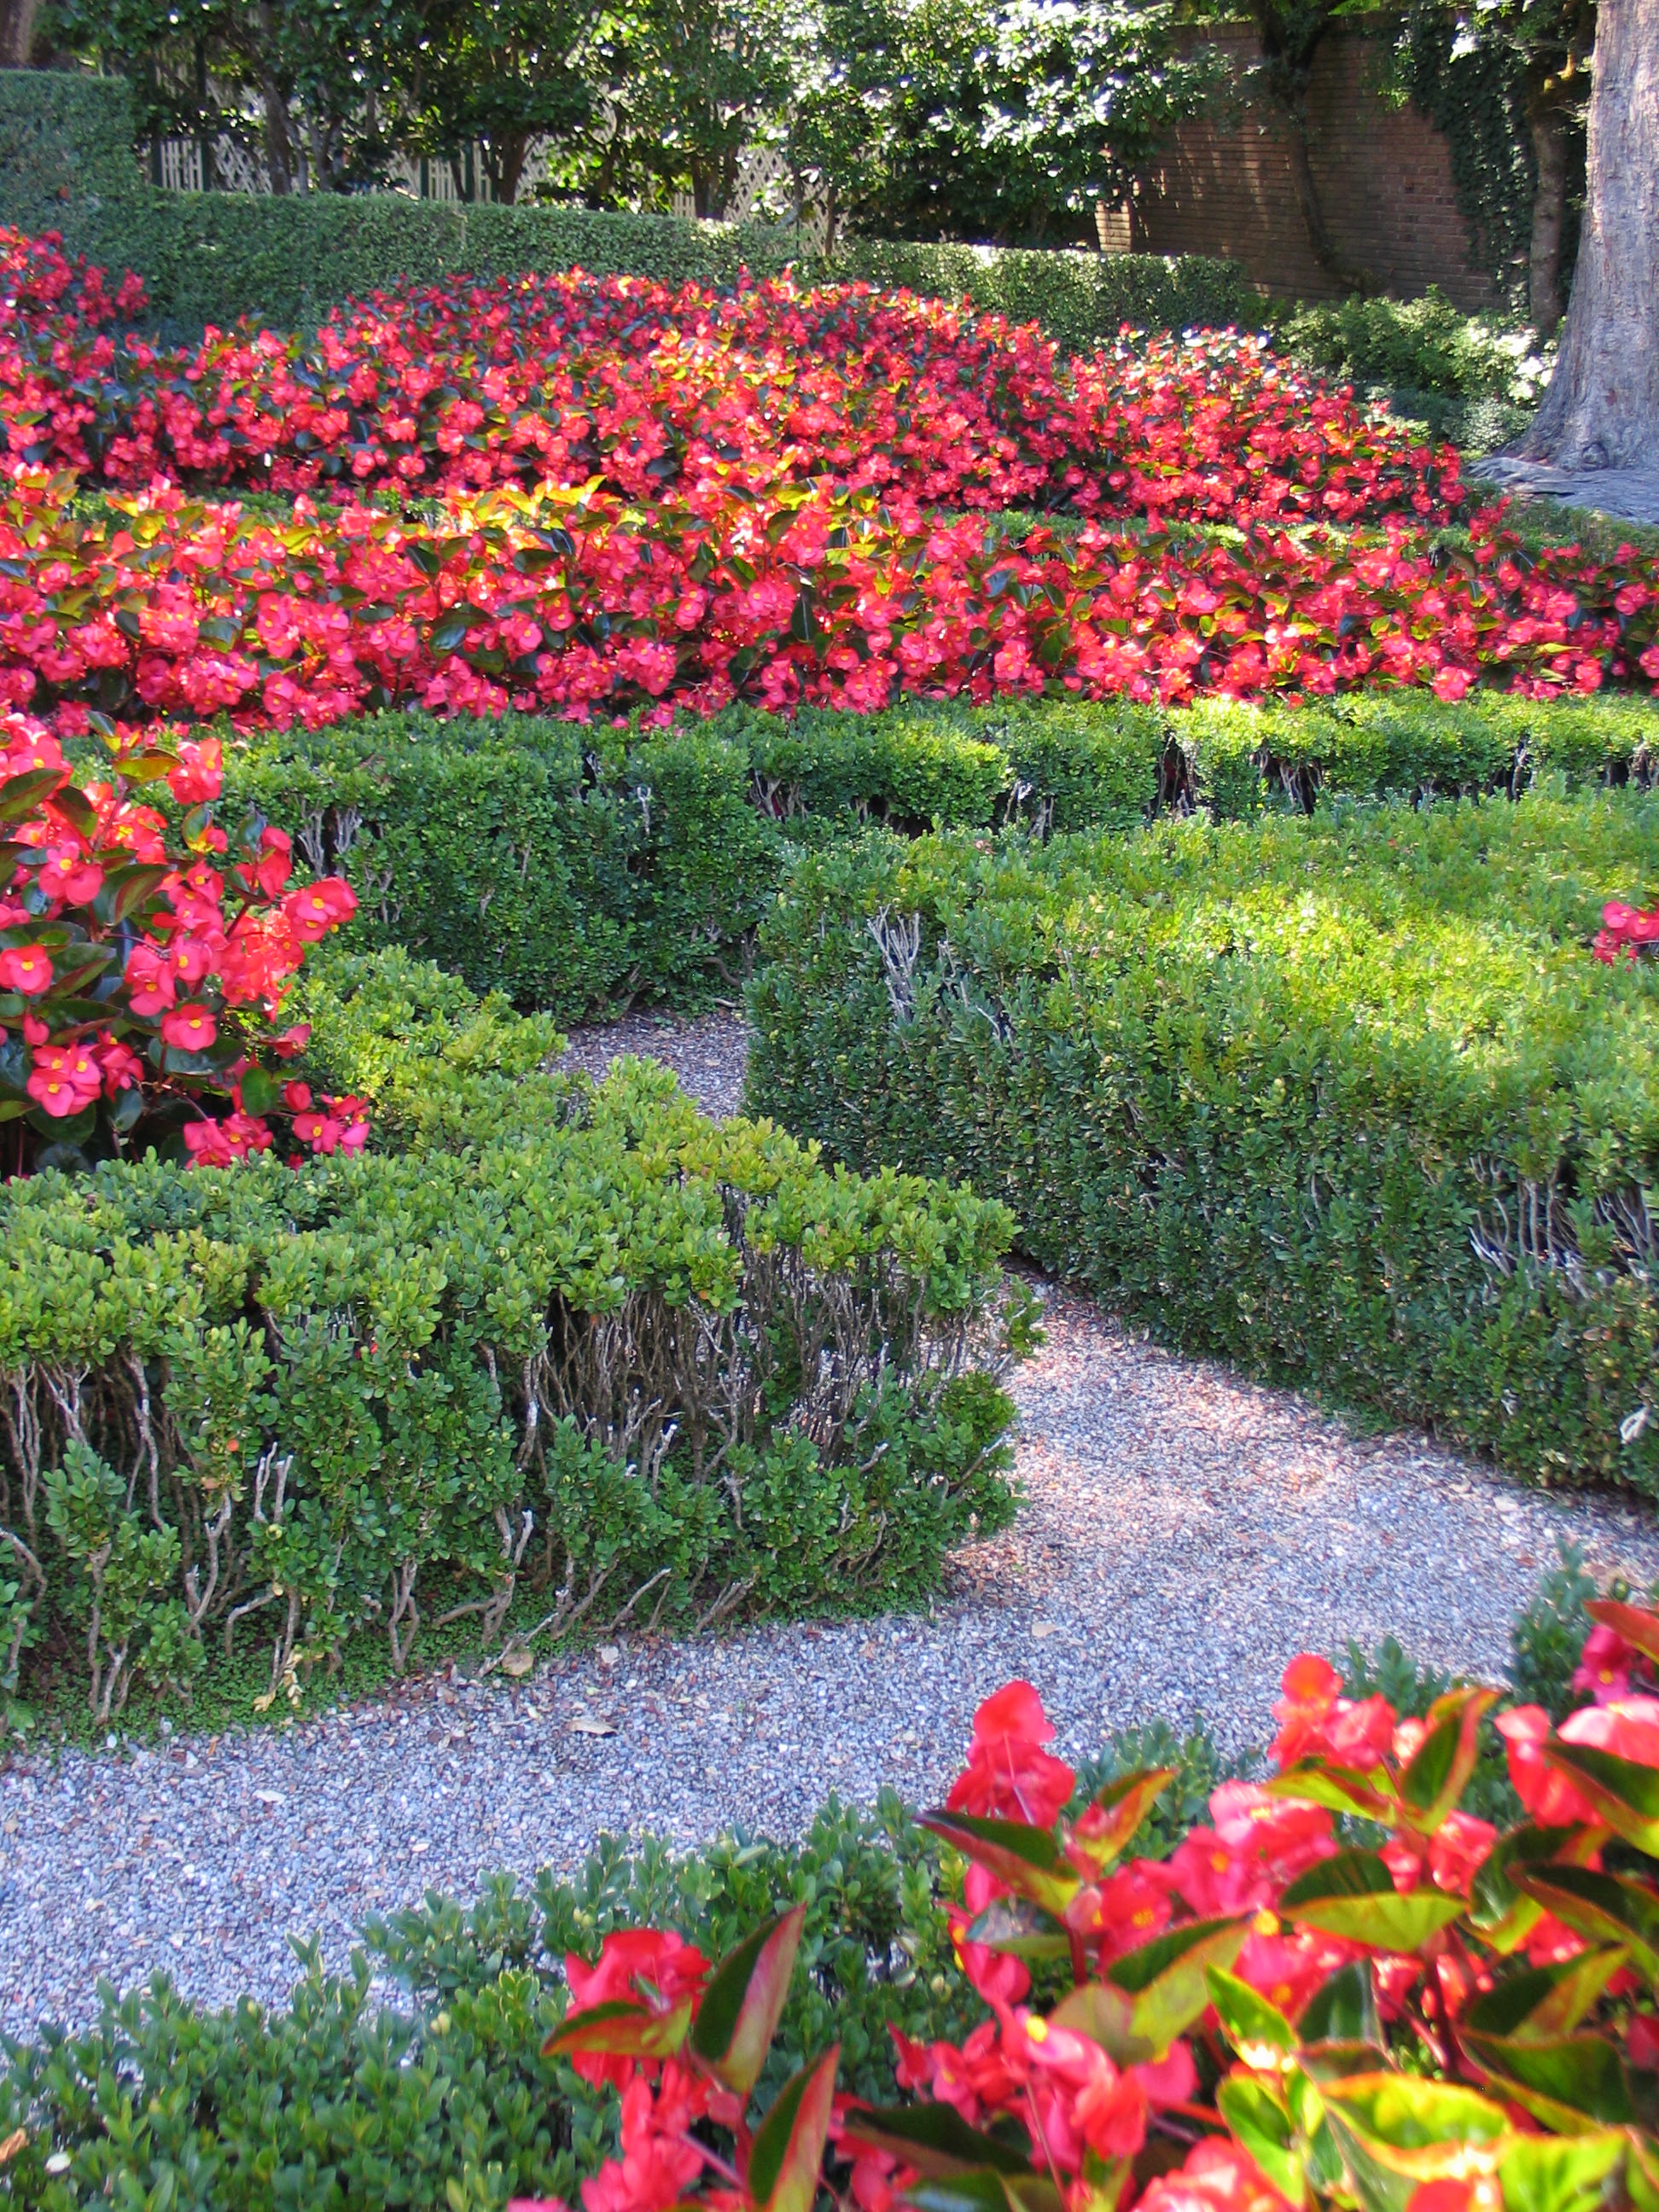
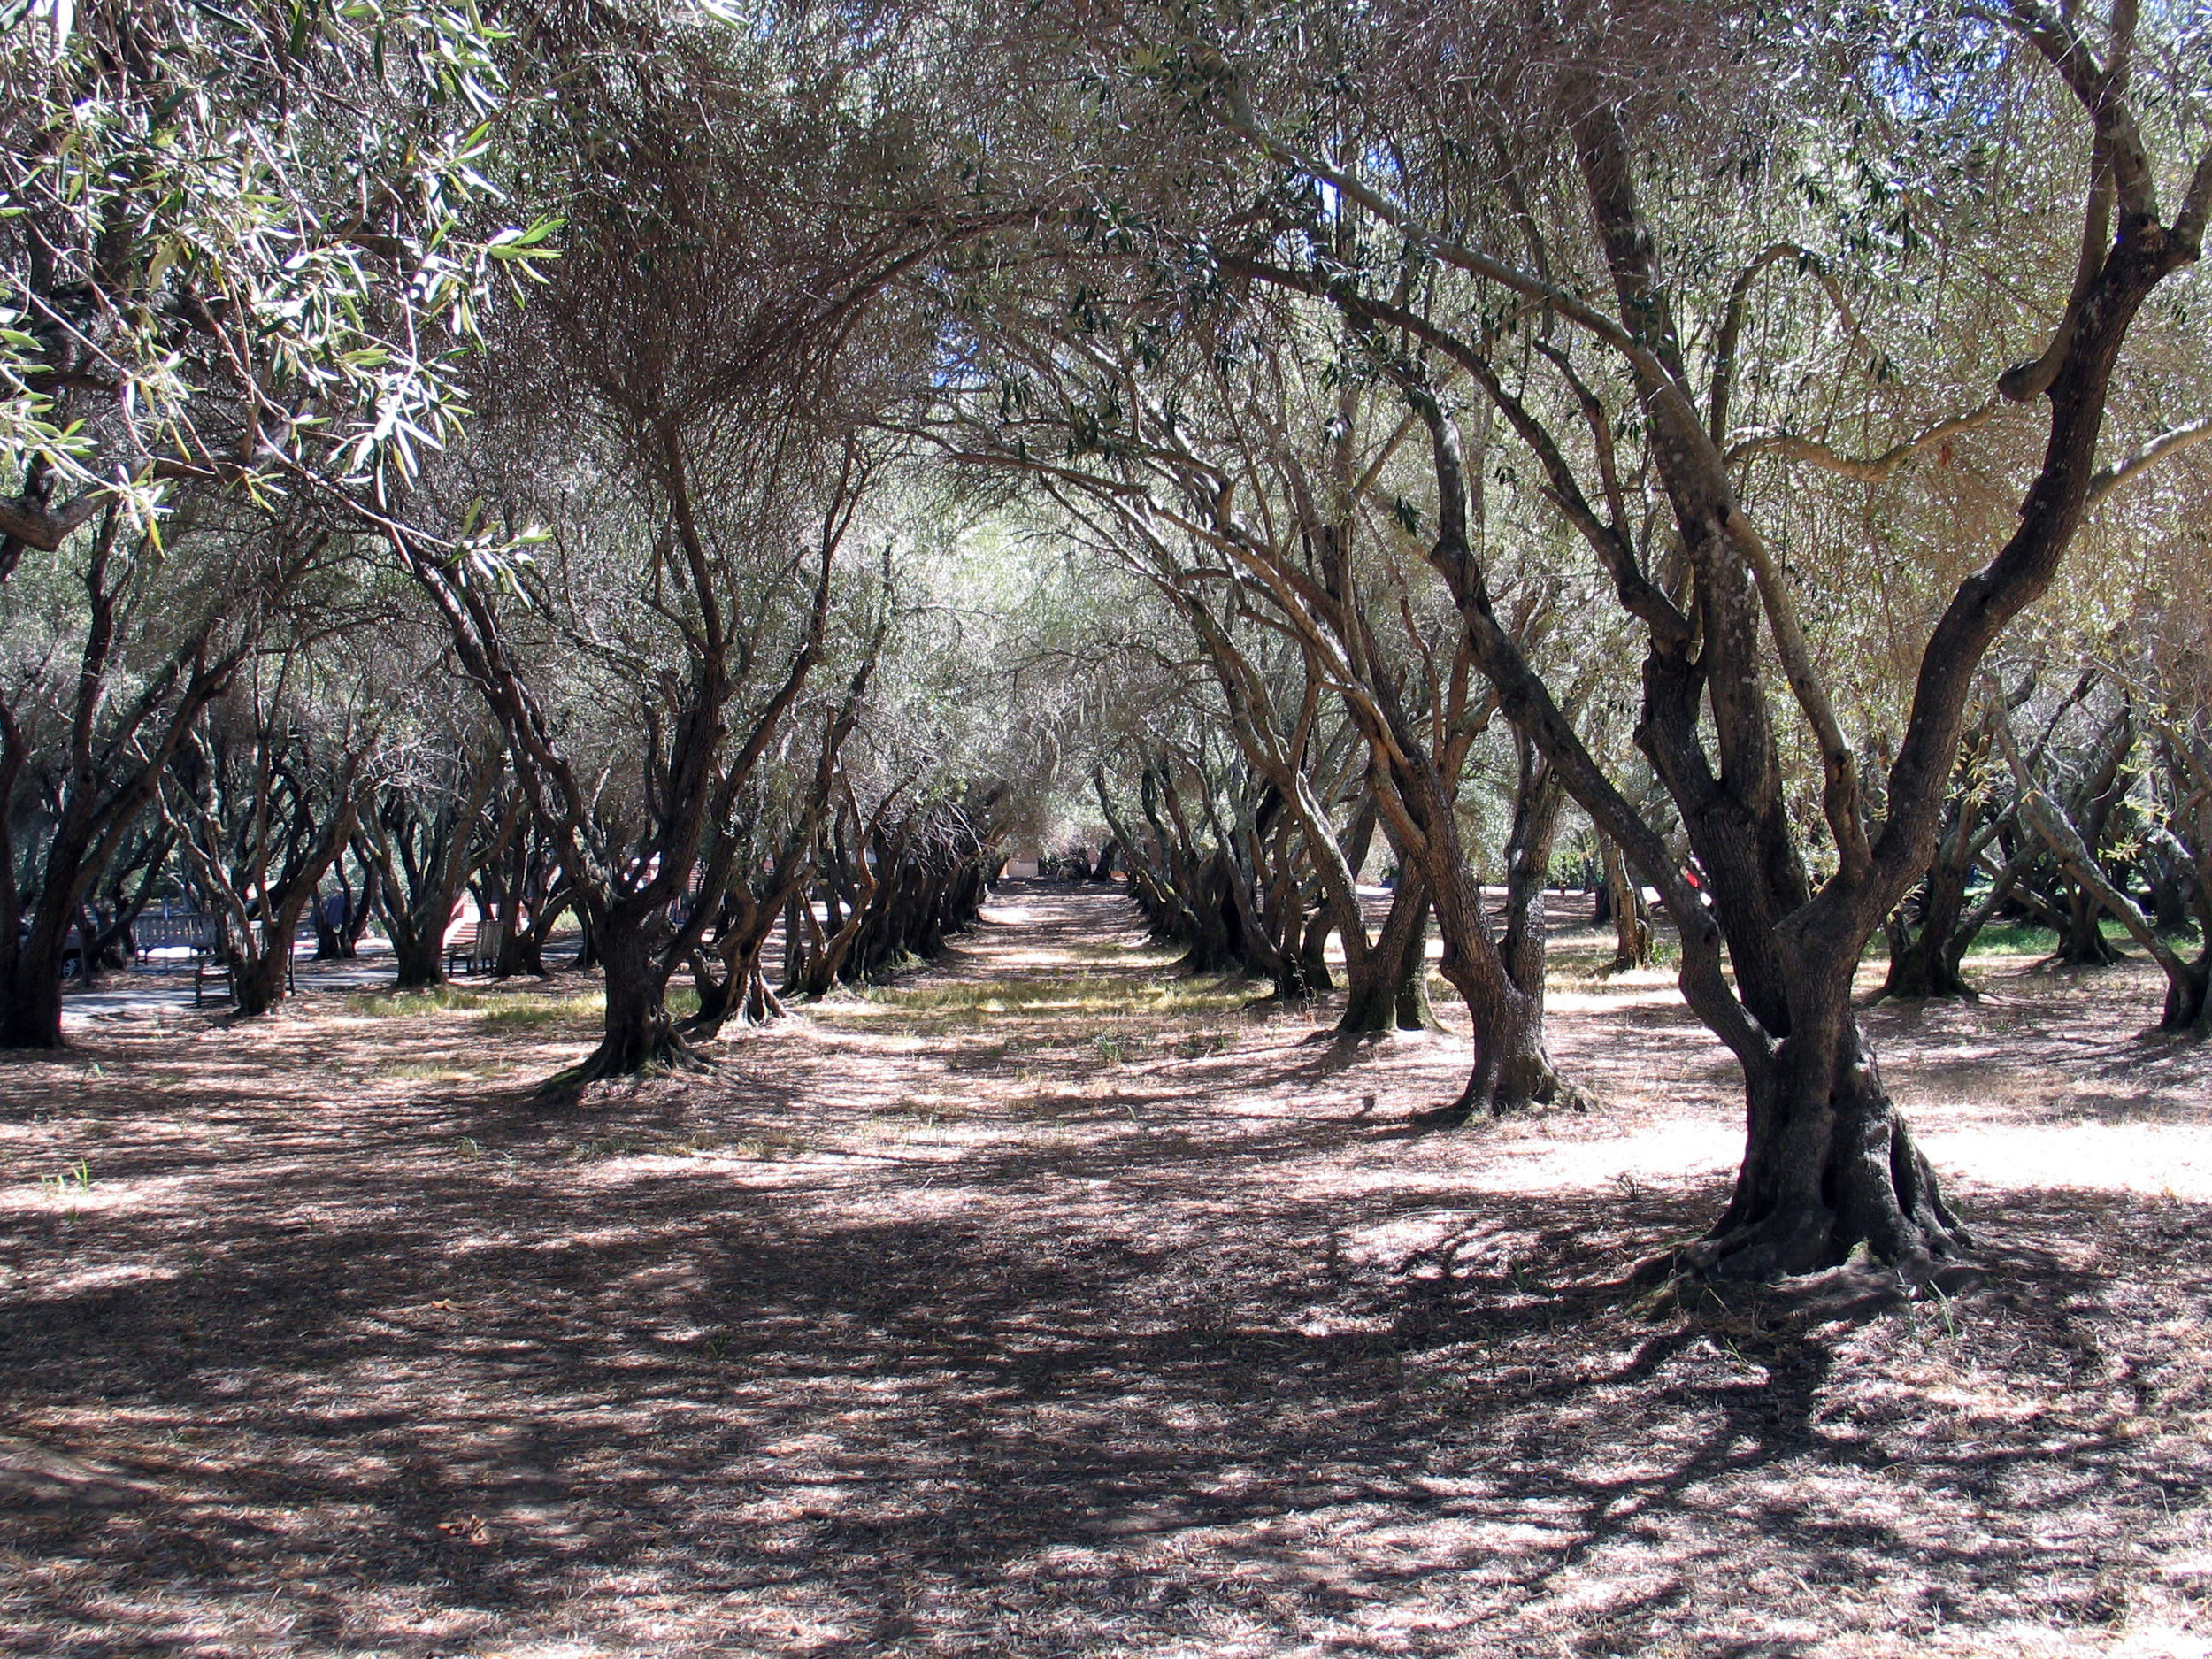 and of course, a trip to Filoli wouldn't be complete without photos in the Olive Grove. Talk about a sense of place!
Oh, Lantana, How You Vex Me!

lantana HQ 043
lantana HQ 044
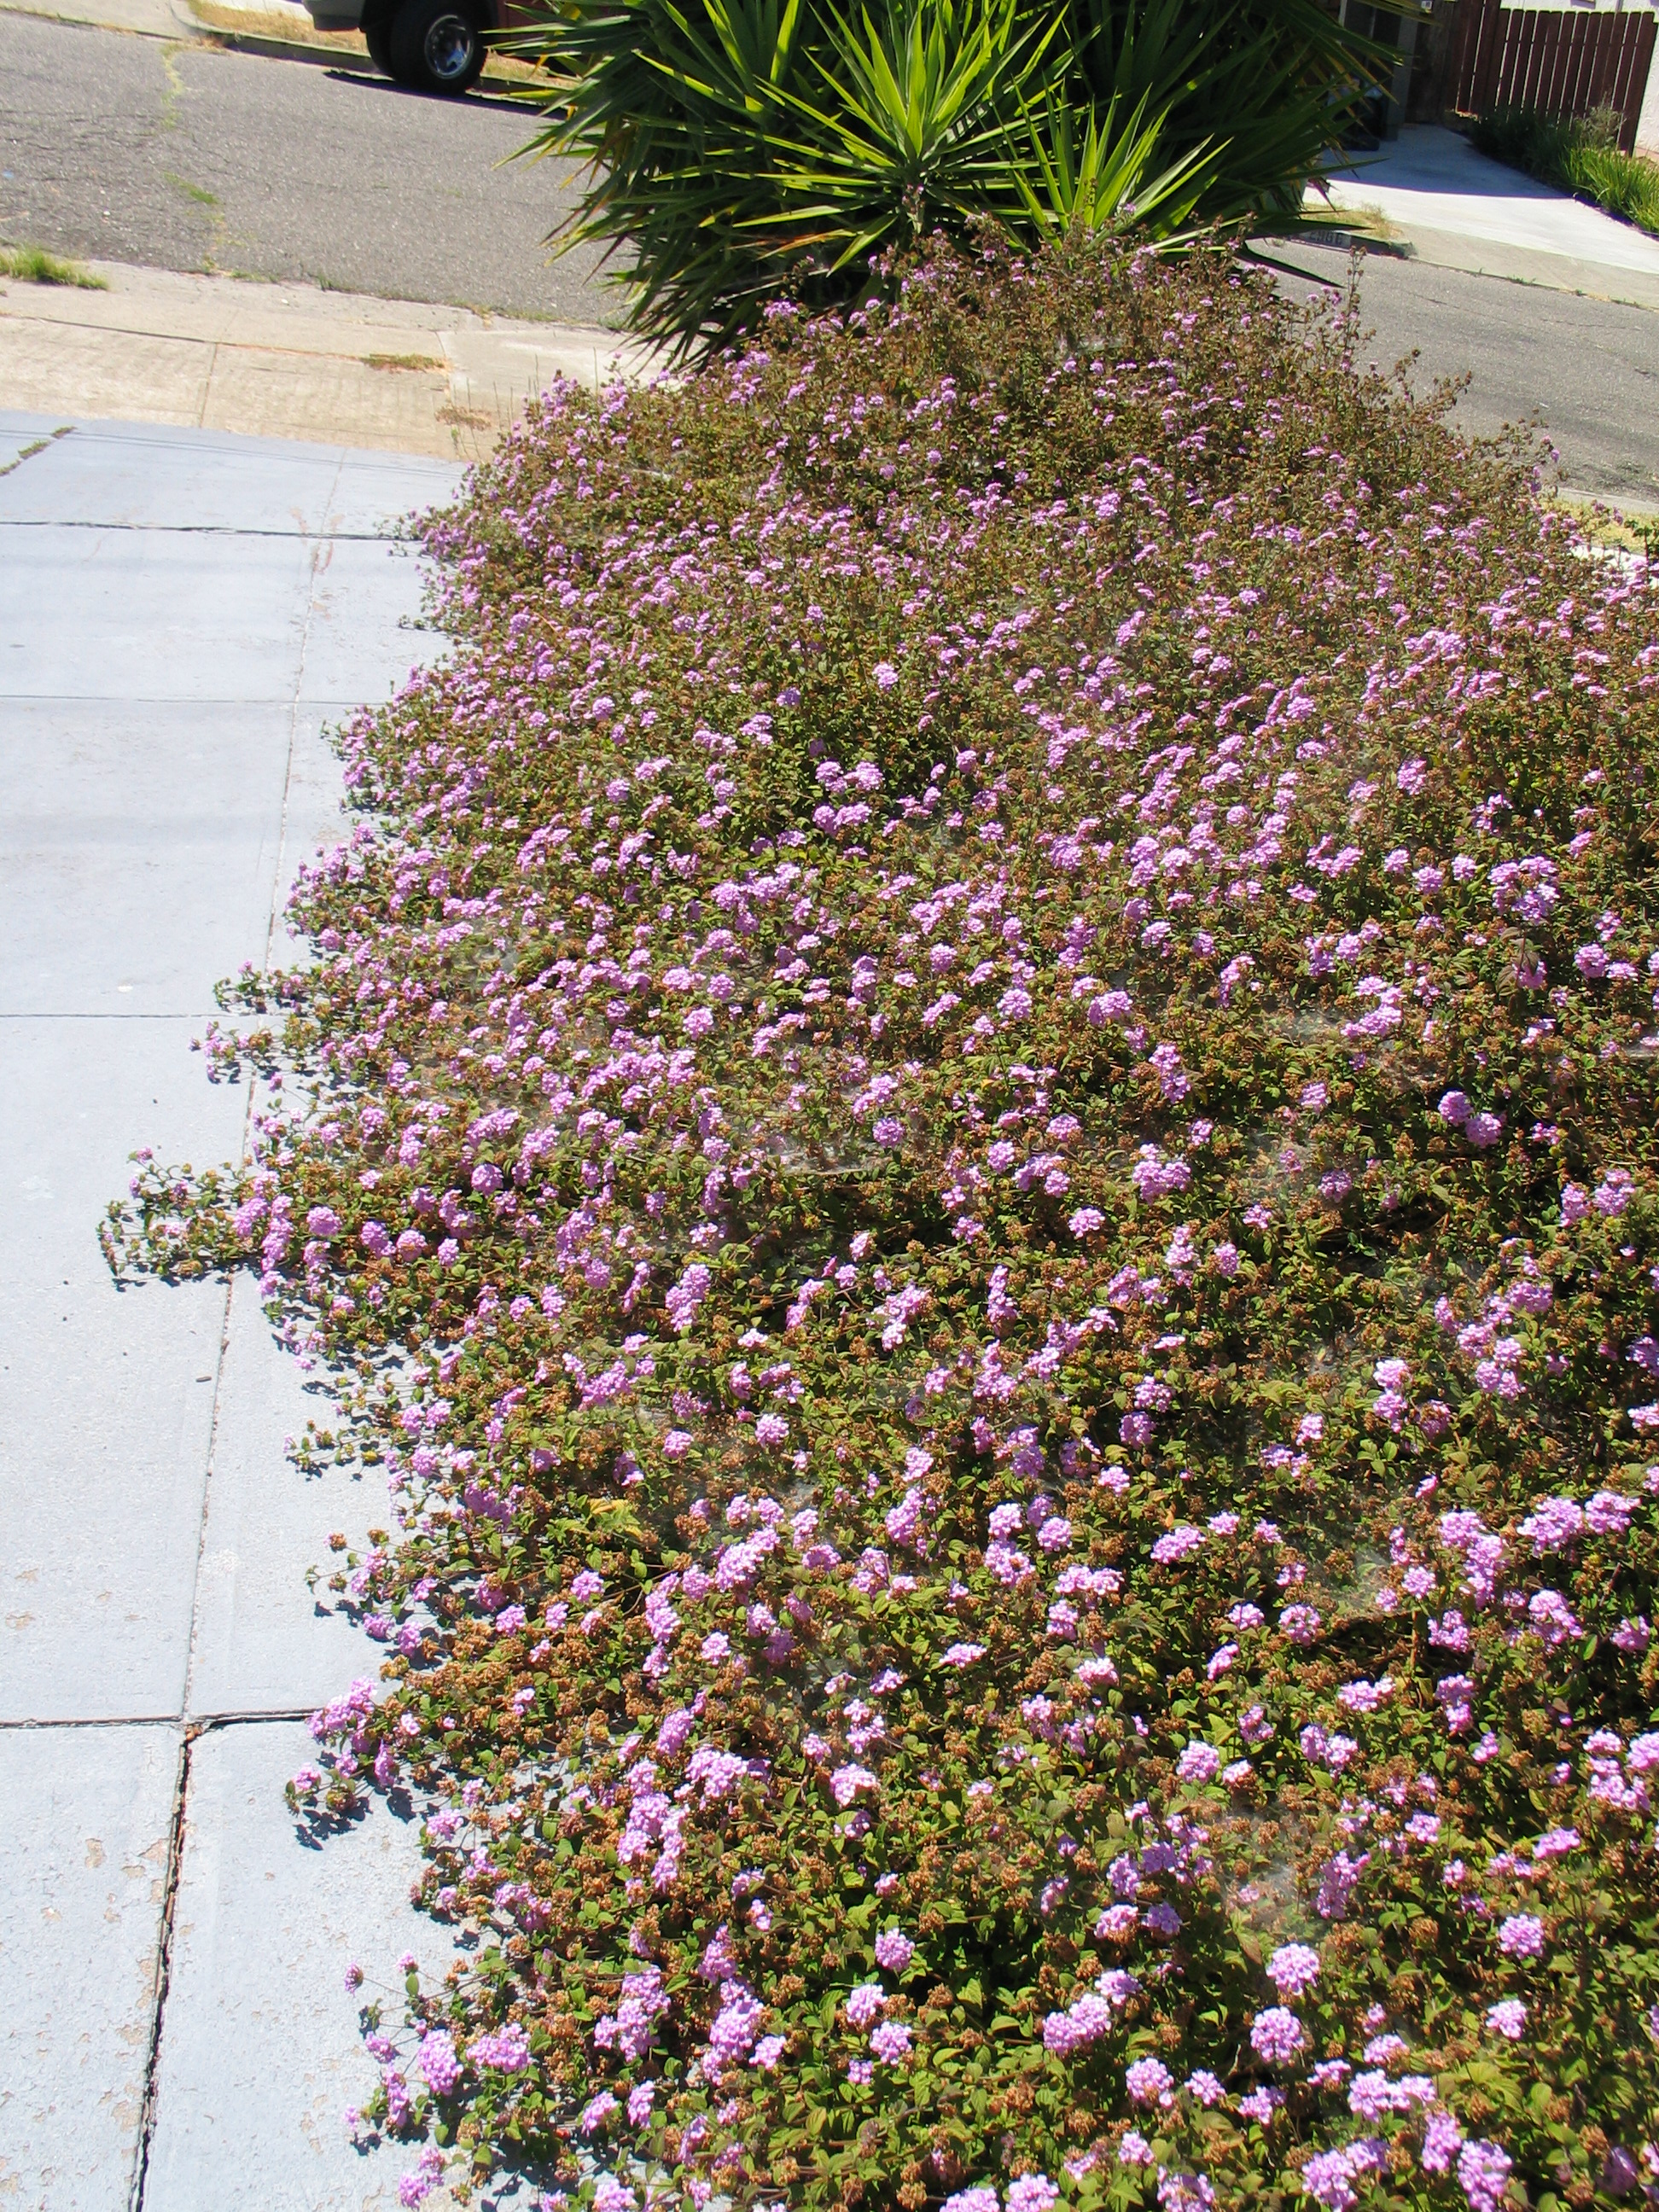
lantana HQ 039
IMG_3647
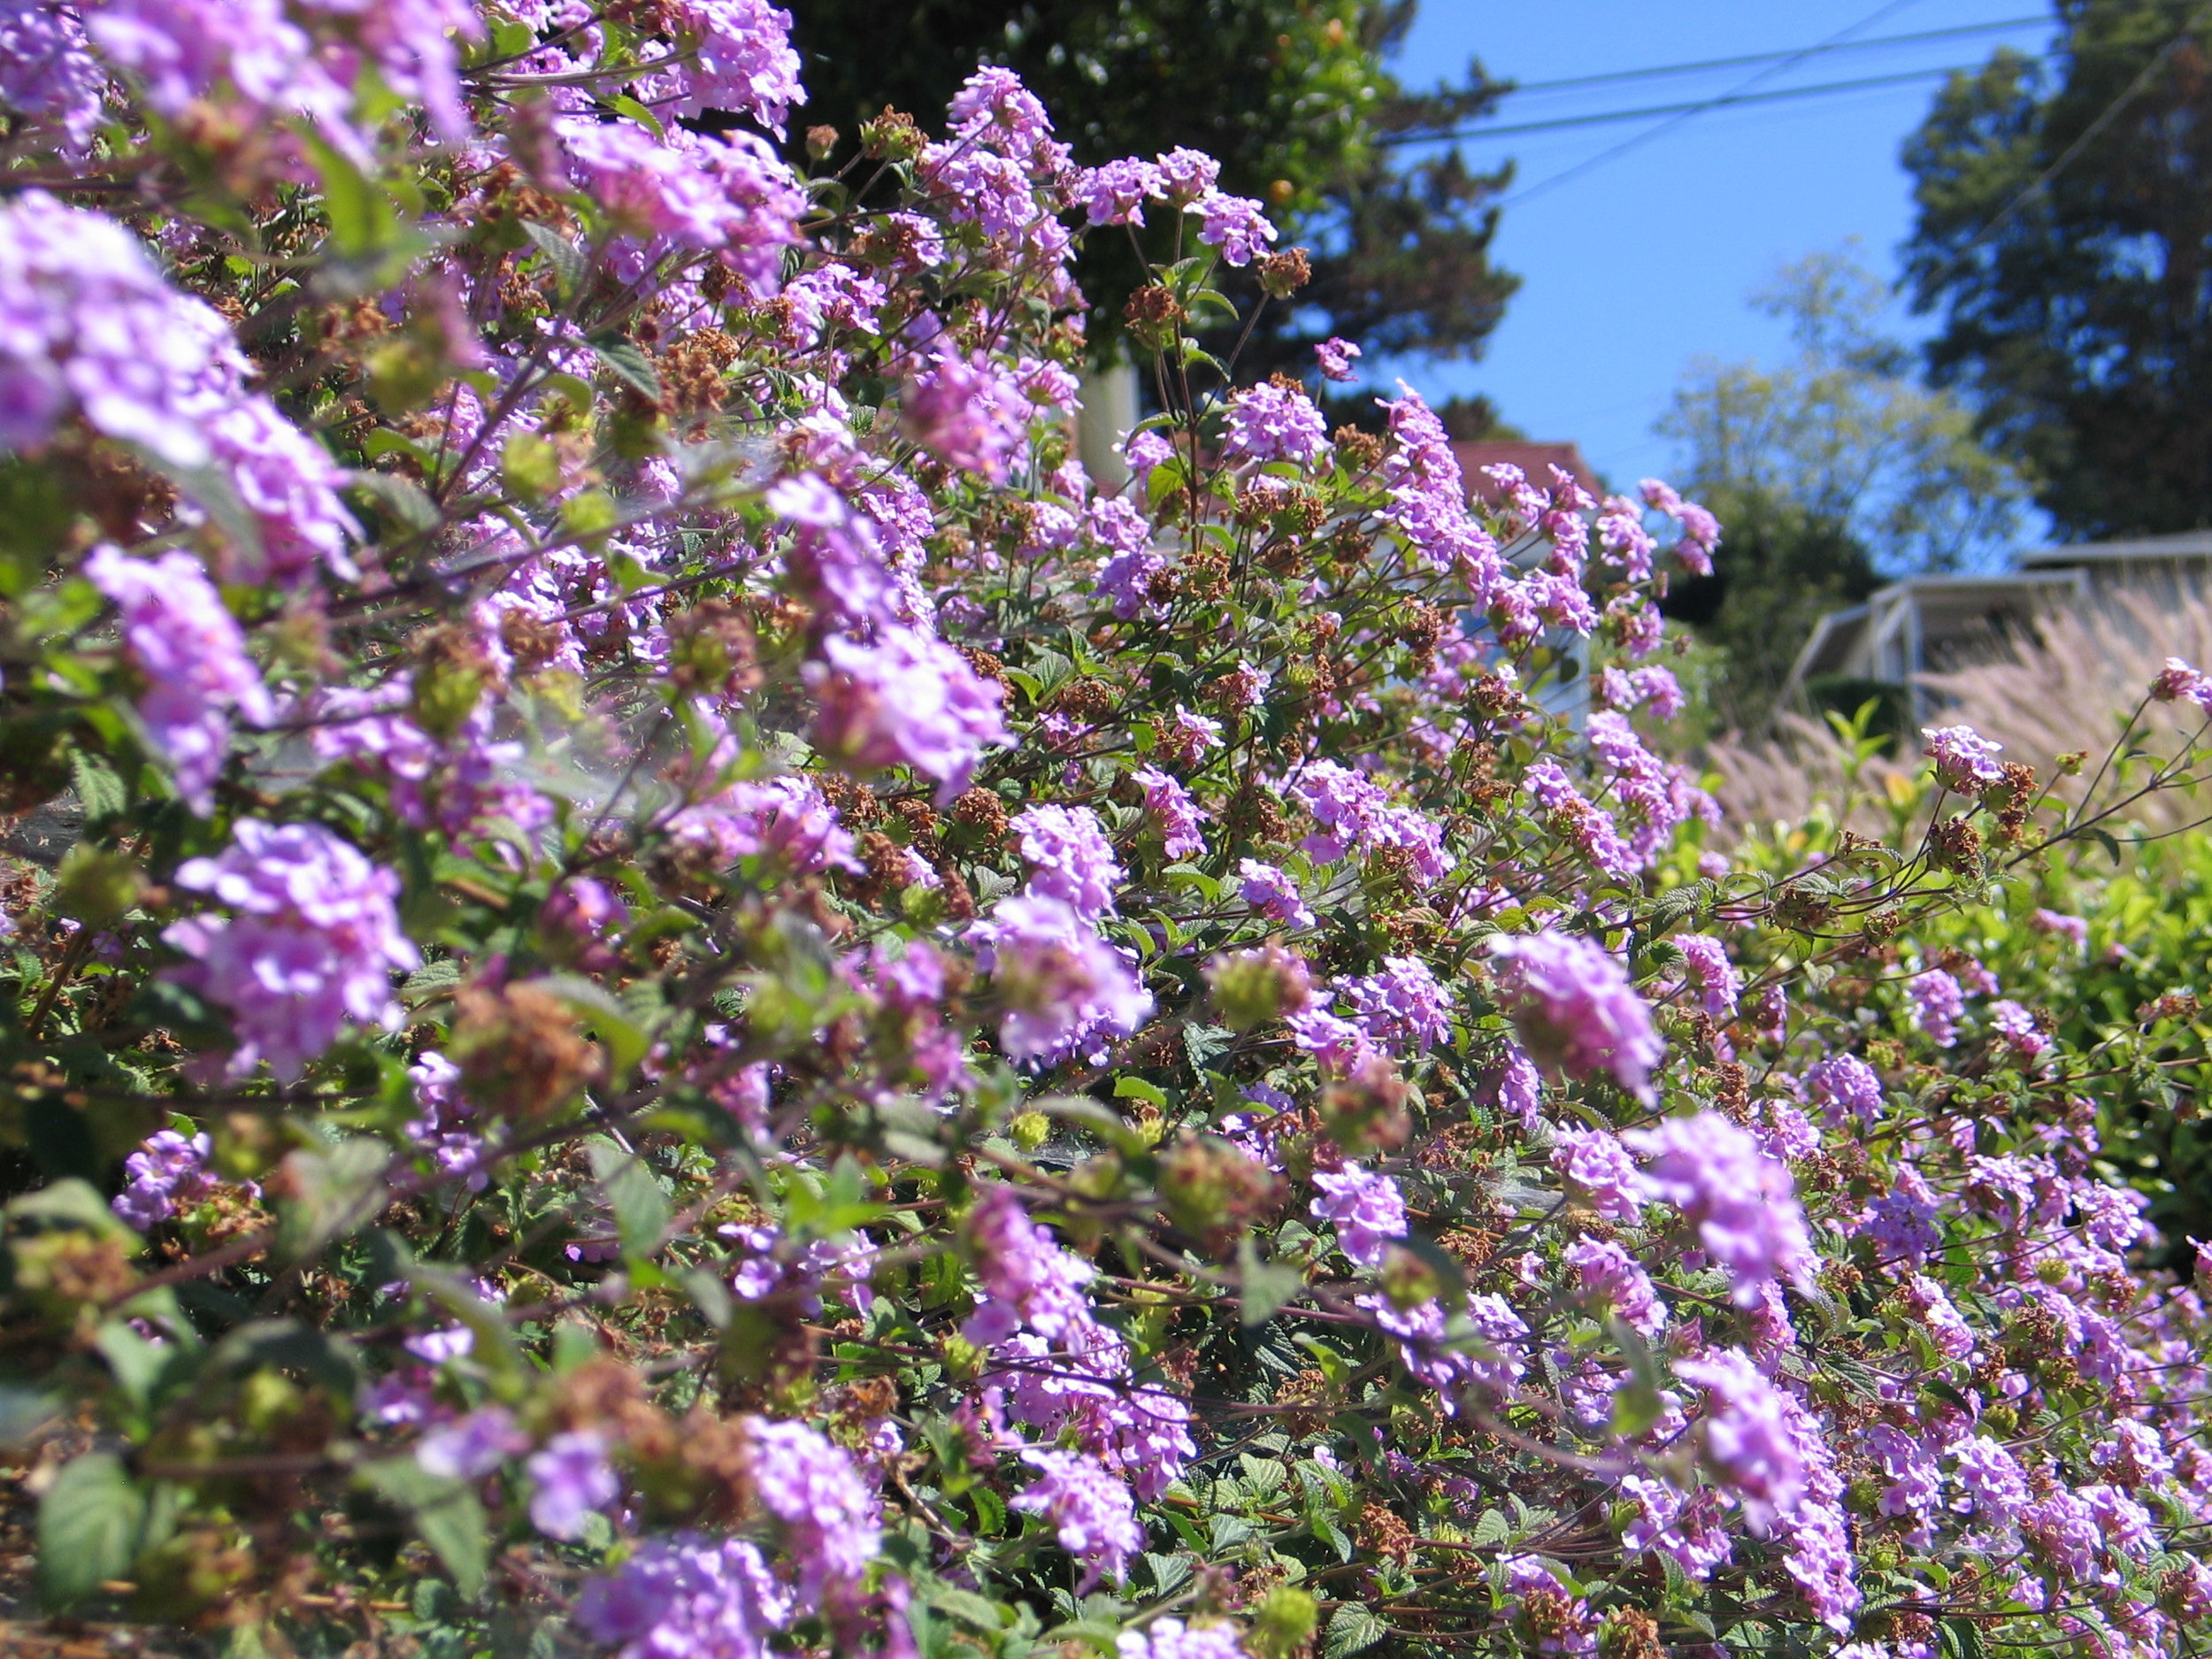
The front of my new place is awash with purple Lantana (Lantana montevidensis). It is lovely stuff if you are both color blind (unless you're into this sort of purple, nothing wrong with that!) and an admirer of wildlife. There are butterflies, bees, spiders, and lizards all over it. It is absolutely marvelous for year-round blooming and needs no supplemental water once established (at least not here, I turned the irrigation off last fall).The flowers are the pepto bismol of purples - not my favorite, though maybe someday I will find a companion plant with a color that mitigates the pepto purple hue. Meh, maybe not. A dear friend of mine said that the overwhelming amount of purple Lantana in my garden made my place look like a retirement home.As much as I'd like to be able to retire (I'd still spend my time designing gardens - I love it that much), I am not ready to live in a dadgum retirement home! Talk about death by association; I can't look at it anymore without thinking about retirement homes. As if that wasn't bad enough, my lovely boyfriend thinks the foliage smells like poo (the flowers smell nice at night). Charming: a poo scented retirement home.Here's my vexation: as much as I intend to remove the Lantana and put in other stuff, it is happy, healthy, requires no water, and supports oodles of critters. So for now it stays.... providing food and shelter for all those bugs and lizards, but lookout, Lantana! You're living on borrowed time. Wanna know what I think might fill the space above? I'm considering a collection of spineless Opuntia that my friend Melinda sent me from Texas along with a few I've collected on my own here. The ones from Texas are rooting in the shed right now - cross your fingers that they all take!So there's my dilemma - removing the Lantana removes habitat, but goodness gracious, there's so danged much of it, I don't really like it, and the new design/plants aren't ready yet. Patience....
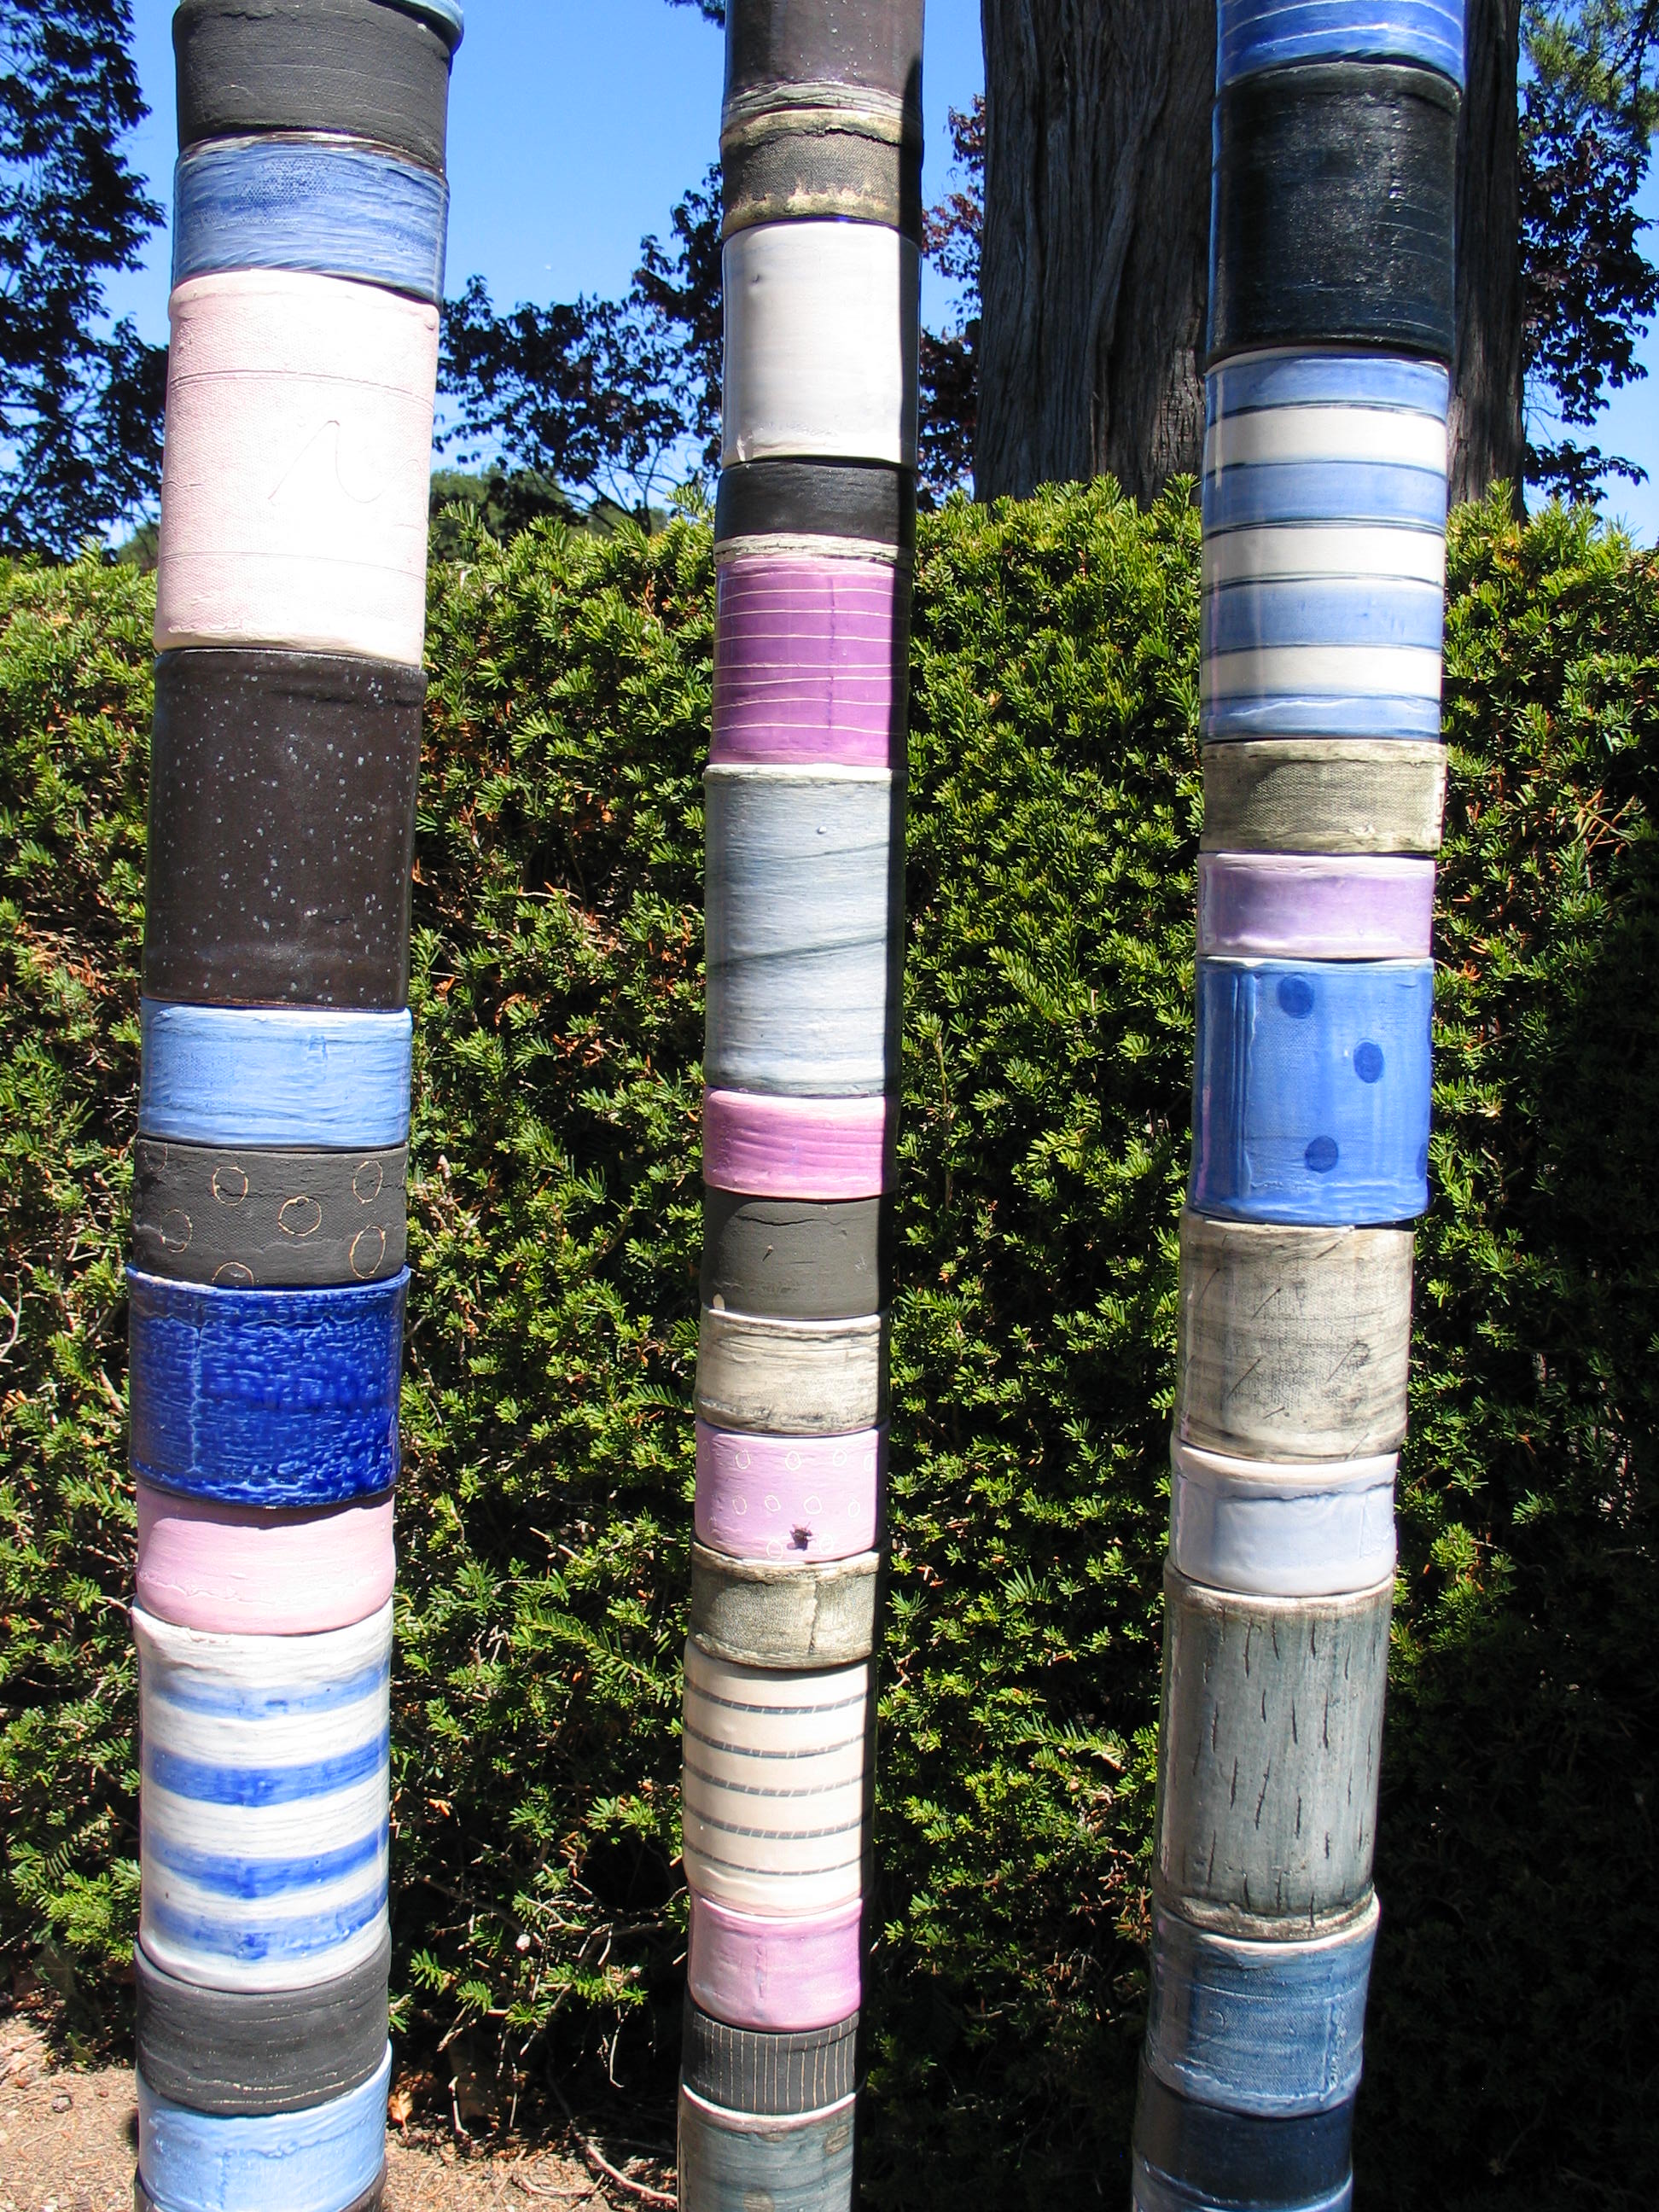
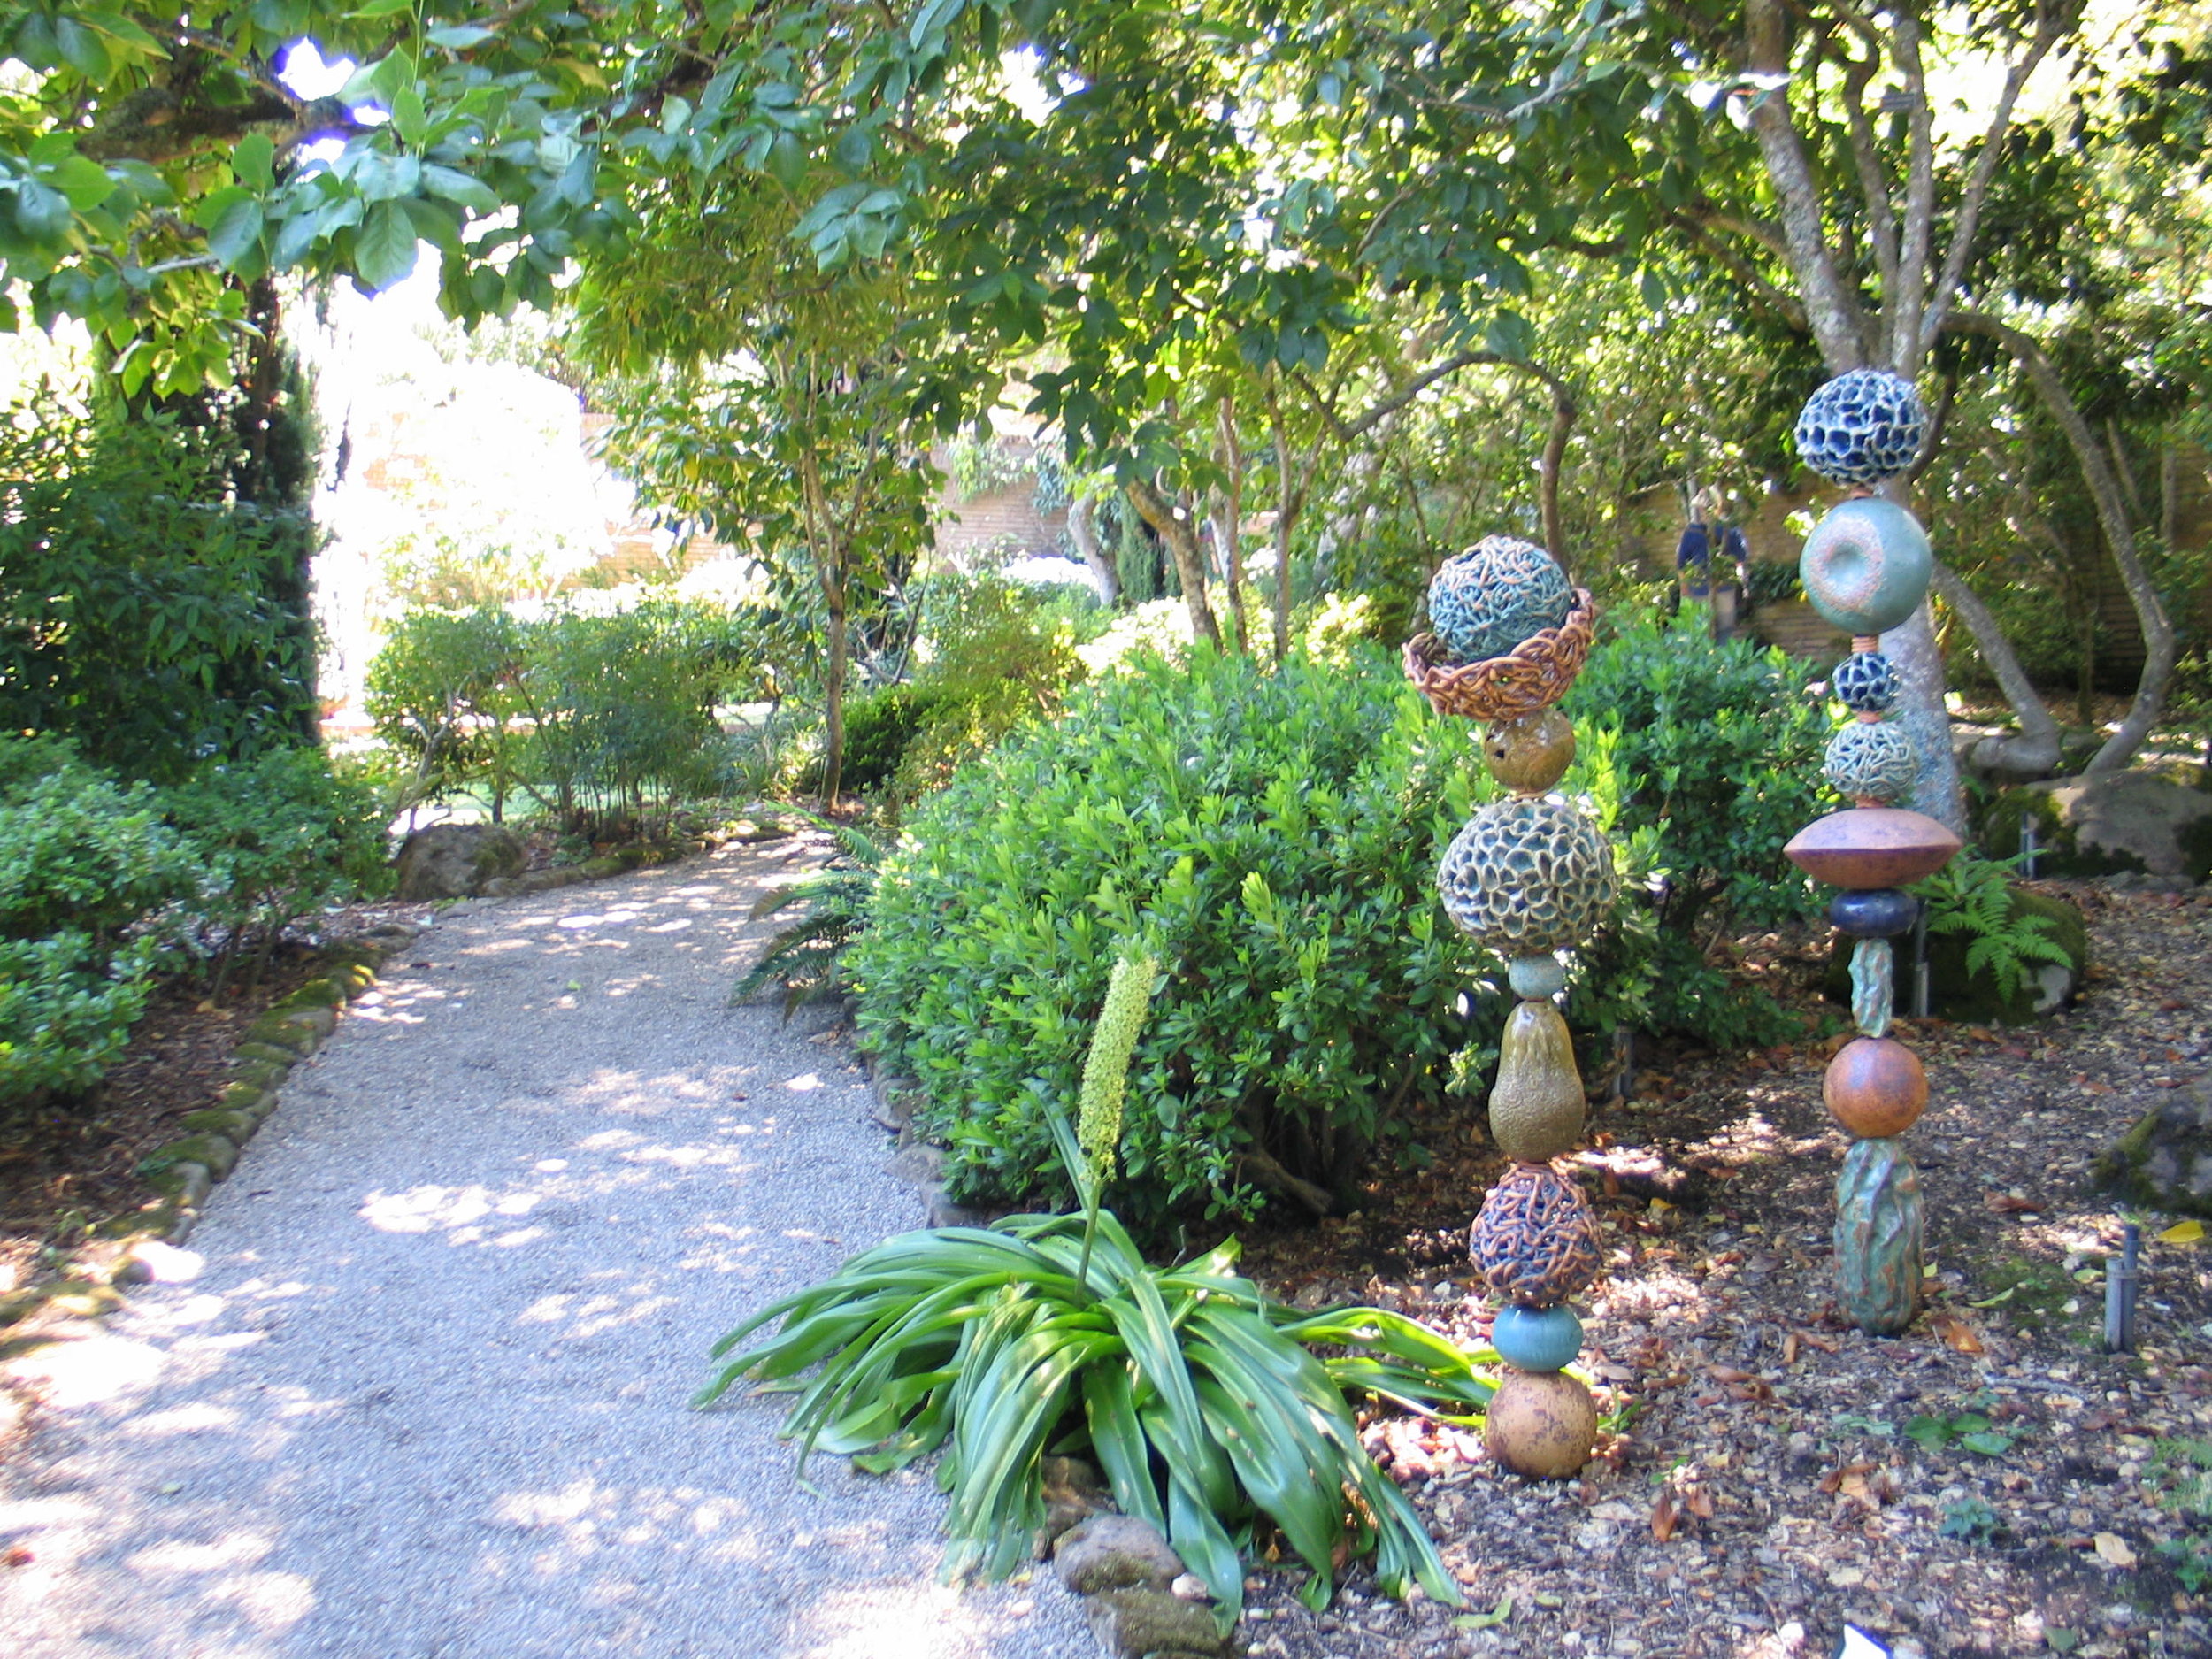
Montalvo Arts Center - update
a 140830 036
re-visiting Montalvo Arts Center
Read moreMontalvo Arts Center
Montalvo 5
Montalvo 6
Montalvo 26
Montalvo 33

Montalvo 30
Montalvo 38
Montalvo 15
Montalvo 58
Montalvo 93
Montalvo 109
Montalvo 98
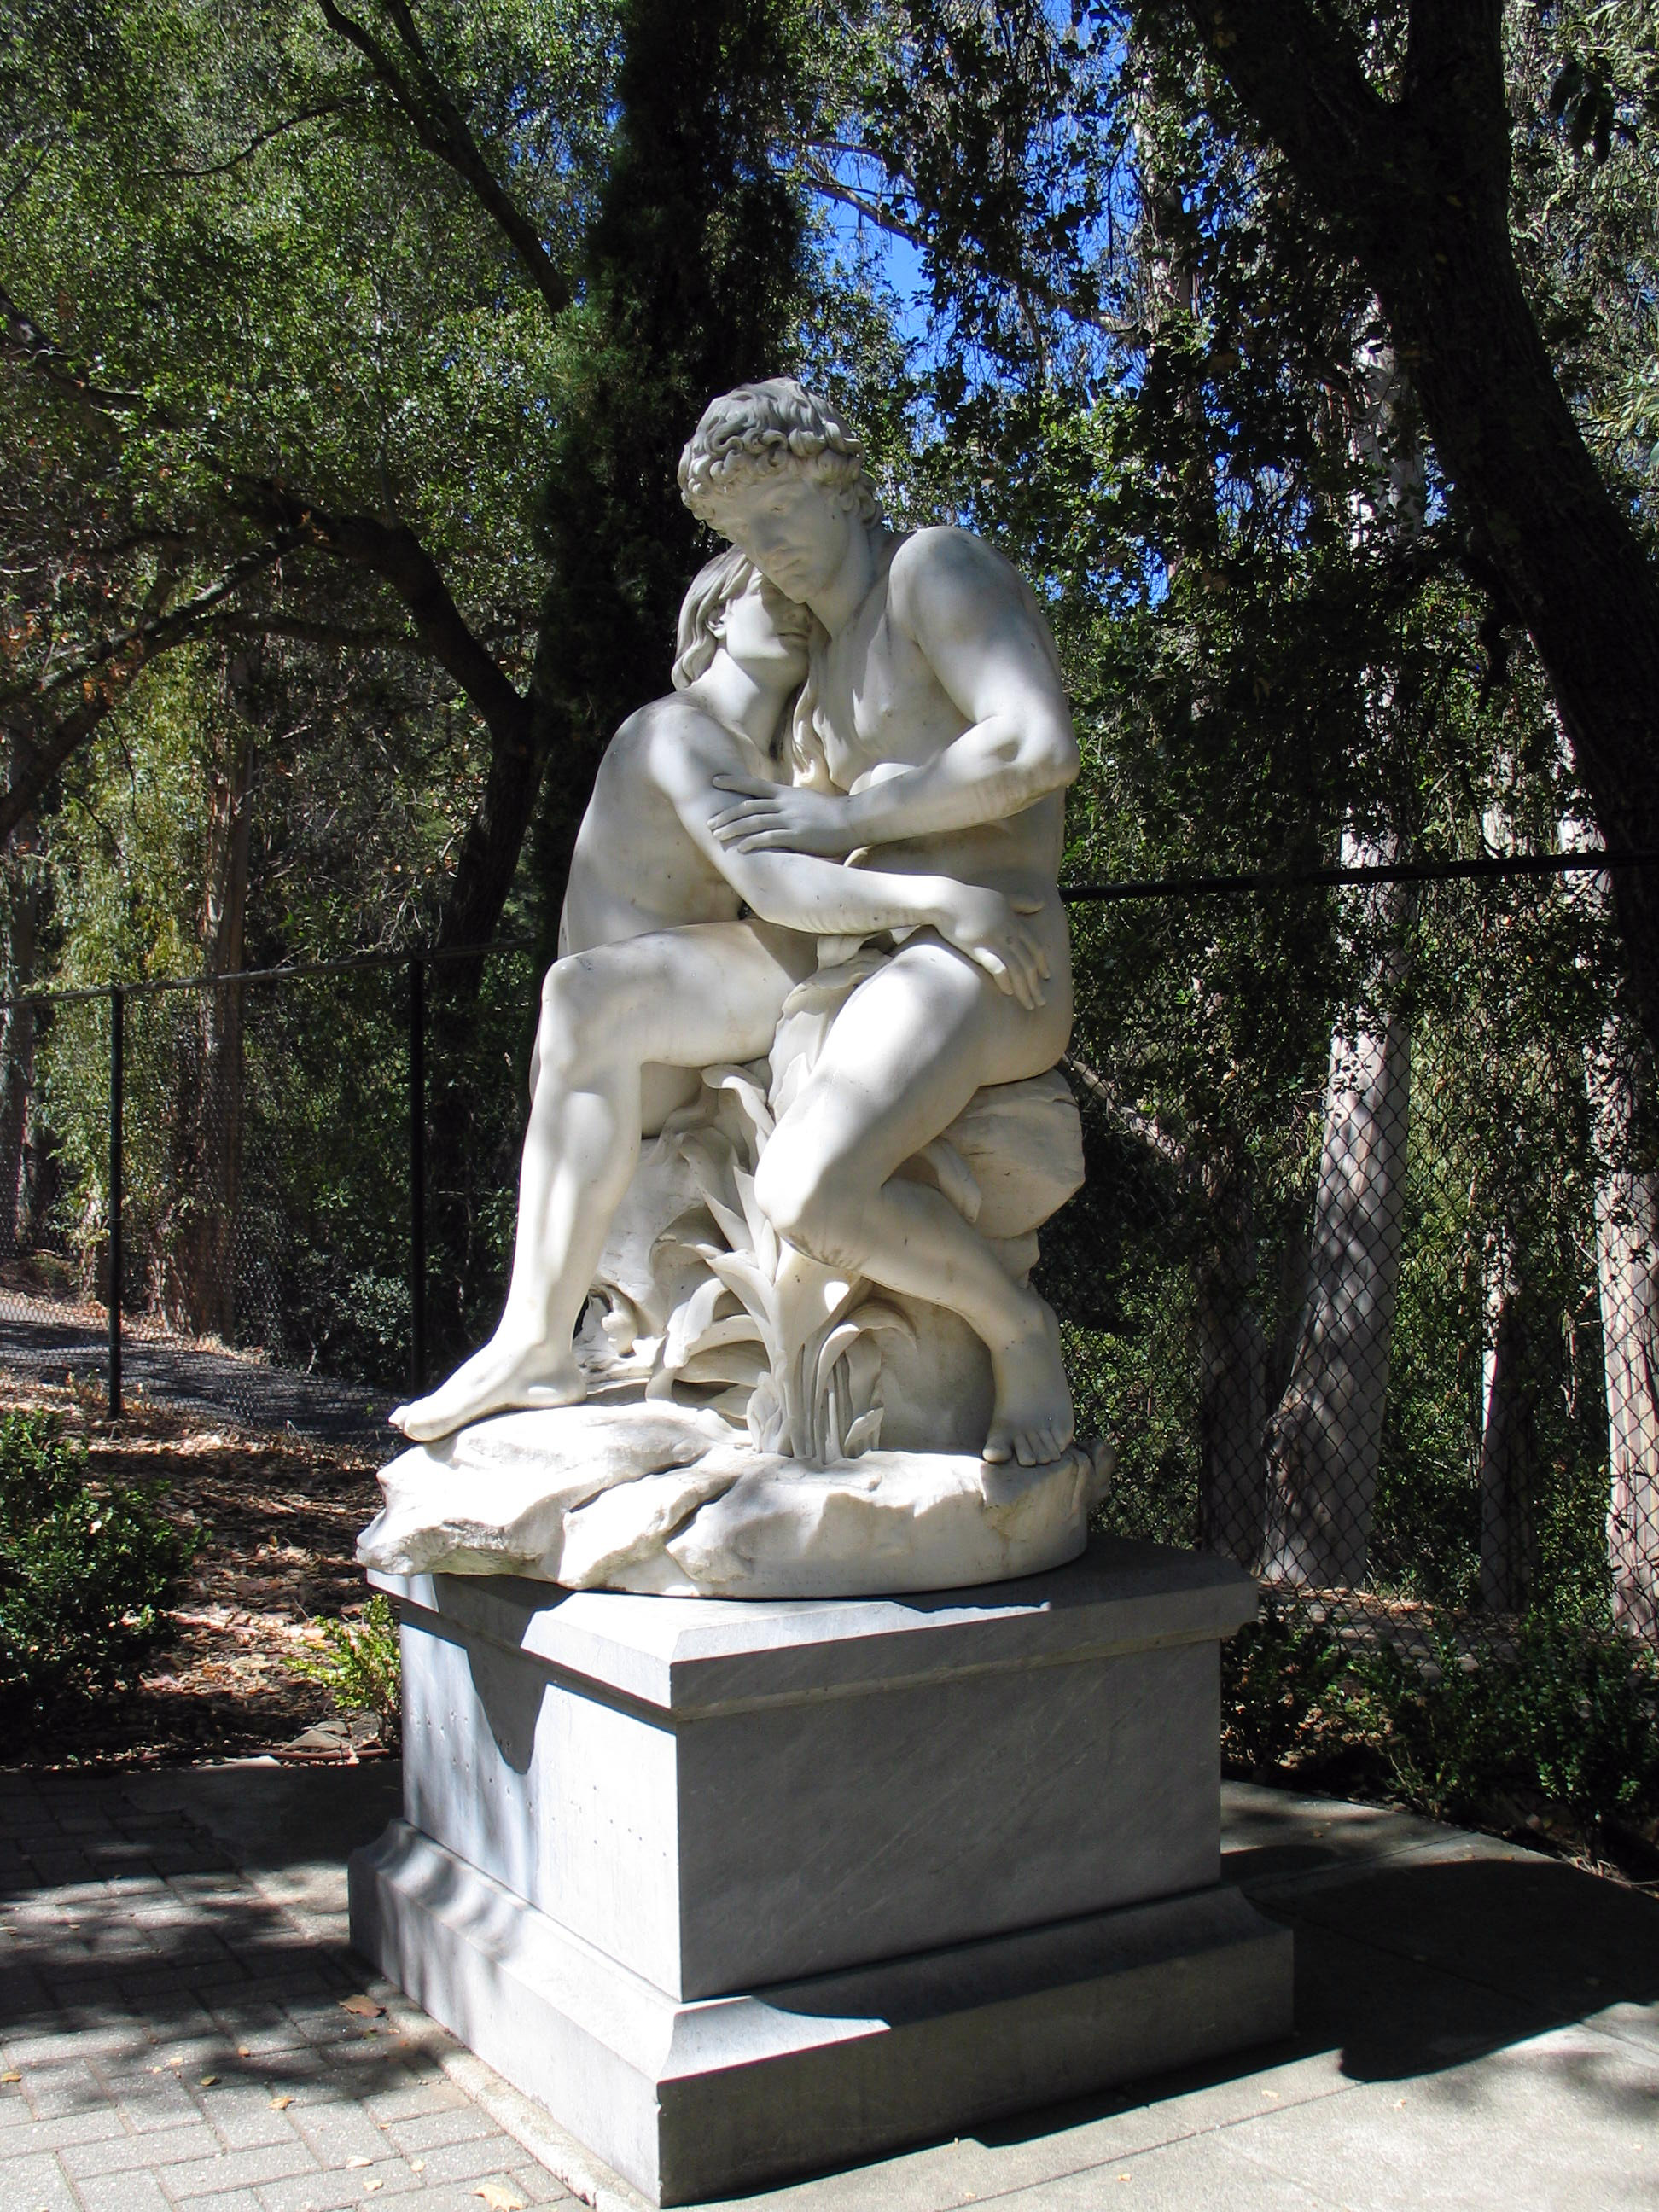
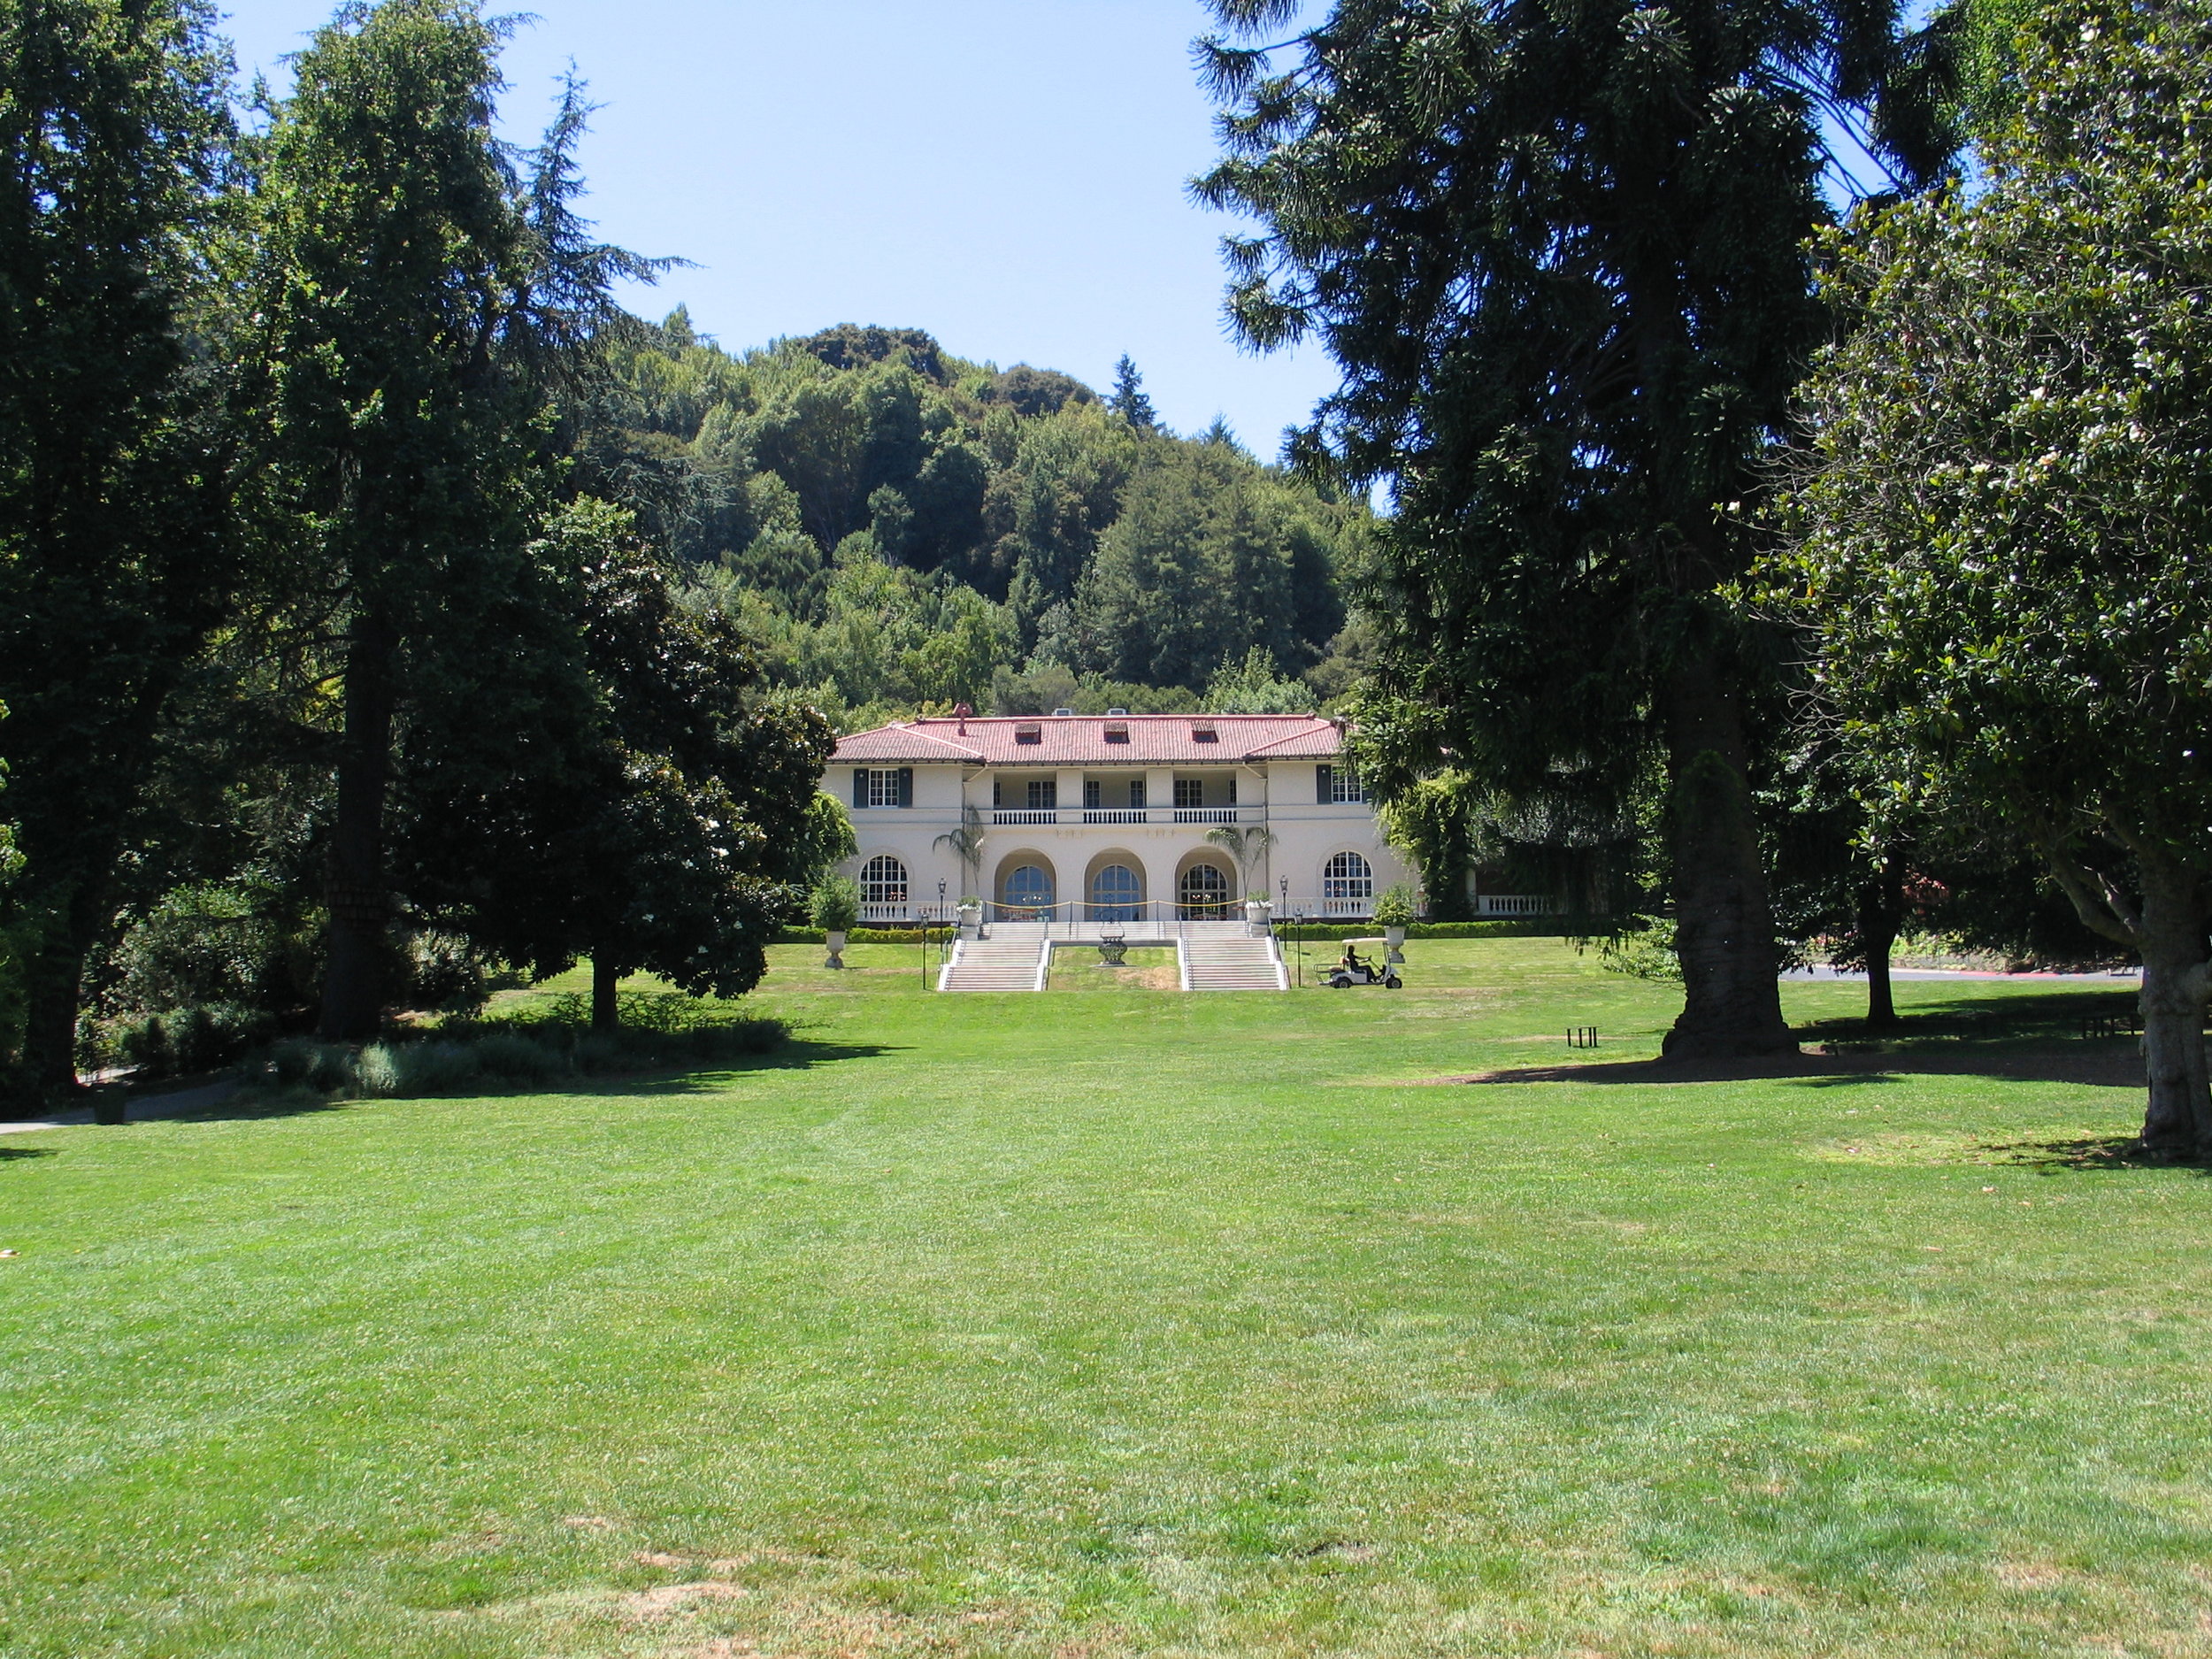
Allow me to introduce you to Montalvo. If you've been reading my blog, you probably know I adore Filoli, I have posted about it a few times (March 2012, August 2010, late winter 2010) and am thinking I'll go visit again soon. However, just about half an hour drive south of there in Saratoga, CA is another impressive estate that is also open to the public (visiting this place is FREE!) Montalvo Arts Center. I visited Montalvo a few times in 2012 and attended an evening concert in 2013 and wanted to share a few images with you (yes, I AM due another visit! keep reading). Montalvo, being state owned, could always use a few more visitors. It has an incredible history and offers concerts, constantly changing artistic installations, and all sorts of festivals and events.The grounds change constantly as you'll see in the photos I'll post here and when I've visited next (familiarity with Montalvo comes thanks to my last employer, PGAdesign in Oakland):As you come up the drive, the Villa reveals itself - and in front of it is the Great Lawn (recently modified and renovated).Turning around on the great lawn you see the drive there on the left, and the entrance to the Italianate Garden.Inside the Italianate Garden (a stunner!) there are sculptures, an incredible folly, and all sorts of discoveries.Walking around the Great Lawn and up to the Villa, artistic installations are constantly changing.....and once up at the Villa, the courtyard and the former pool are flat-out lovely places to see. Do you see the pool? look again at that flat, oval lawn....those steps are more recent, but imagine the wall they're on around water...Montalvo has been undergoing renovations in the last couple of years, and I expect to return for another visit as soon as I can. Maybe this weekend? I hope so!
Marketing (or not) With My Clients' Homes
I think I did it right. I started designing gardens before I knew that was what I would "grow up" to do. My first forays into site design as a kid included a fantasy plant nursery, pet store, and flower shop. My parents' back yard was the subject of many site plans as well, though they didn't implement my thoughts.I earned my BLA (Bachelors of Landscape Architecture, a 5 year degree), got my first "real" job, and after a few years, began taking my own projects on the side. This year I started teaching and finally went full-time as my own boss. I have essentially spent all my free time for the last mumble-mumble years absorbed in design, gardens, plants, and everything related.You would think that I would have no shortage of beautiful built projects to share online, adding new ones all the time. Below is part of why I don't put a full body of work in public online places:Naturally, many of the projects I've worked on have been with former employers. Many of them are my work or at least partly so, but the former employer owns the intellectual property. I can put the work I did in my own portfolio, that is industry standard, but it is not kosher to put that stuff on my own website or blog to promote myself apart from promoting the company I worked for at the time. In addition to that, I have agreements with some former employers that state I won't put anything online that came from my employment with them, and some clients and I have similar agreements. Not marketing with clients' projects can be limiting in this age where everything is available at a click, but there ya go.I respect the wishes of my clients and some of them are more particular about their privacy than others. I never post or put online anything that a client would like to keep private. For some of them, that is everything. The work I do is often someone's home, and I totally get wanting to keep home private!Additionally, a garden is never done. The design work is only a portion of making a quality outdoor environment. A great many projects are phased in for budget reasons or other limitations (this can take years!), and it also takes time for the plants to grow in. In a recent post on a project in Italy, you can see that the photos I posted span about 2 years - after two years, that garden is just getting to the point where it looks good enough to take photos and post them. If I had posted it too early, it would not have had the same ability to represent what the intention was in the first place.I am incredibly fortunate to work on amazing projects with amazing people - whether their own home, a rental, or a commercial or institutional project, there's opportunity for discovery, beauty, and environmental benefits all around.... so am I still doing it right? I sure hope so.
Hello, little companions!

Hummingbird eggs in podocarpus
We share the garden, period. Sharing is caring.
Read moreTrue Colors (not what the interwebs says)
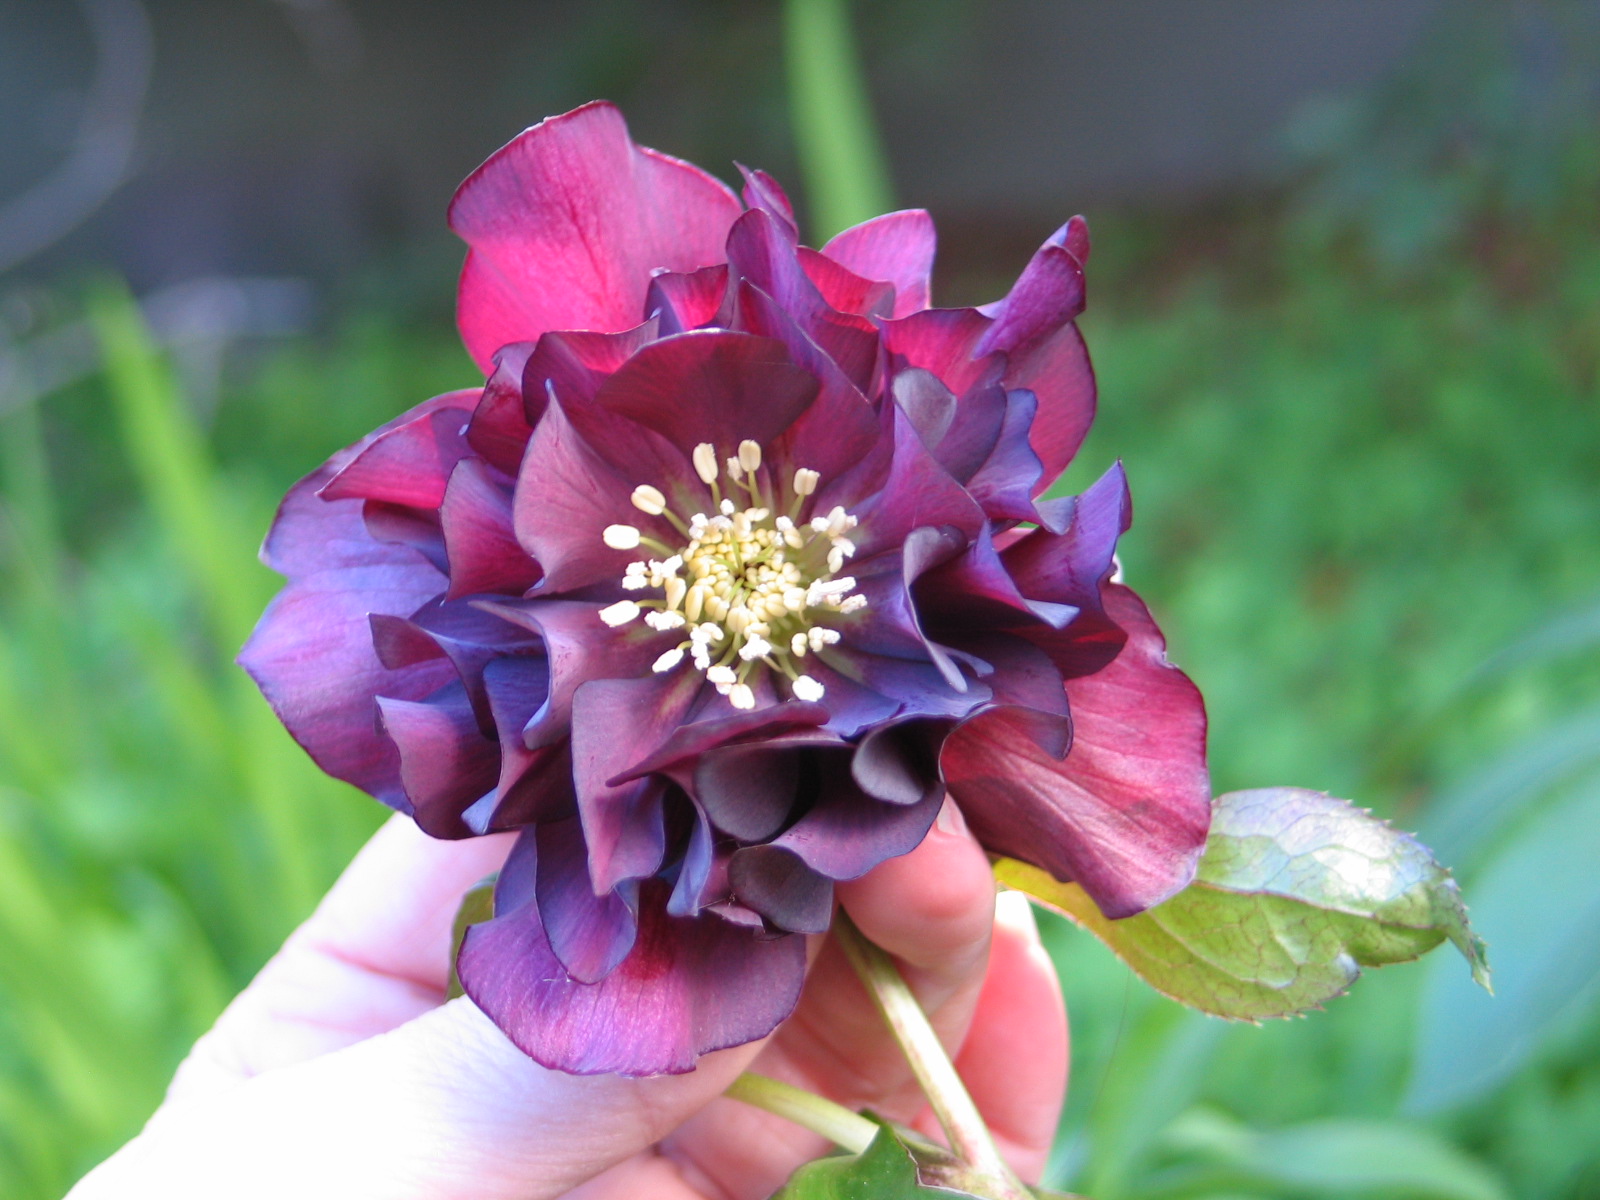
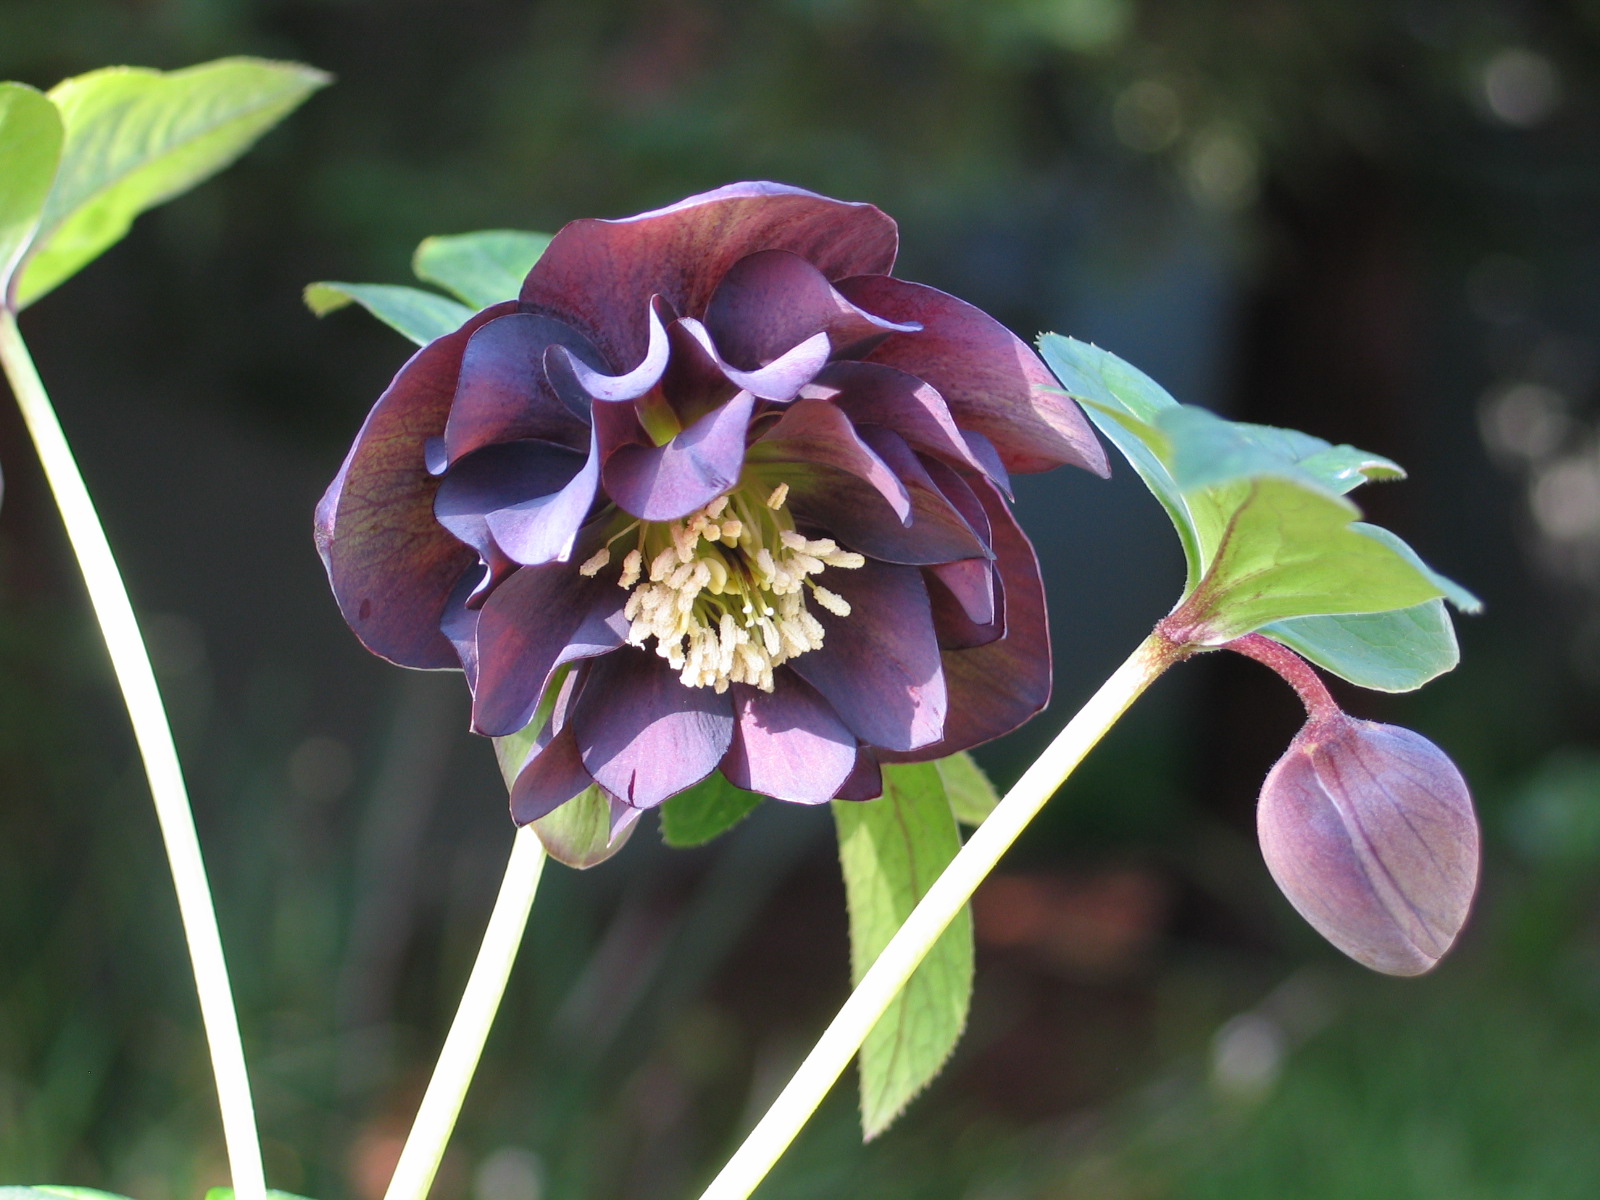
I love the internet, I really do. Seriously, I rely on it for all sorts of things. None of this is new information for you, savvy reader, but here's something that drives me absolutely bananas (you know it's serious because I don't even like bananas!)Here's a screen shot of Helleborus 'Onyx odyssey' from an internet image search: 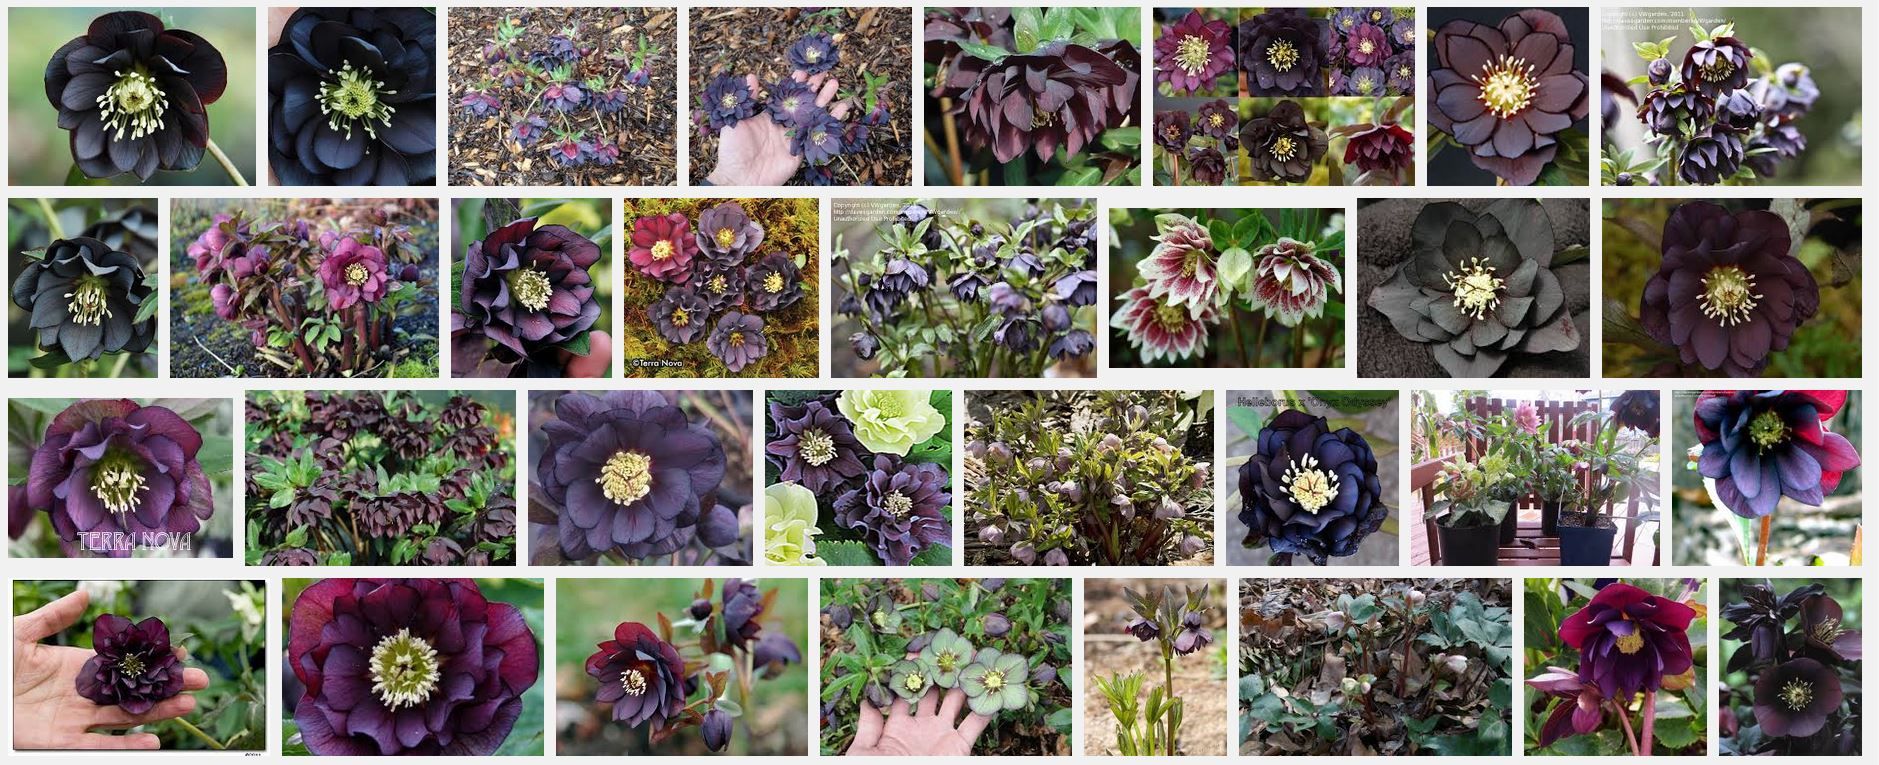 The majority of the photos above are a black or slatey near black color. From a collection like that, the black-flower-hopeful would expect that this plant was a true black or at least so ridiculously dark flowering that it didn't matter.I recognize that cameras and monitors vary in their abilities to accurately represent color, I have no issue there. My issue is more of an honor-code type thing. Below are some photos I took of this same cultivar in my old apartment patio:
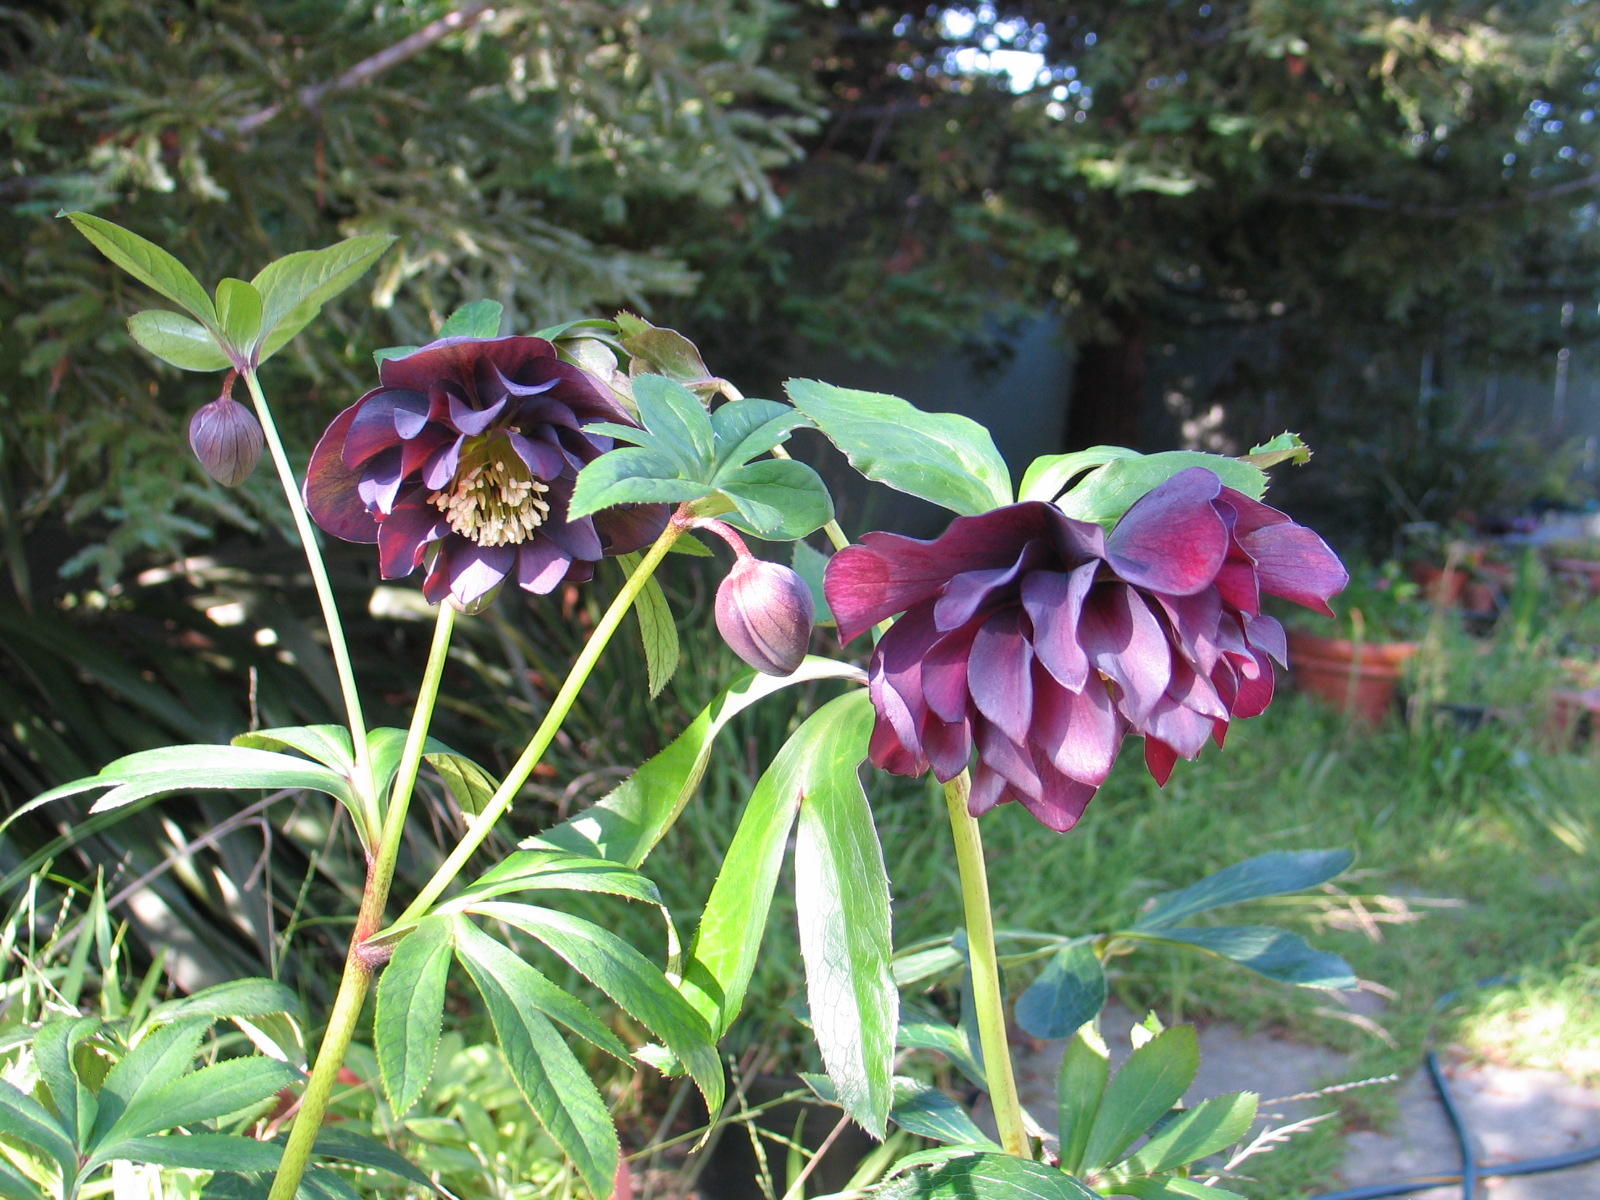
 I find it important to photograph plants and flowers in the shade and the sun, and with different kinds of backgrounds and other things in the shot like ambiguous planty backgrounds and also my own hand. The camera automatically makes adjustments depending on what is in the picture - and then if I were to adjust the color in Photoshop, there are algorithms that make assumptions about what the color was supposed to be.For my design work, the internet serves as a great starting point and a place to see as many different images of the same plant as I possibly can. However, I've learned to mentally visualize colors of plants and flowers from web searches, and also to take into account the quality of the photos and the lighting.I try to grow as many different plants as I can at home (more on that later) so that I can have the best possible understanding of a plant's color and habit. I keep an extensive collection of photos that I've personally taken so I can track the same plant under as many light and growing conditions as possible, and so that I have a mind's eye recollection of each plant.My complaint, if you can really call it that, is that clients can find color-adjusted and completely unrealistic photos online, and expect that their plants will look just like that. Plants are amazing, gorgeous, living things.... but they're not always the supermodels (also usually photoshopped) that some catalogs would have us believe. Every once in a while, they become mere mortals like the rest of us. Beautiful in their own right, but not exactly as depicted.So please - don't be taken in by a great photo. Check them all. Consider before you fall in love if you're enamored with the image or the plant itself. We all deserve to be loved for who we are, sans photoshop.
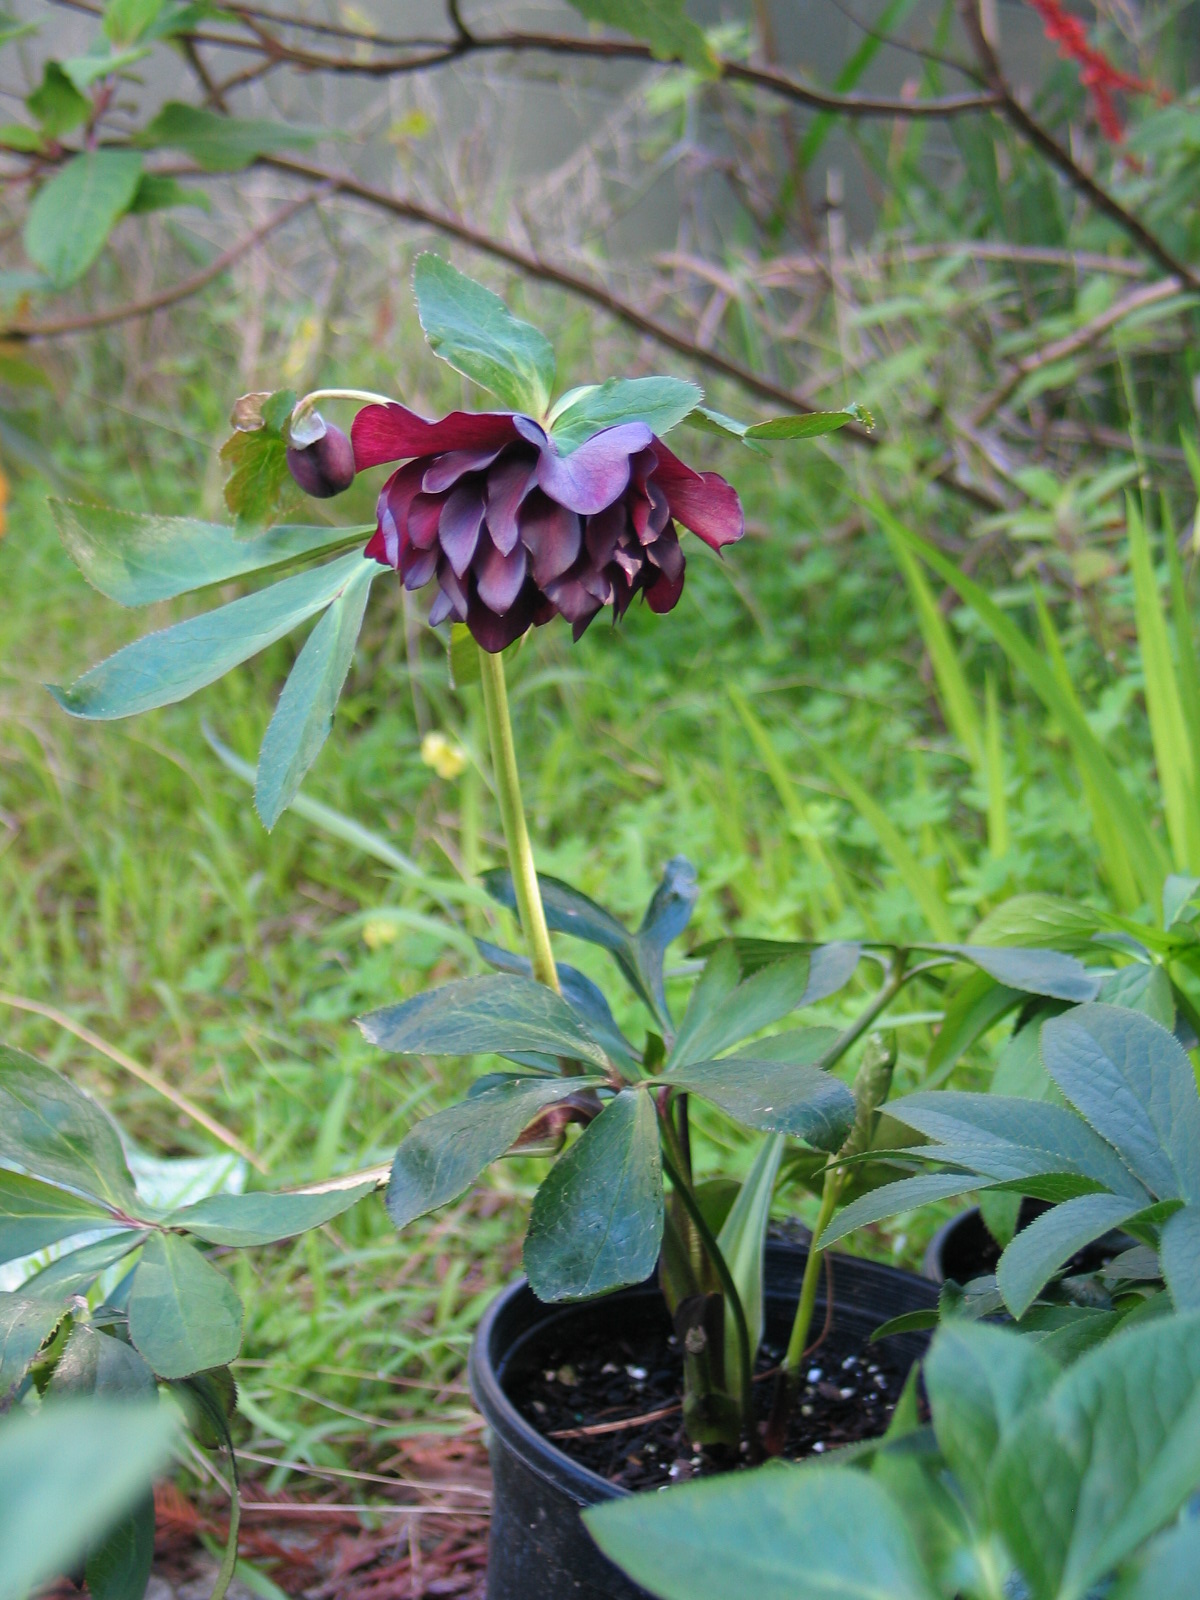
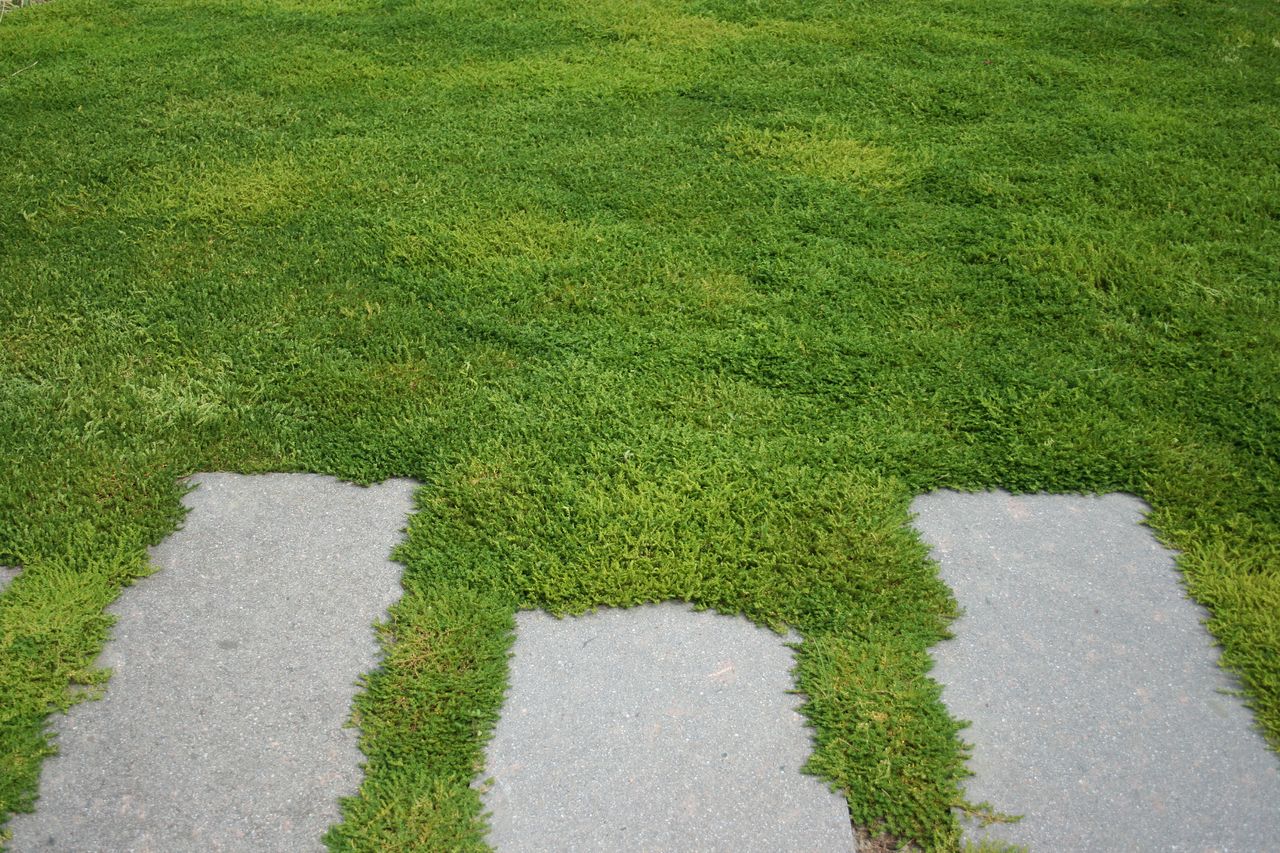
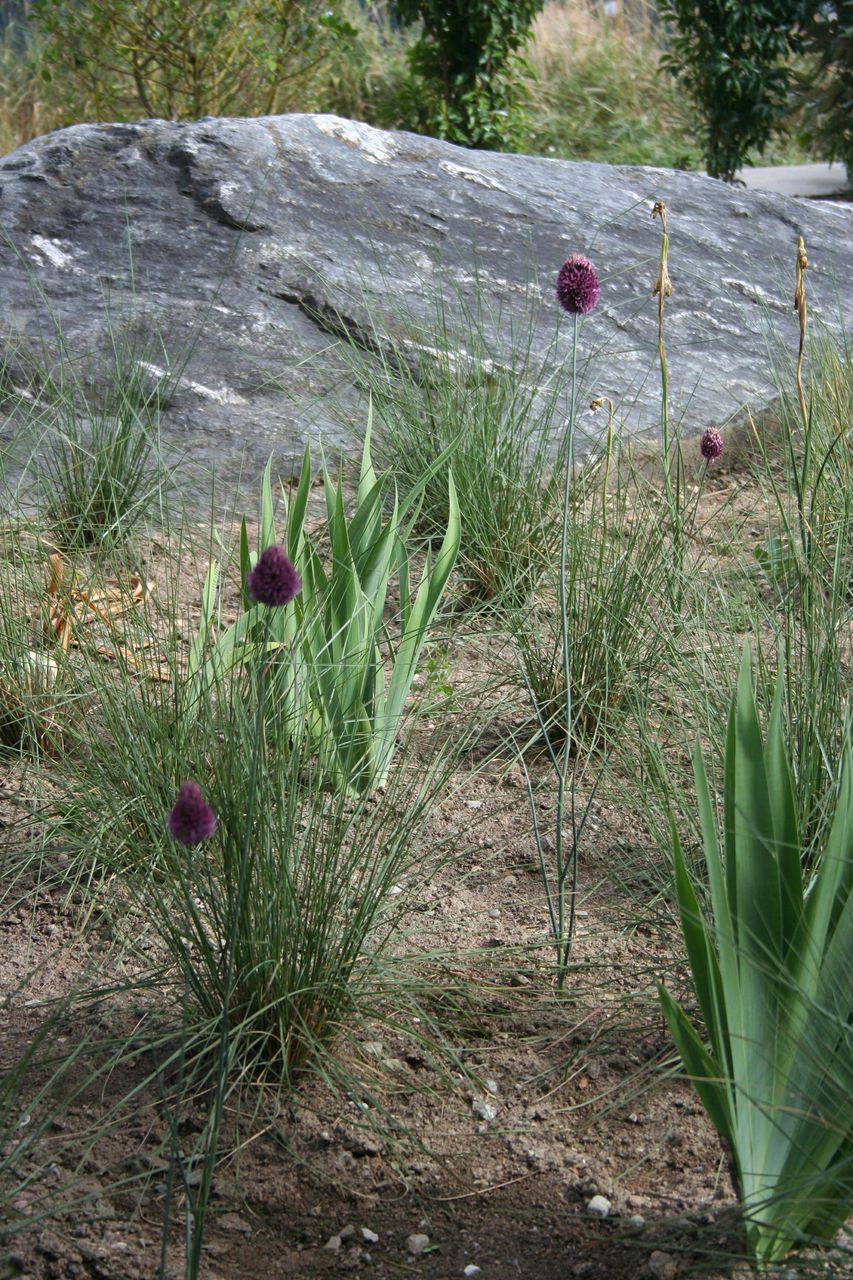
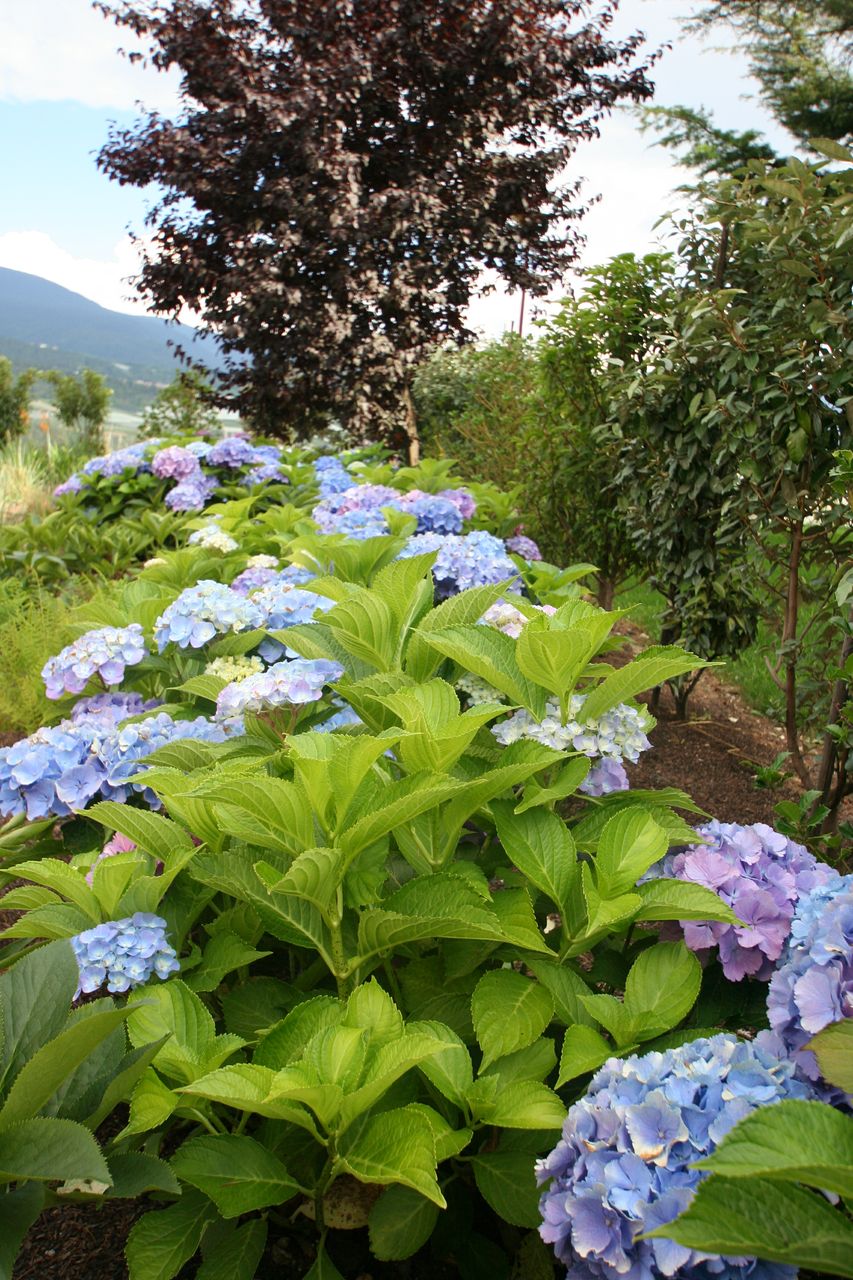
A Garden in Italy
TOP-VIEW

120619 Flaim House Italy pltg concept001
003
1
2
5

photo 5
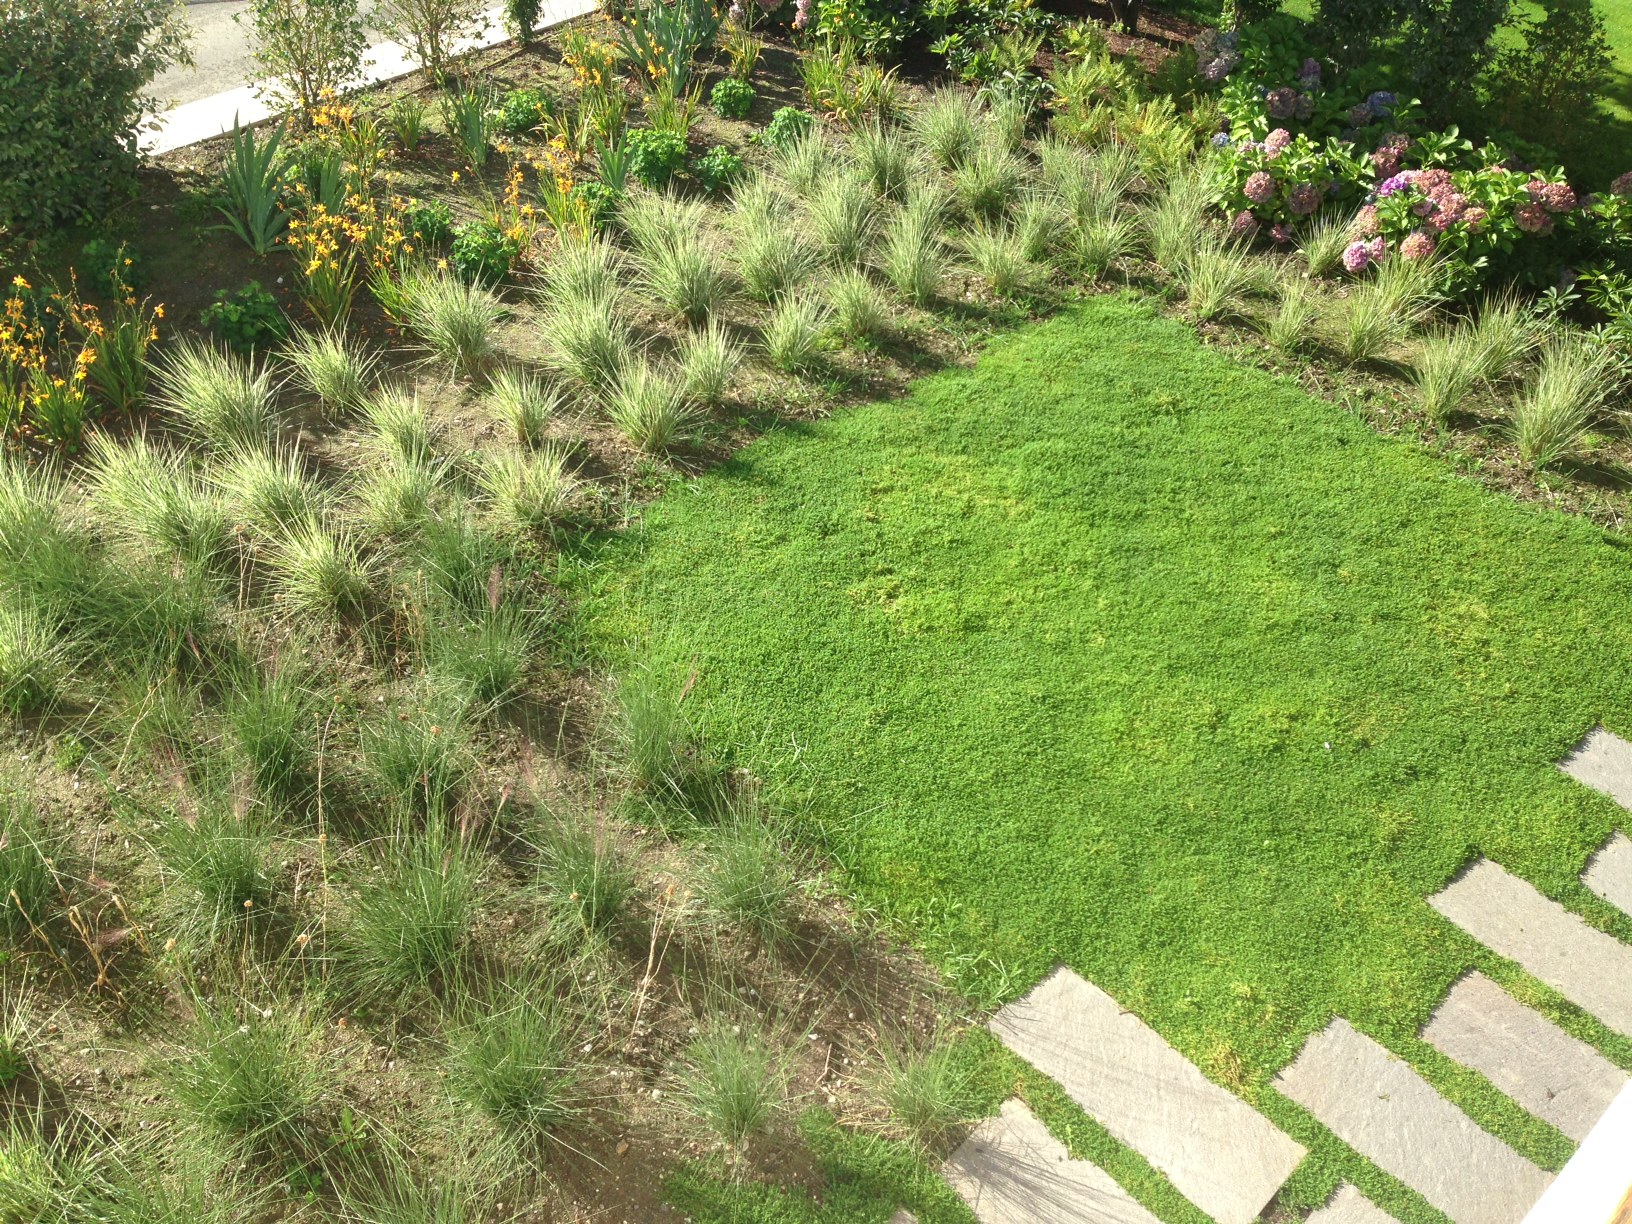
photo 1

2014 June
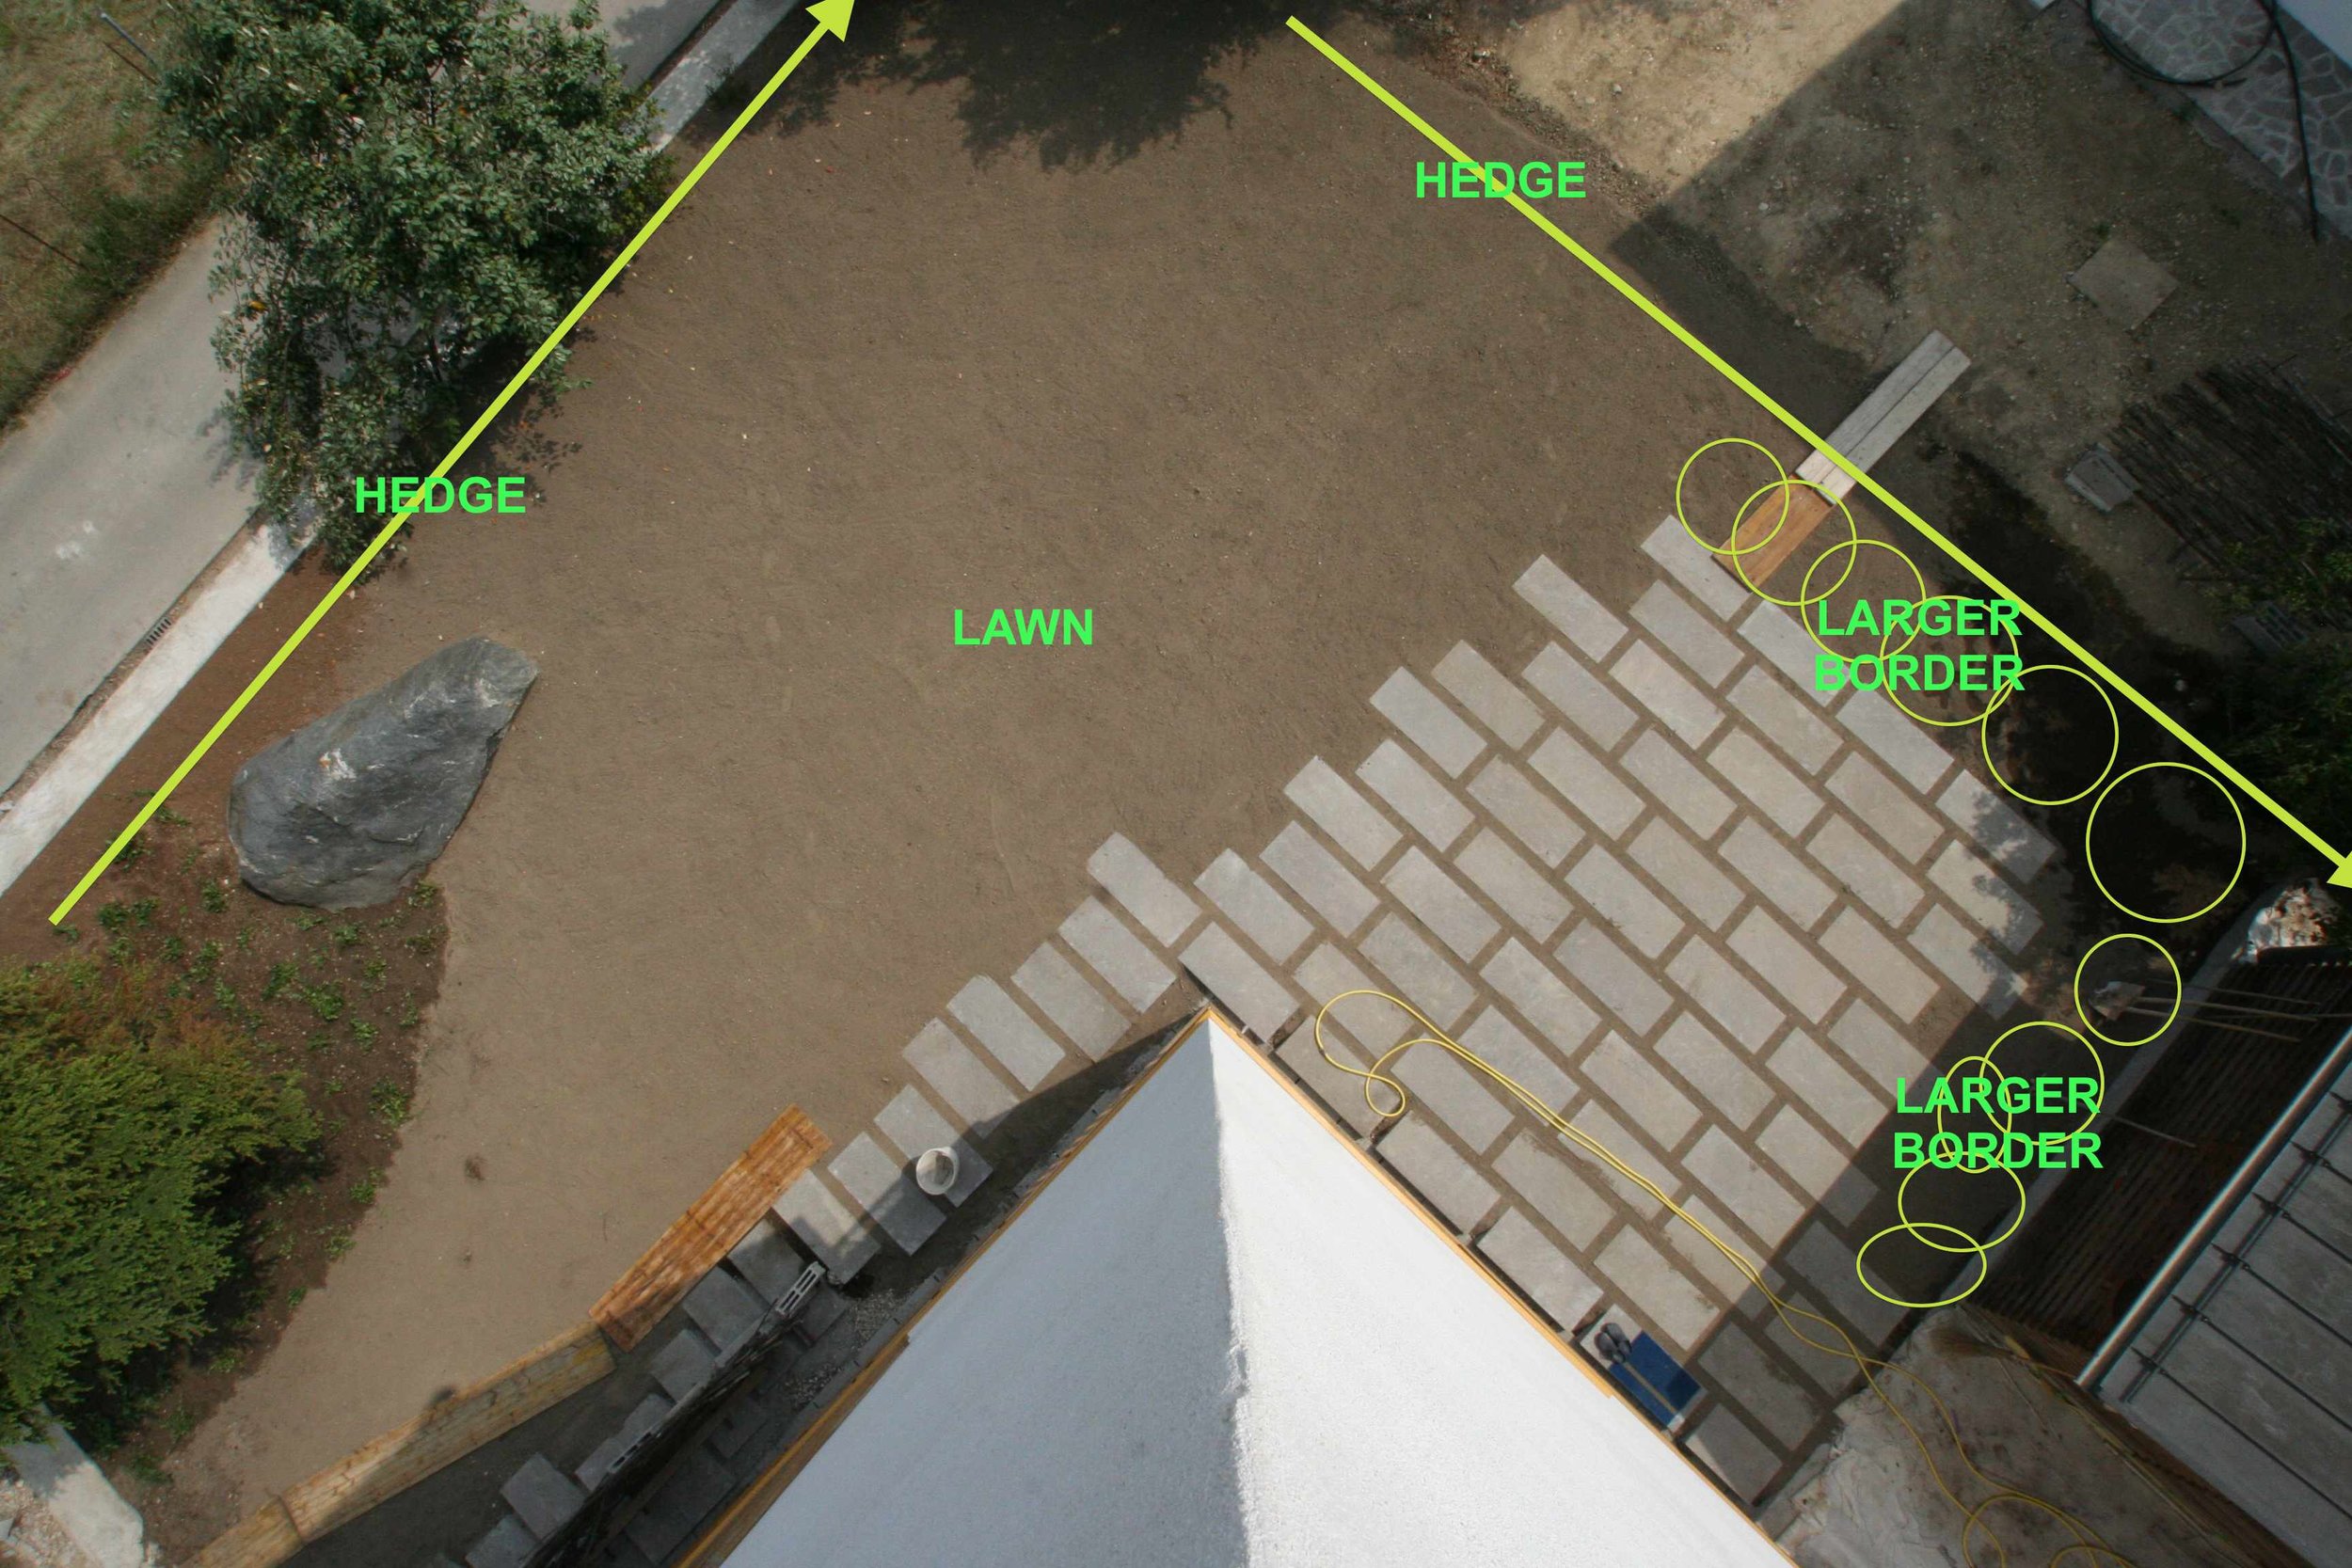
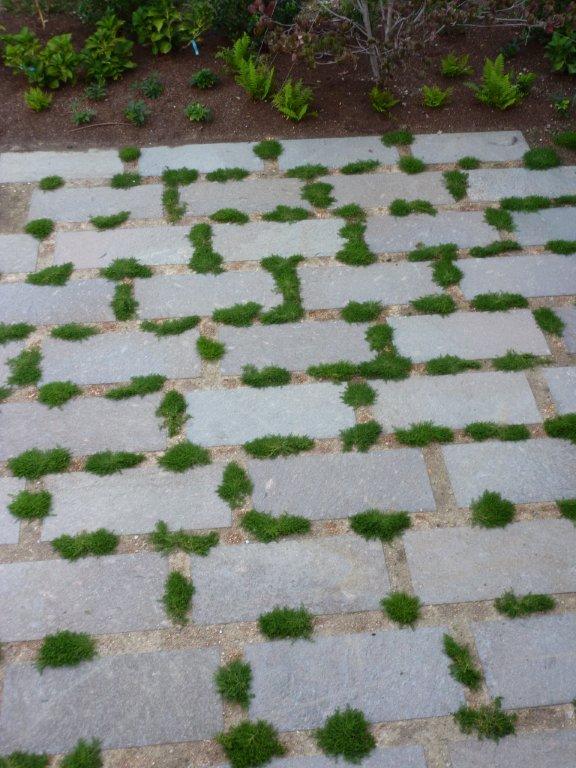
While I was away neglecting my modern web-presence-building duties, I enjoyed working on a particularly wonderful little project.... a Bed and Breakfast in Italy! I have never been to Italy, but when my good friend and talented architect Glenda Flaim showed me her work on Casa Incantata, I asked if I could take a stab at the planting design which had yet to be finalized. Neither of us had any idea what would happen. Come on, what do I know about plants in Italy?! Niente. The way we worked around that, and got the garden done was a genuinely collaborative effort involving Glenda, the Owners, their gardener, some dutch visitors, and me:First, Glenda sent me a photo of the site with notes (in green) on her thoughts for the planting:We chatted about the decisions on the photo - why the hedge, what is the lawn for, stuff like that. I studied snapshots of the building and tried to imagine what it would be like to be there in person. Glenda mentioned that the house had just won a national award for sustainable architecture, and was photographed soon after I started noodling with the design of the garden on paper. You can see pre-garden professional architectural photos here and here. She sent me a computer drafted file of the site and I gathered photos of plants that came to mind.I started the planting design in June 2012:I mapped out the planting design in areas with palettes. The areas got names: there was "lawn", "spicy", "meadow", and "hedge". I wrote a description of how each of these areas would be different from each other, what forms and colors I was trying to emphasize, and what colors I wanted to avoid entirely. I wrote out how these plants would change with the seasons and the desired effects. With lists of plants and their written intentions, the memos were translated into Italian and back into English through Glenda.The Owners and their gardener started looking for the plants and sent word back what was available and not, and we figured out plants that might work instead. More memos handling spacing and layout were translated back and forth, plant research was done on both continents. Plants were purchased and installed as they were found; this took a few seasons to finish. Some were purchased in Italy, some shipped from the U.S., and the last, elusive bulb was a gift from some visitors from Holland who learned of the missing bulb in discussions of the garden during their stay.Over the last 2 years, I've gotten a couple of photos a season so I could see how the garden was doing. They had wasted no time getting plants in the ground. Later that same year (fall 2012), the lawn (Hernaria glabra) which also extended between the pavers, was getting its start:By the following Spring (2013) it had filled-in very nicely!The other plants were coming along too:By that Summer, you could see the different zones expressing themselves:And just last month, I got another update:It is challenging to know how a garden will look when you're designing it, and there were many anxious moments when I knew they were investing in my advice and I could only hope that the Owners would like the results. I'm not sure it is possible to tell if the image in my head matches what the garden will become. I can't know ahead of time if the Owners will like what the garden will become, and yet it is dependent on them and everyone who takes care of it to continue to support the design's intention as the garden is maintained.I am finally able to share (two years later) how things are going here in this post. I can also share that the owners are very happy with their garden, and conveyed to me this sentiment:
Il giardino che ho sempre sognato!!!
(The garden I have always dreamed about!!!)
I couldn't have asked for more.
It's Been Too Long
1 hiding places
2 hidden fence
3 bare side yard

5 tiny lawns
4 bad concrete

7 shed
6 the thang
8 view
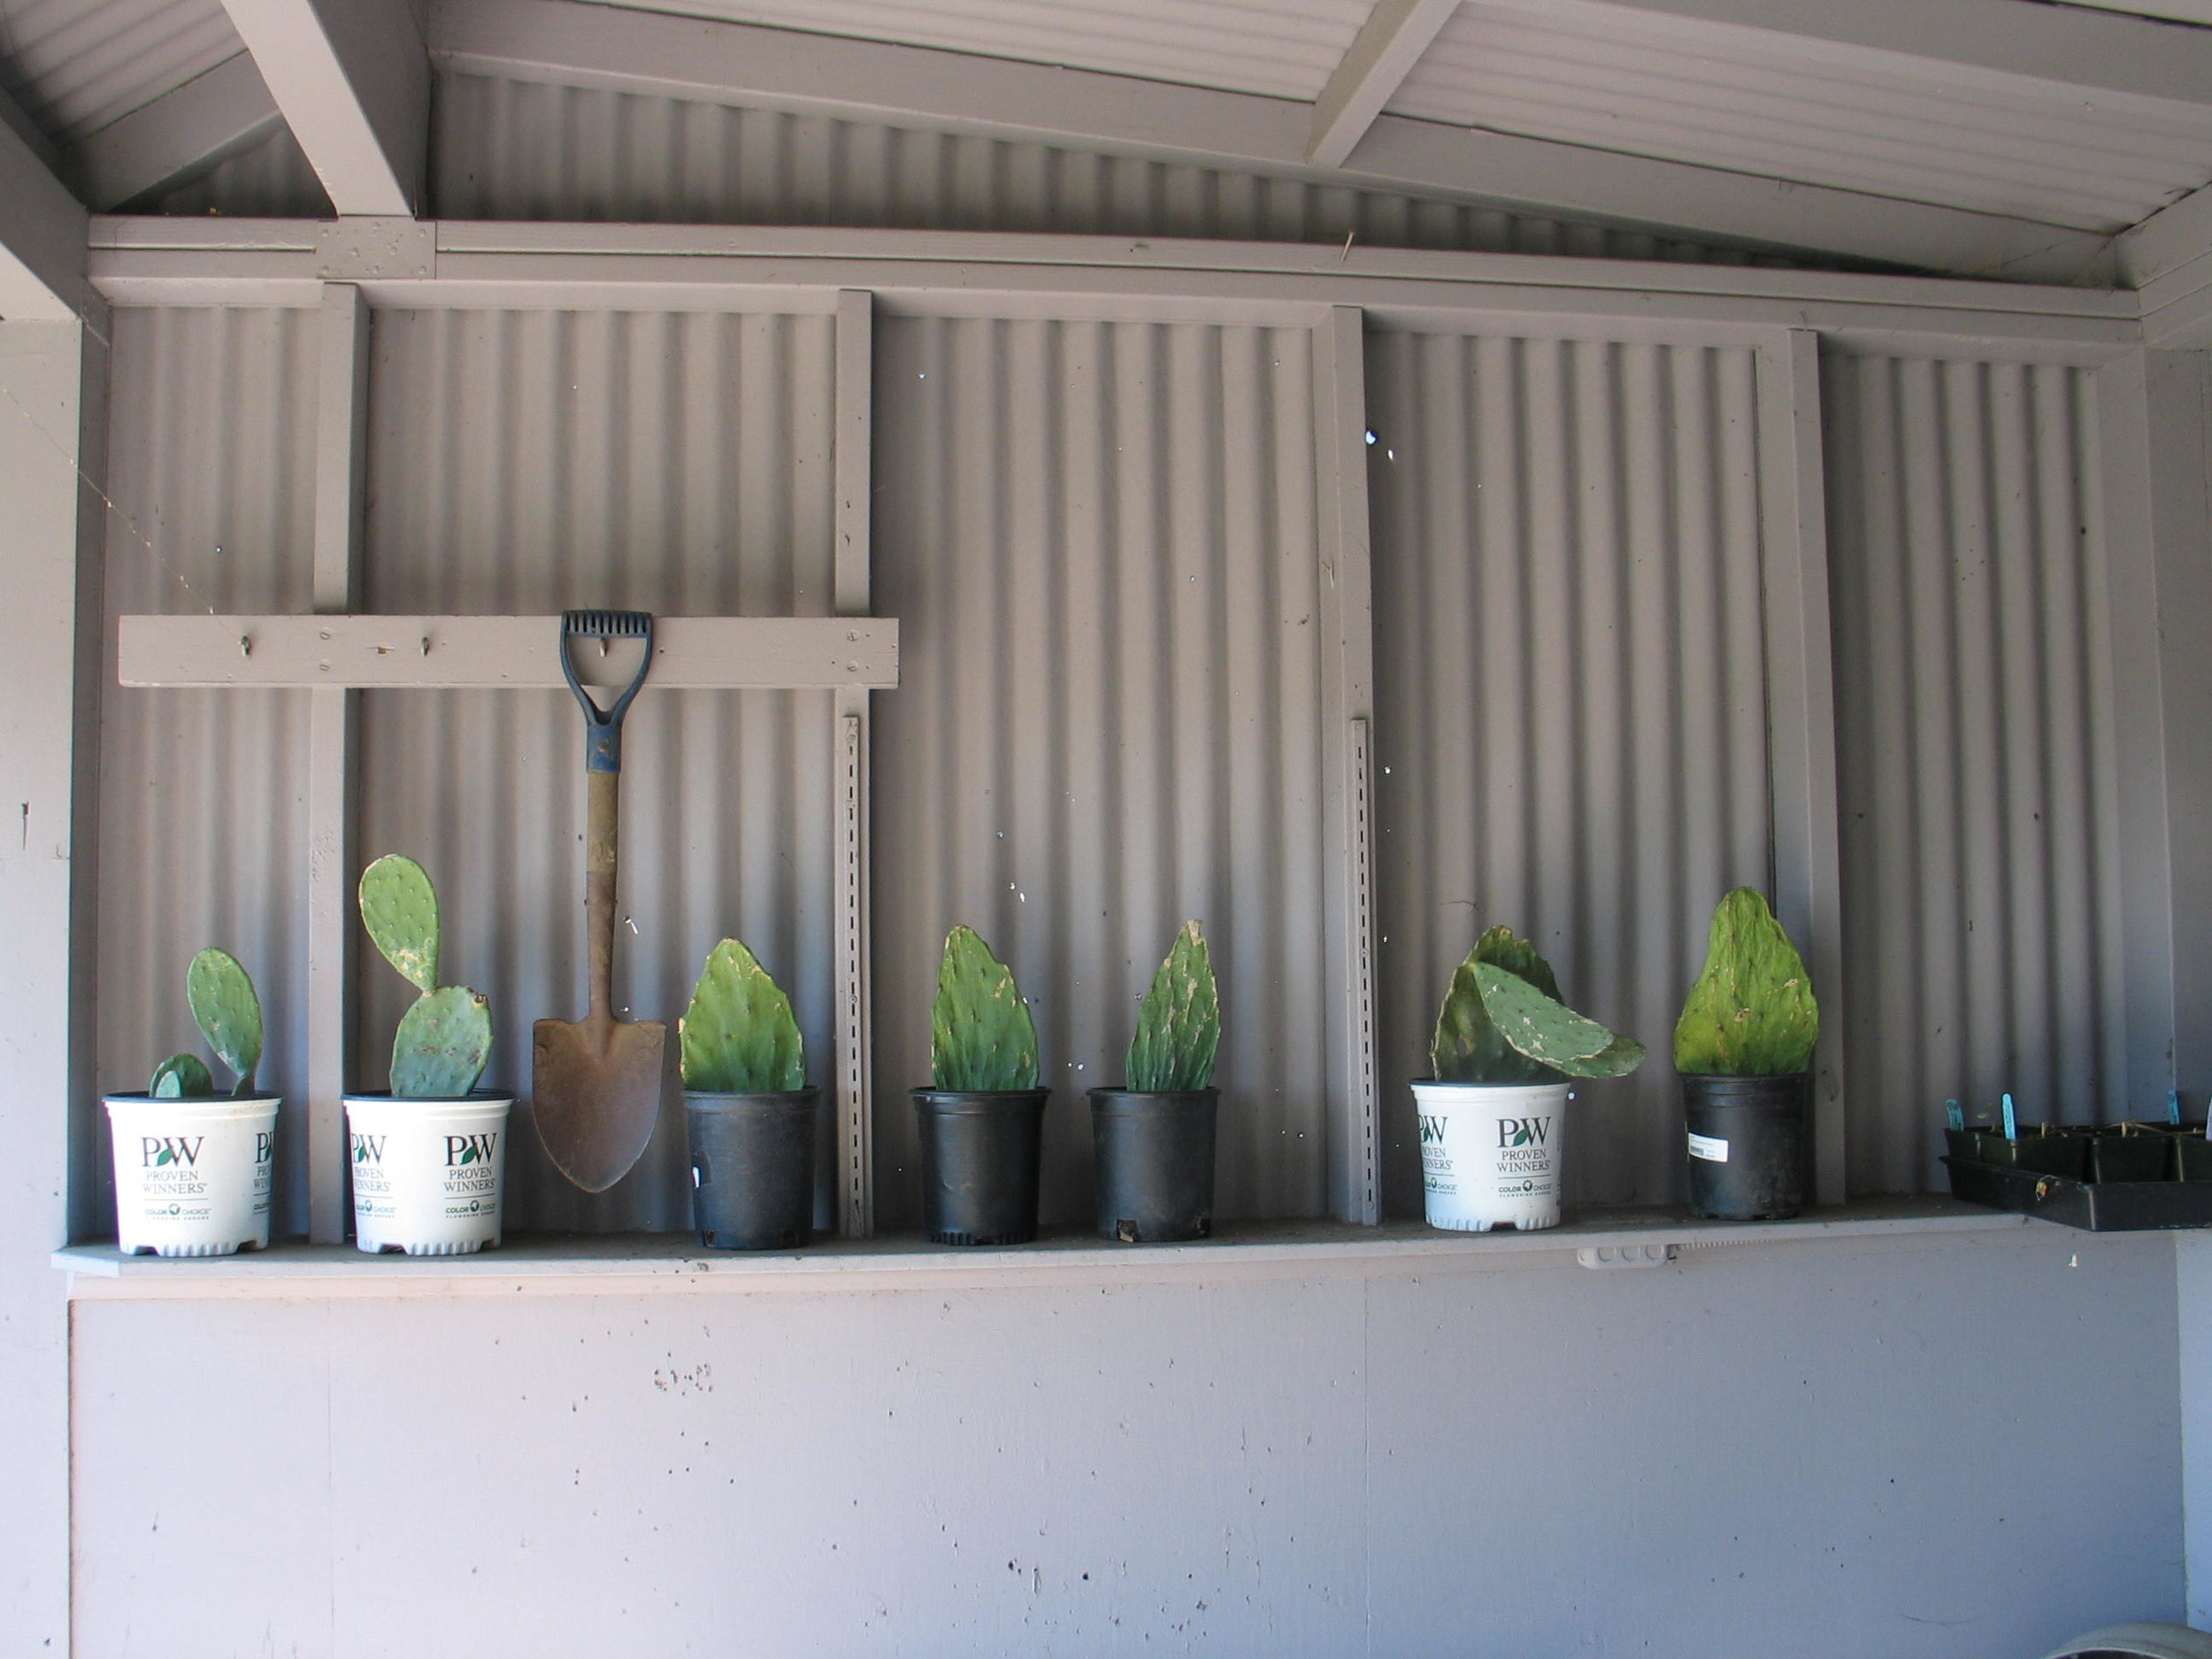
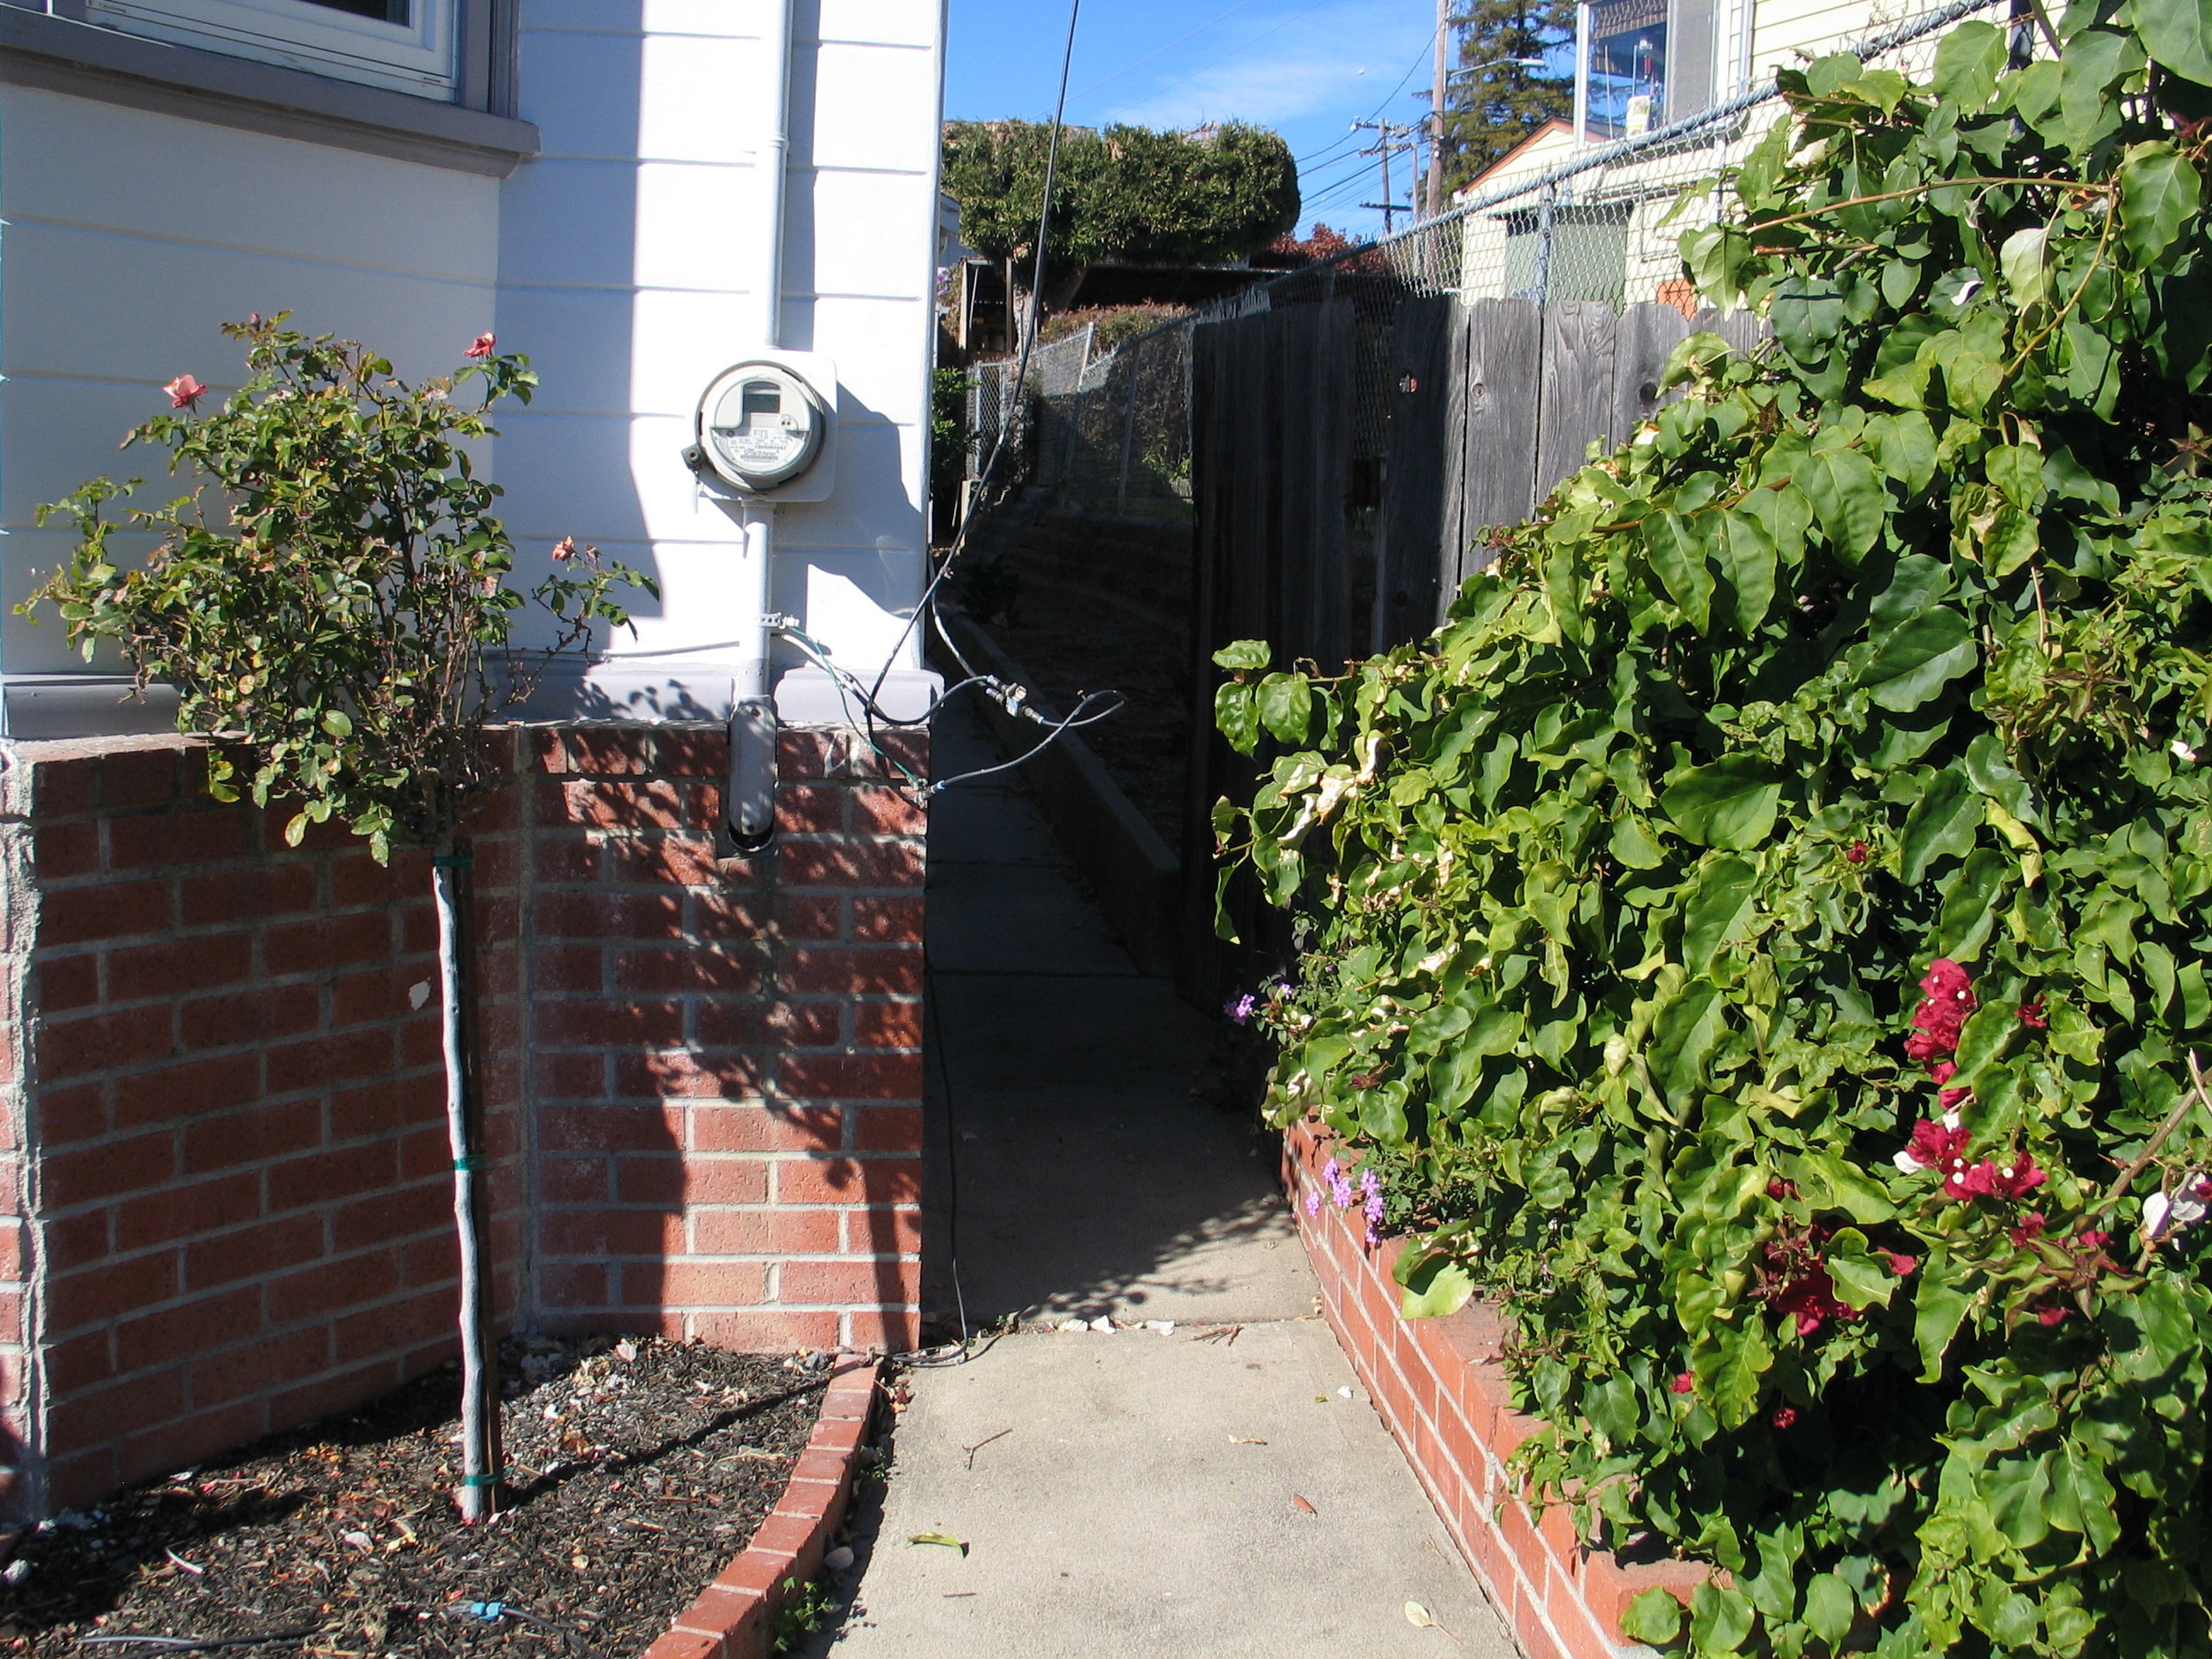
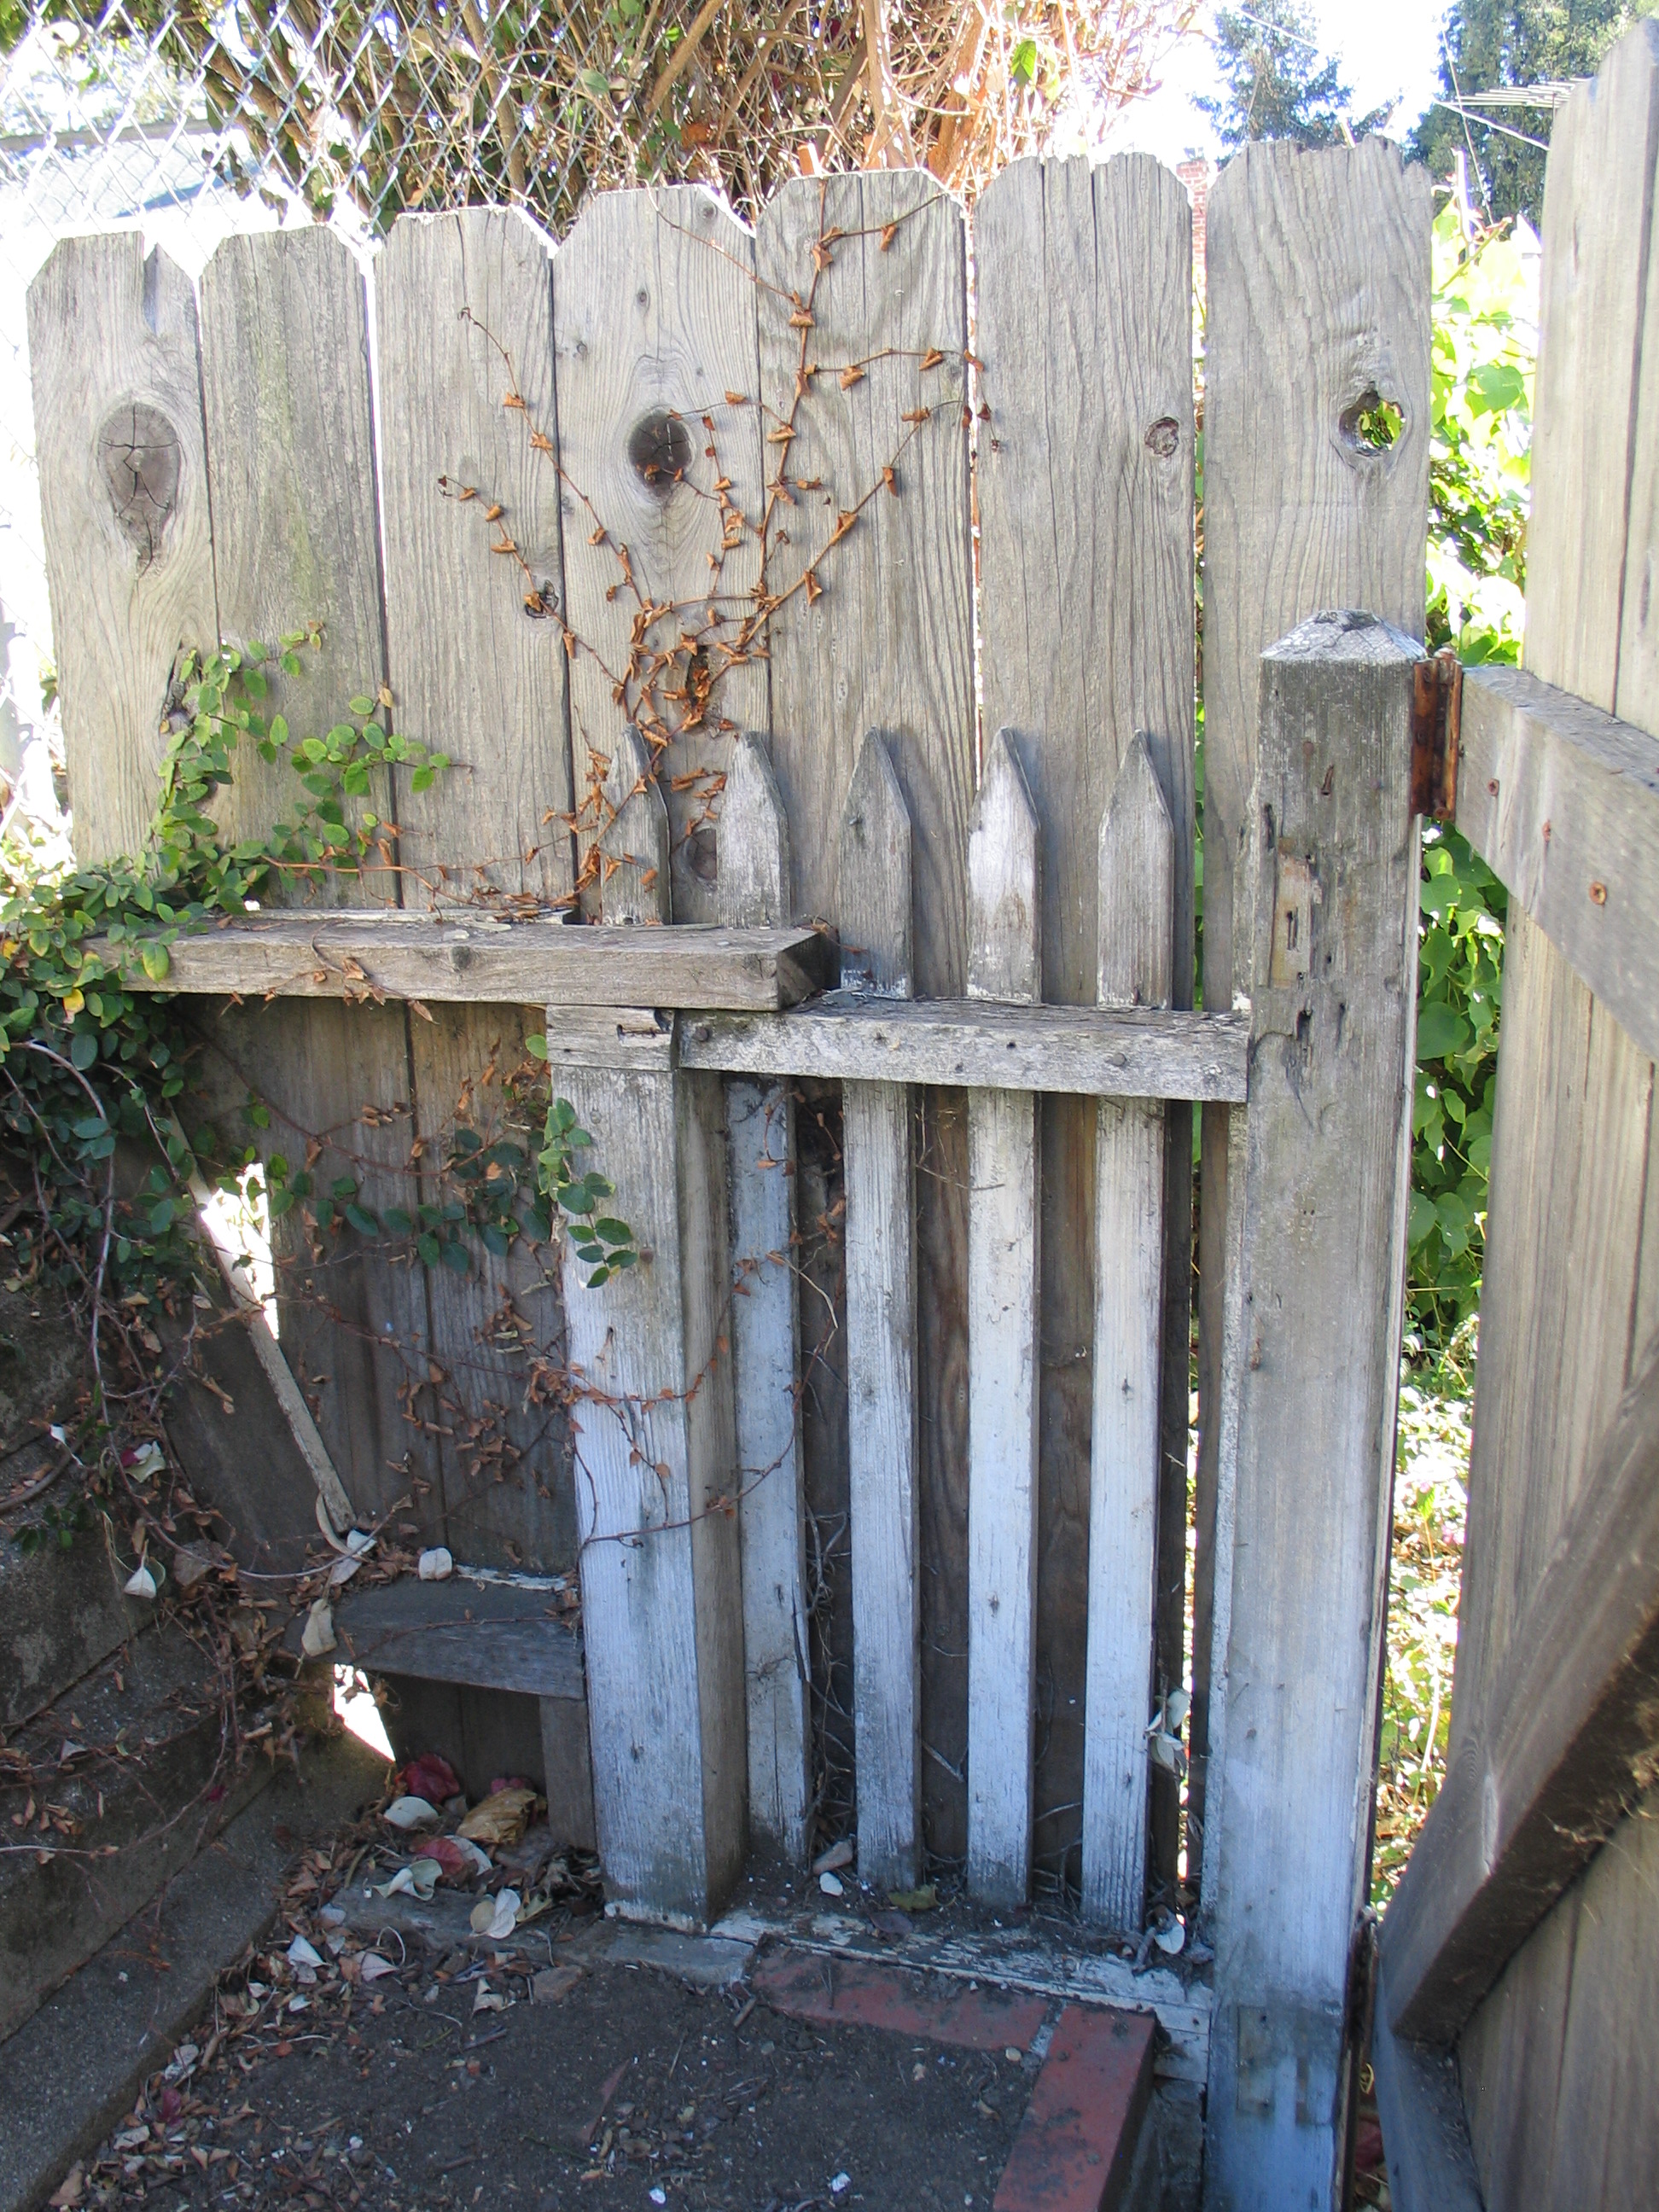
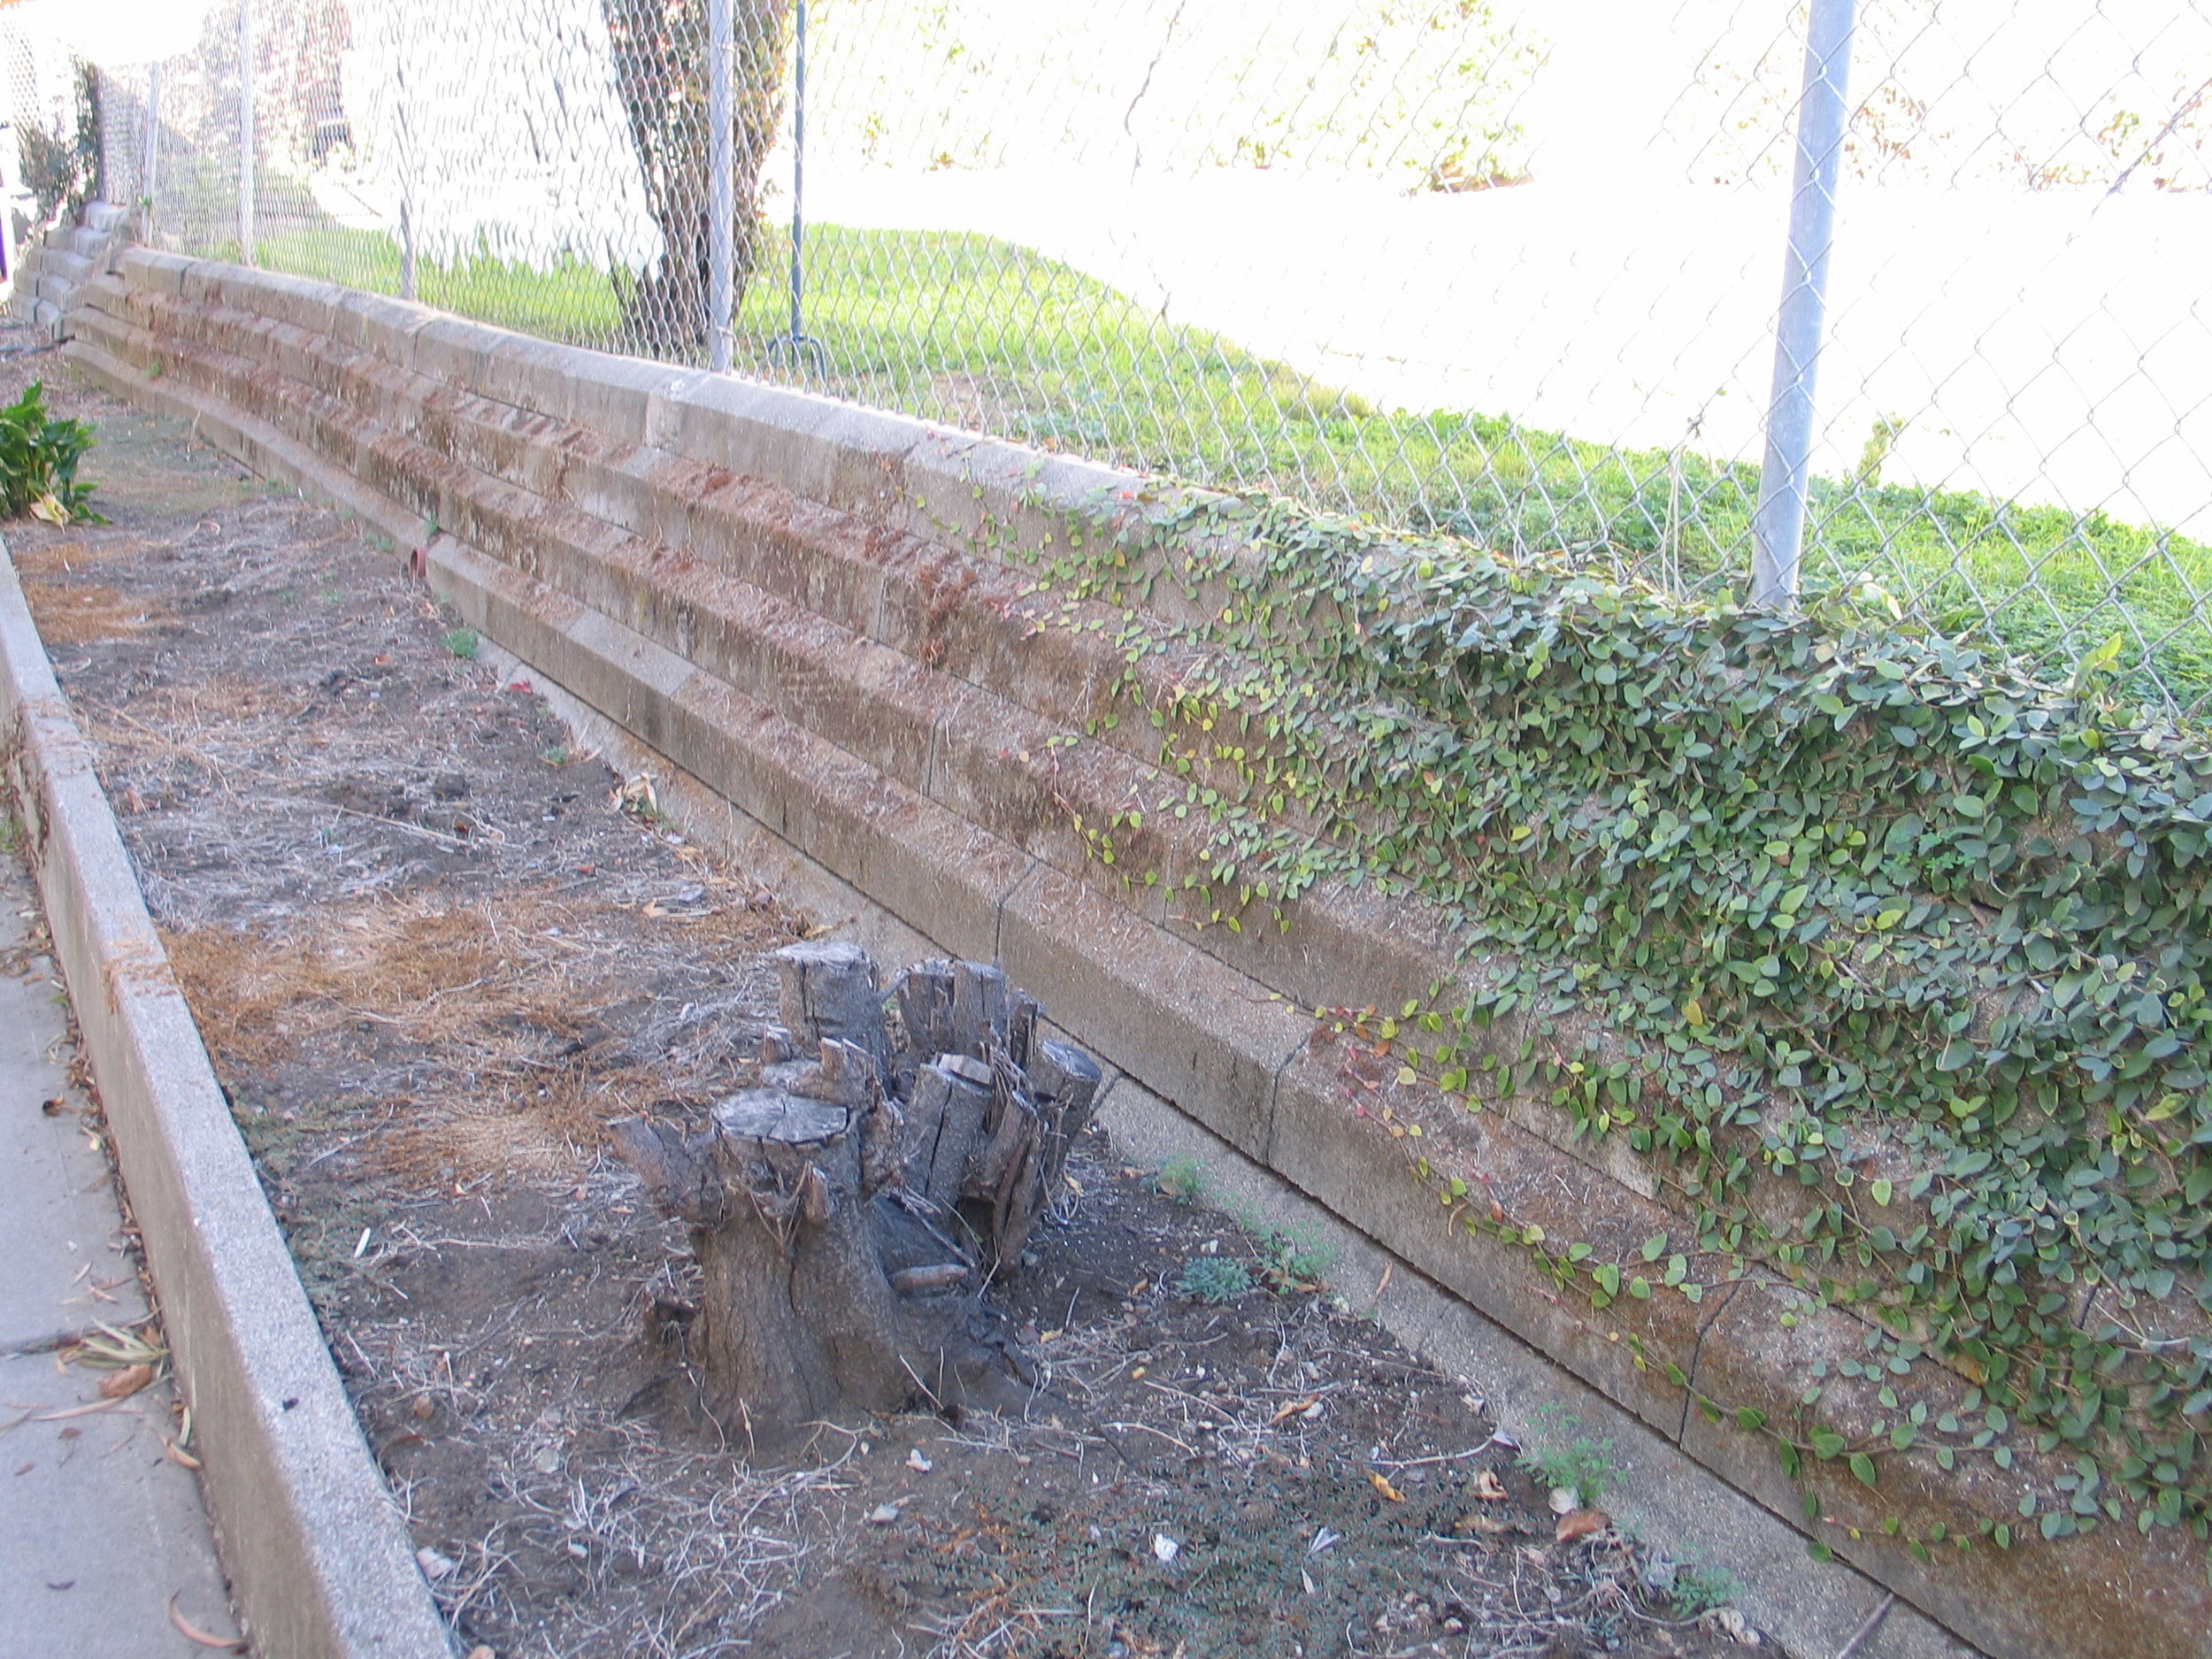
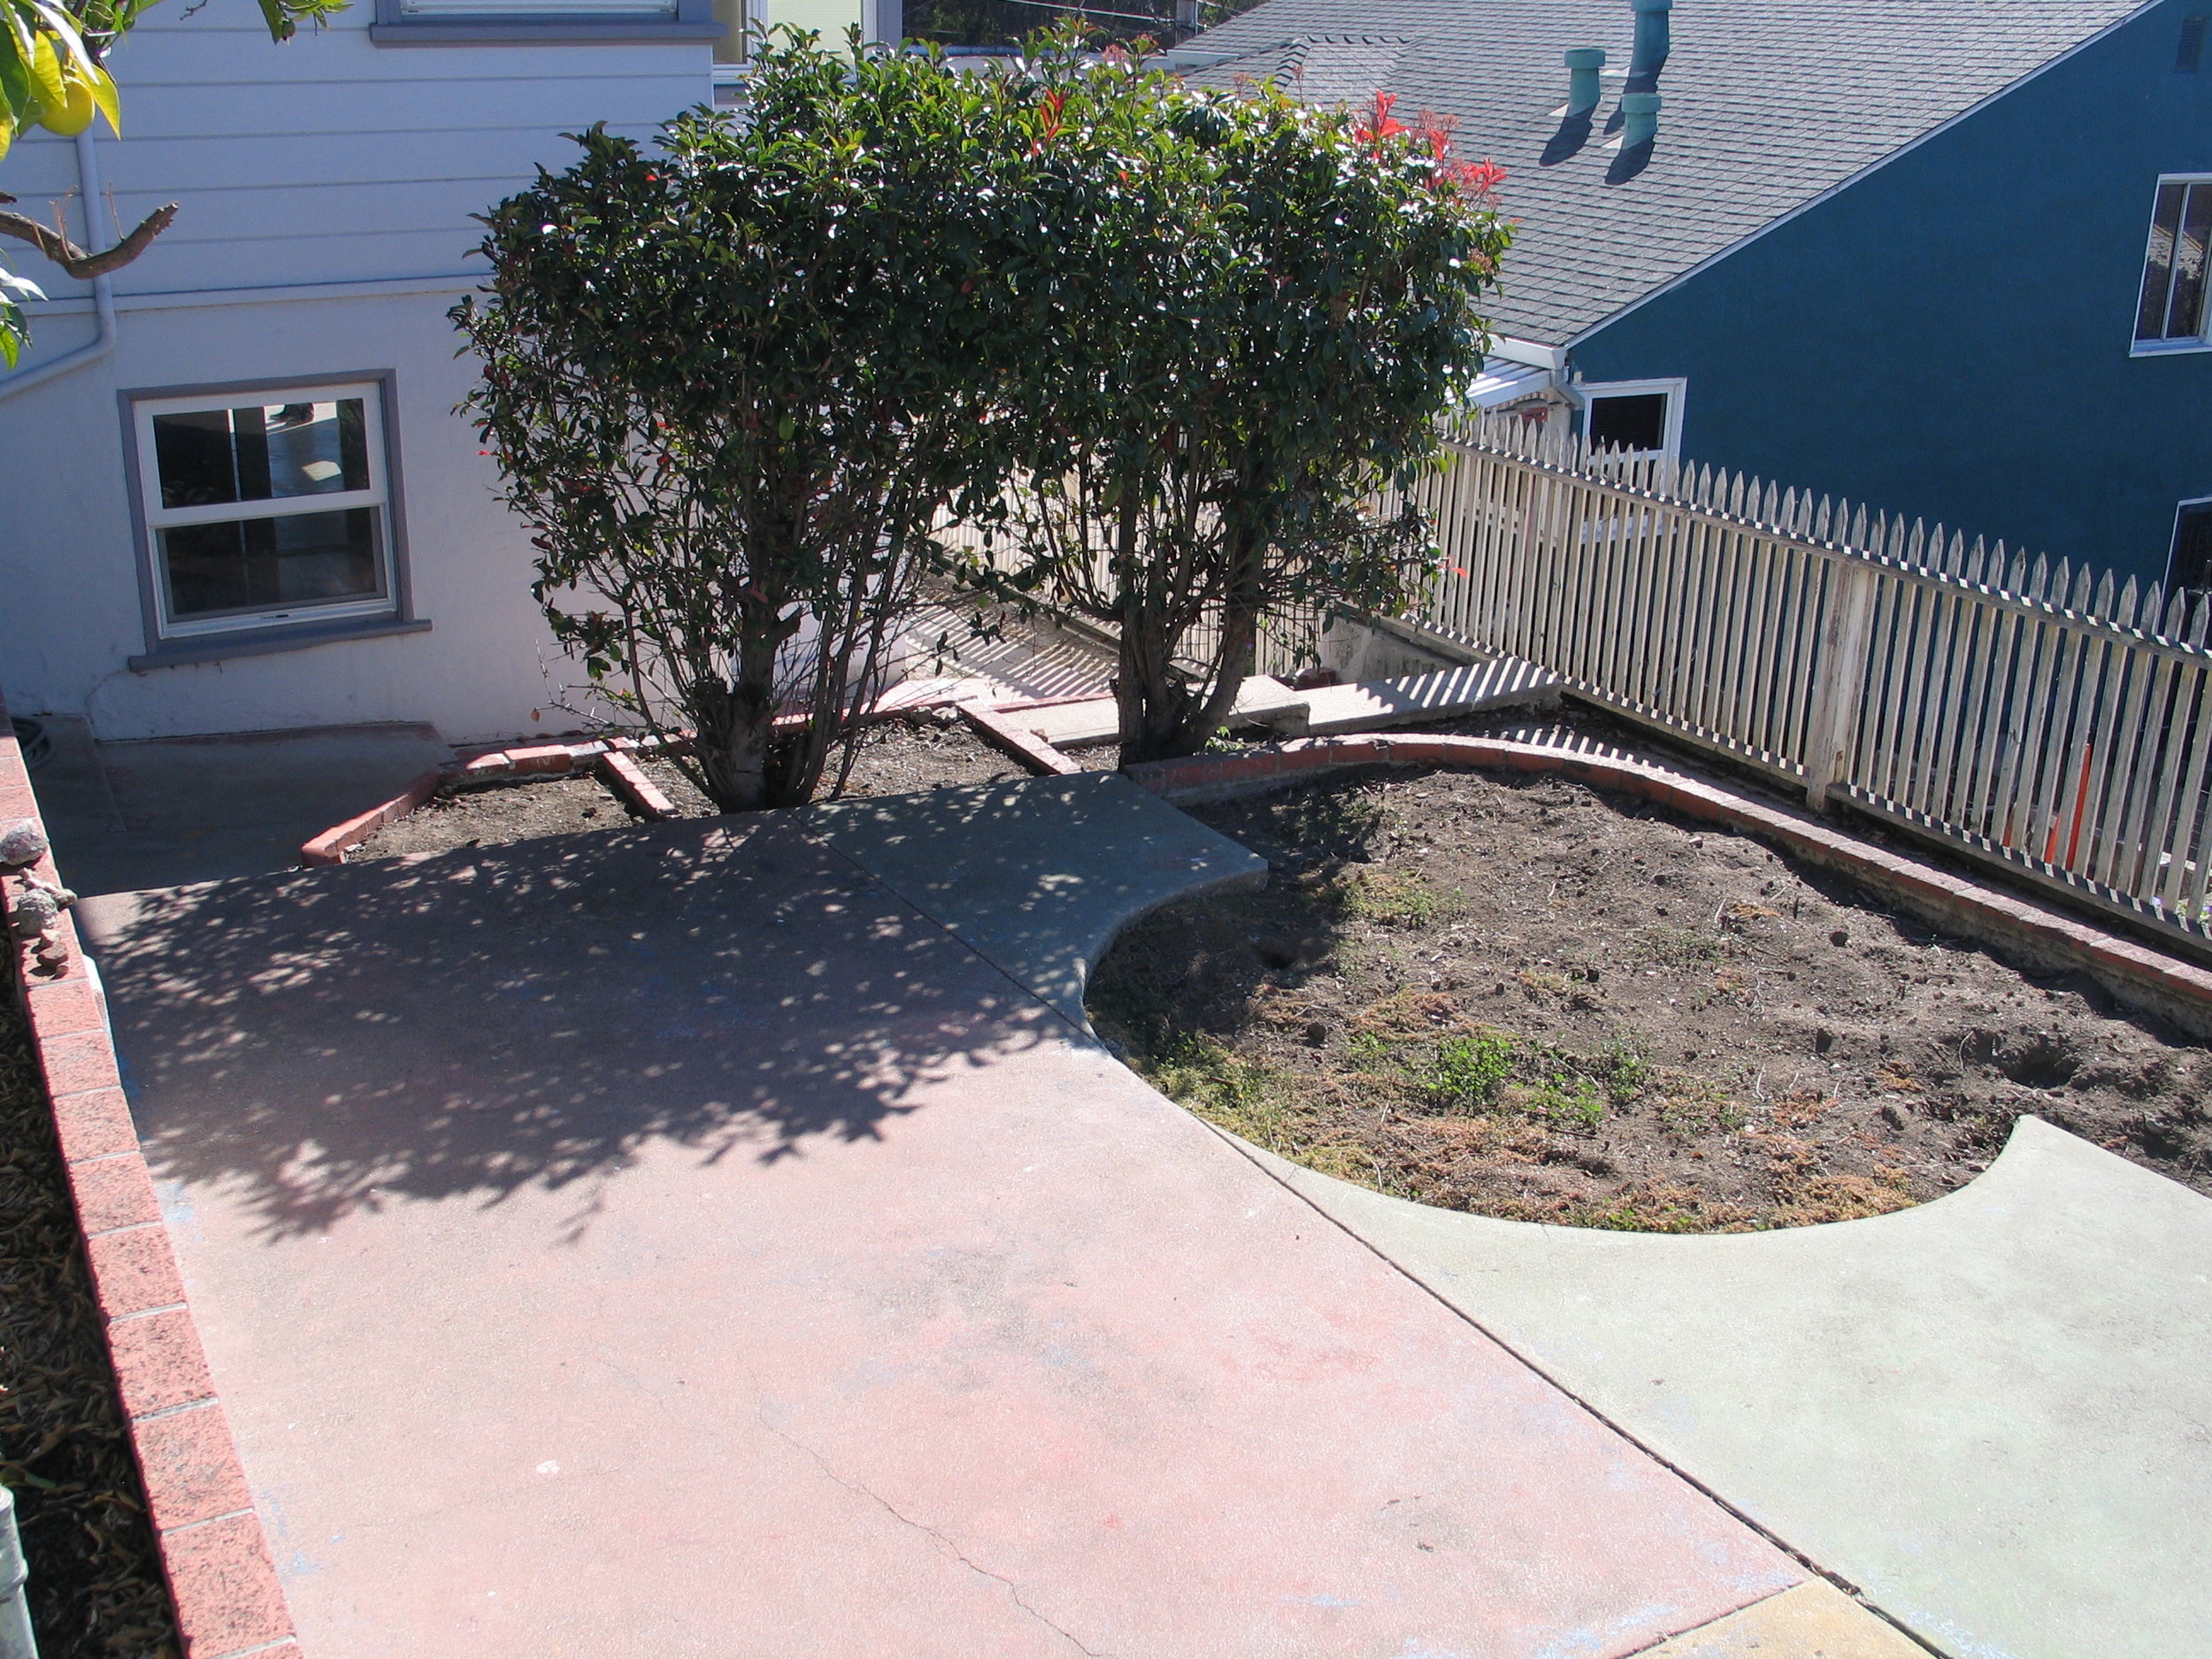
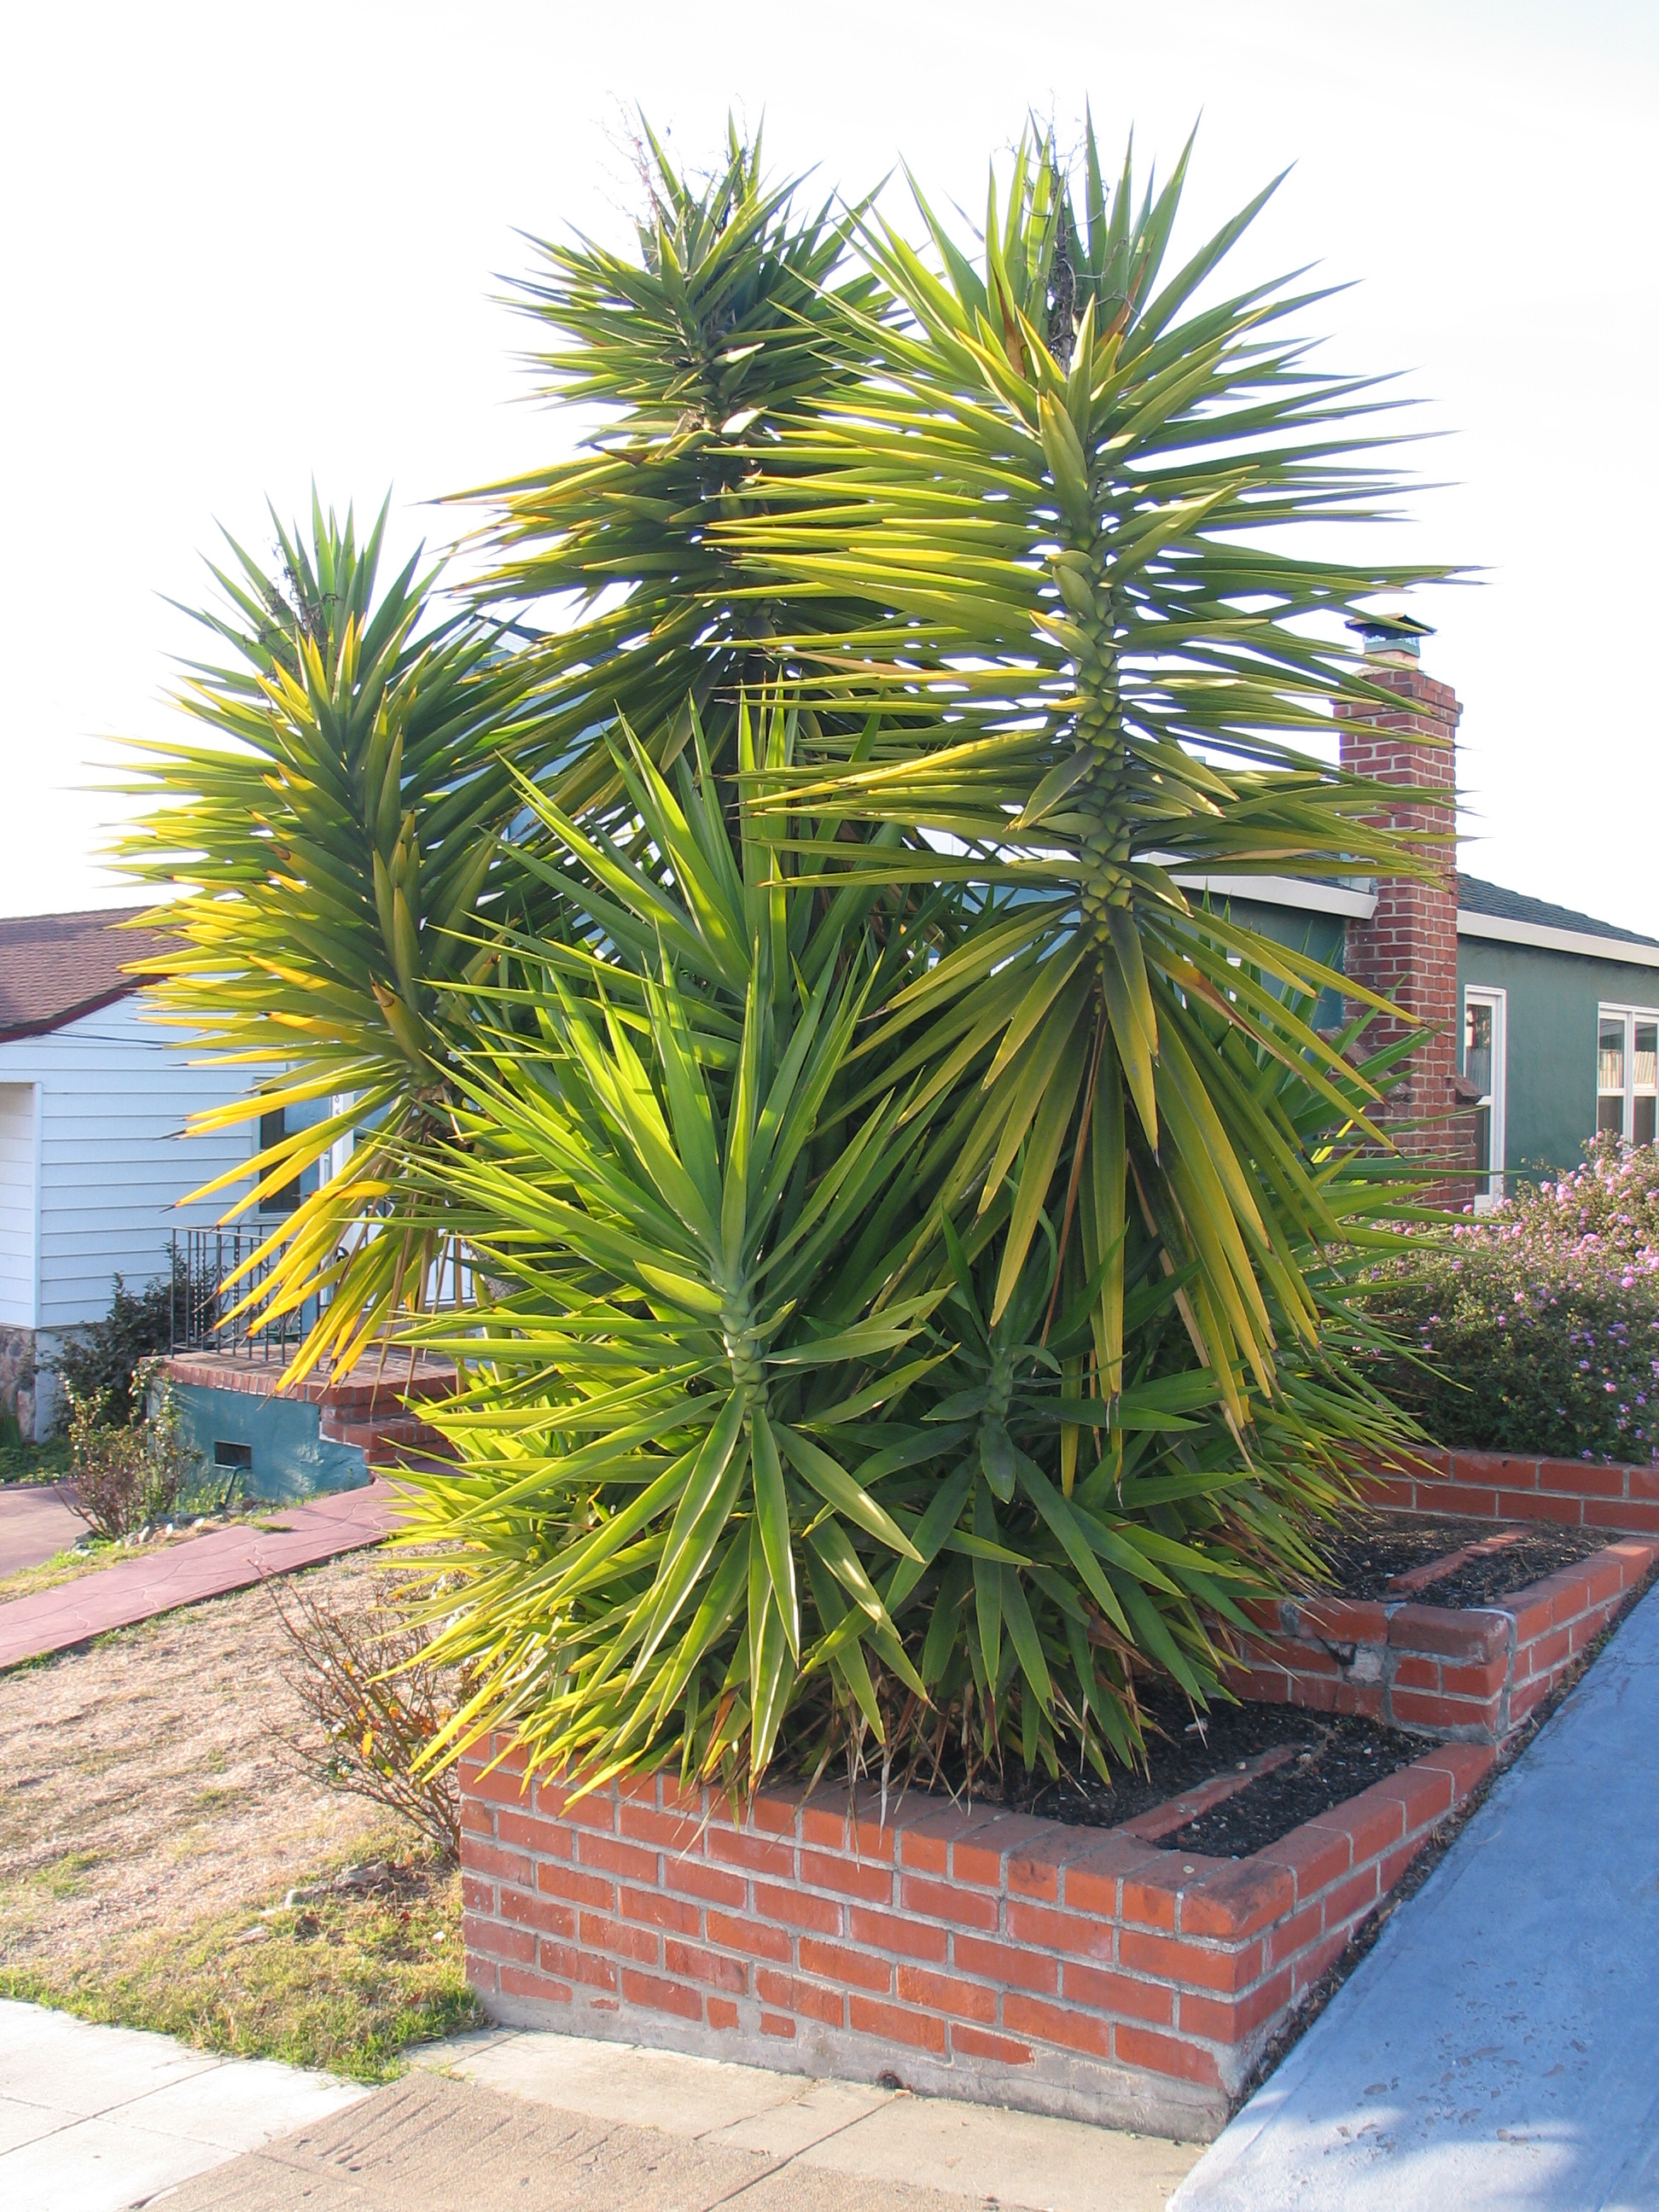
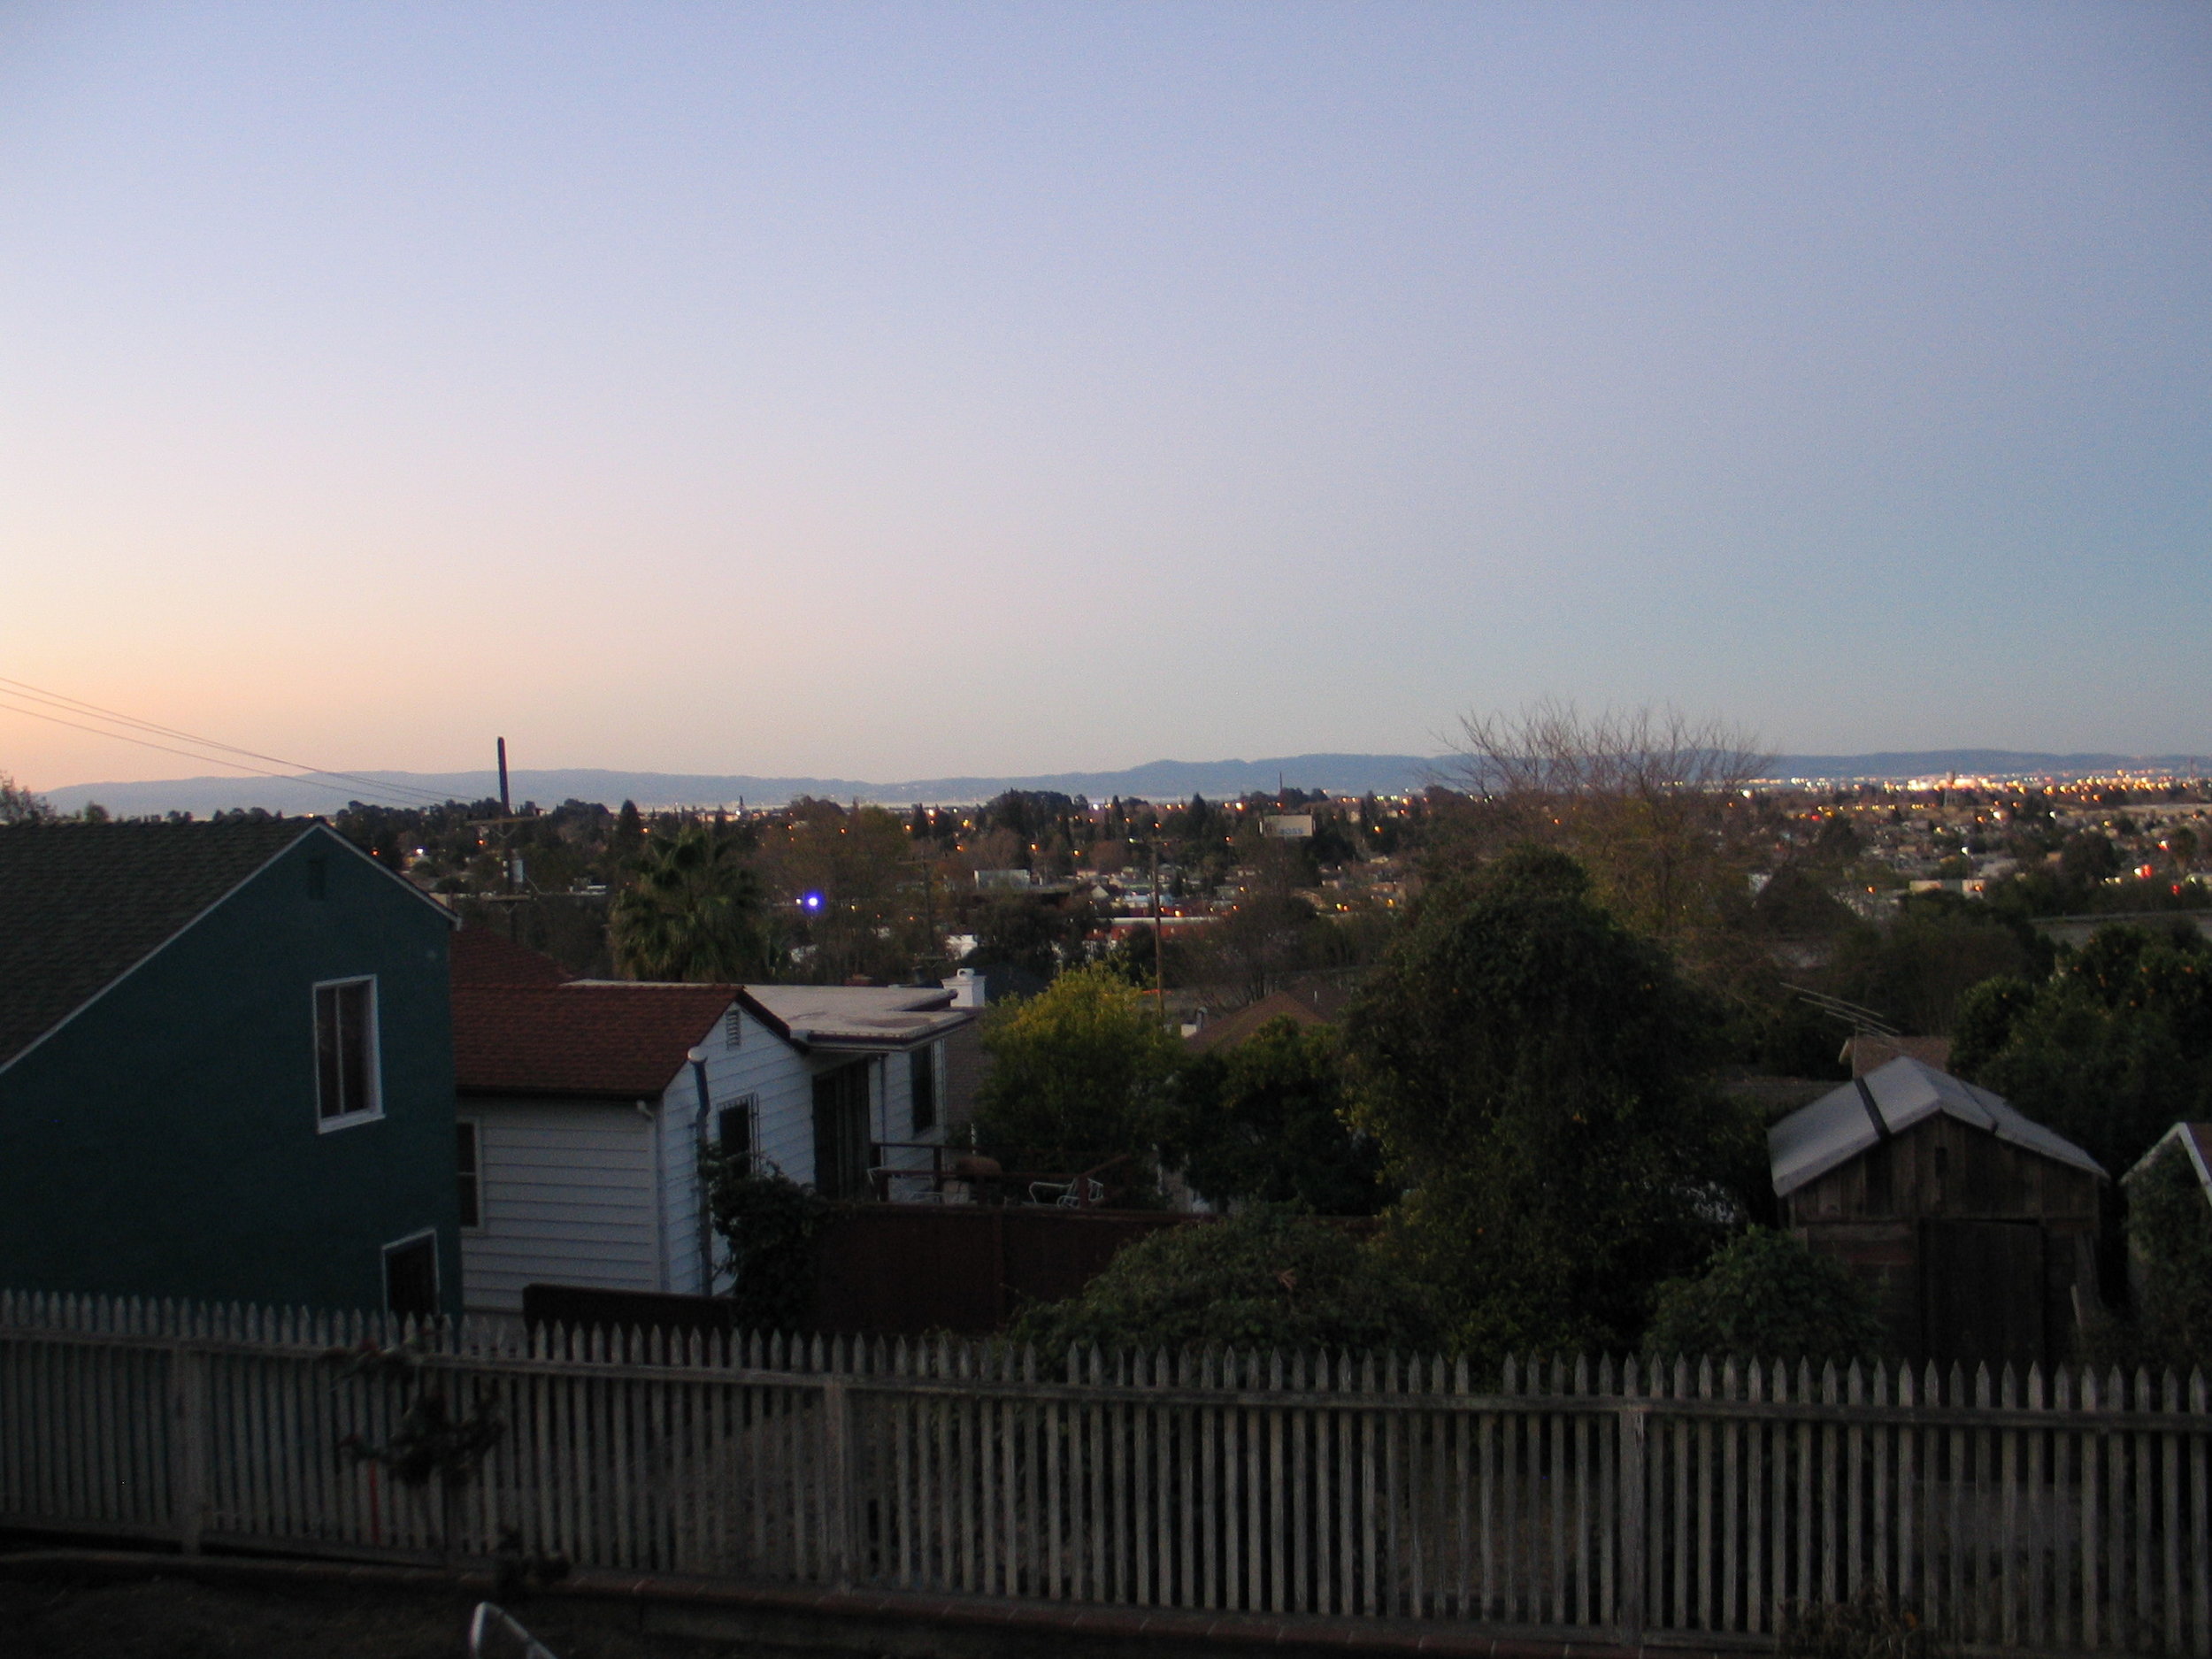
Hello there! I've been away from this blog far too long. Things have been quite busy with a whole mess of life and work changes.The big news is that I moved into a new place. I'm in the very beginning stages of designing the garden here, and wanted to share with you some of the challenges I am facing and what I'm doing to make this place as useful and responsive to my needs as possible. This could take me a while, but I'm game if you are:For starters, the previous occupants planted thorny Bougainvillea next to the gate to one of the side yards. You have to squeeze by it and hope there aren't any bad guys lurking behind it to get into the rear yard. Don't catch your sleeve on the sickly, not even fragrant, and incredibly thorny patio tree rose on the left as you go:If you look behind the Bougainvillea, you'll see a very typical fence which blocks visibility into the back yard (hello again, bad guys!). A friend commented to me that it seemed wrong to block views into what will hopefully become a beautiful side yard. I have to agree! Visibility issues aside, what you can't see is that this opaque fence is nailed to the once charming original fence:Way cuter, right?! yep, I thought so too. and next is that side yard that will eventually become beautiful. Here, what you can't see are all the weed seeds that germinated the moment I moved in keeping me busy indefinitely: If you follow the side yard, you come to the back where there's some lovely painted concrete in reggae colors with teensy tiny meaningless lawns and very old, well established Photinia (one of my least favorite shrubs EVER!). How snazzy is that bit of solid fencing there? I love how it gracefully blocks the view of the neighbor's solid wall. Equally enjoyable is the brick cap on the concrete retaining walls. No lack of design consideration here:Which brings me to the shed. I love love love the shed. It has holes in the roof and sides from what appear to be buckshot so that rain drips directly on the shelf and is rotting the framing. I have no idea what that railing is for, nor why there's a flagpole footing in front of the little railing surrounded platform. I call it the pulpit. The pulpit's days are numbered; same goes for the flagpole footing and little concrete pad in front of it.In the front is an unreasonable amount of purple Lantana and this thing, probably Yucca elephantipes. It will get way too big for that little retaining wall and will break it and start all kinds of trouble in the next couple of years if I don't remove it. Sorry, Yucca, you gotta go.The good thing is that when I go to the shed and look out past the festive reggae concrete, Photinias, and strange tiny lawns, I can enjoy sunsets every night.Here's to resolving the design issues and playing in the yard!
What's in a name?
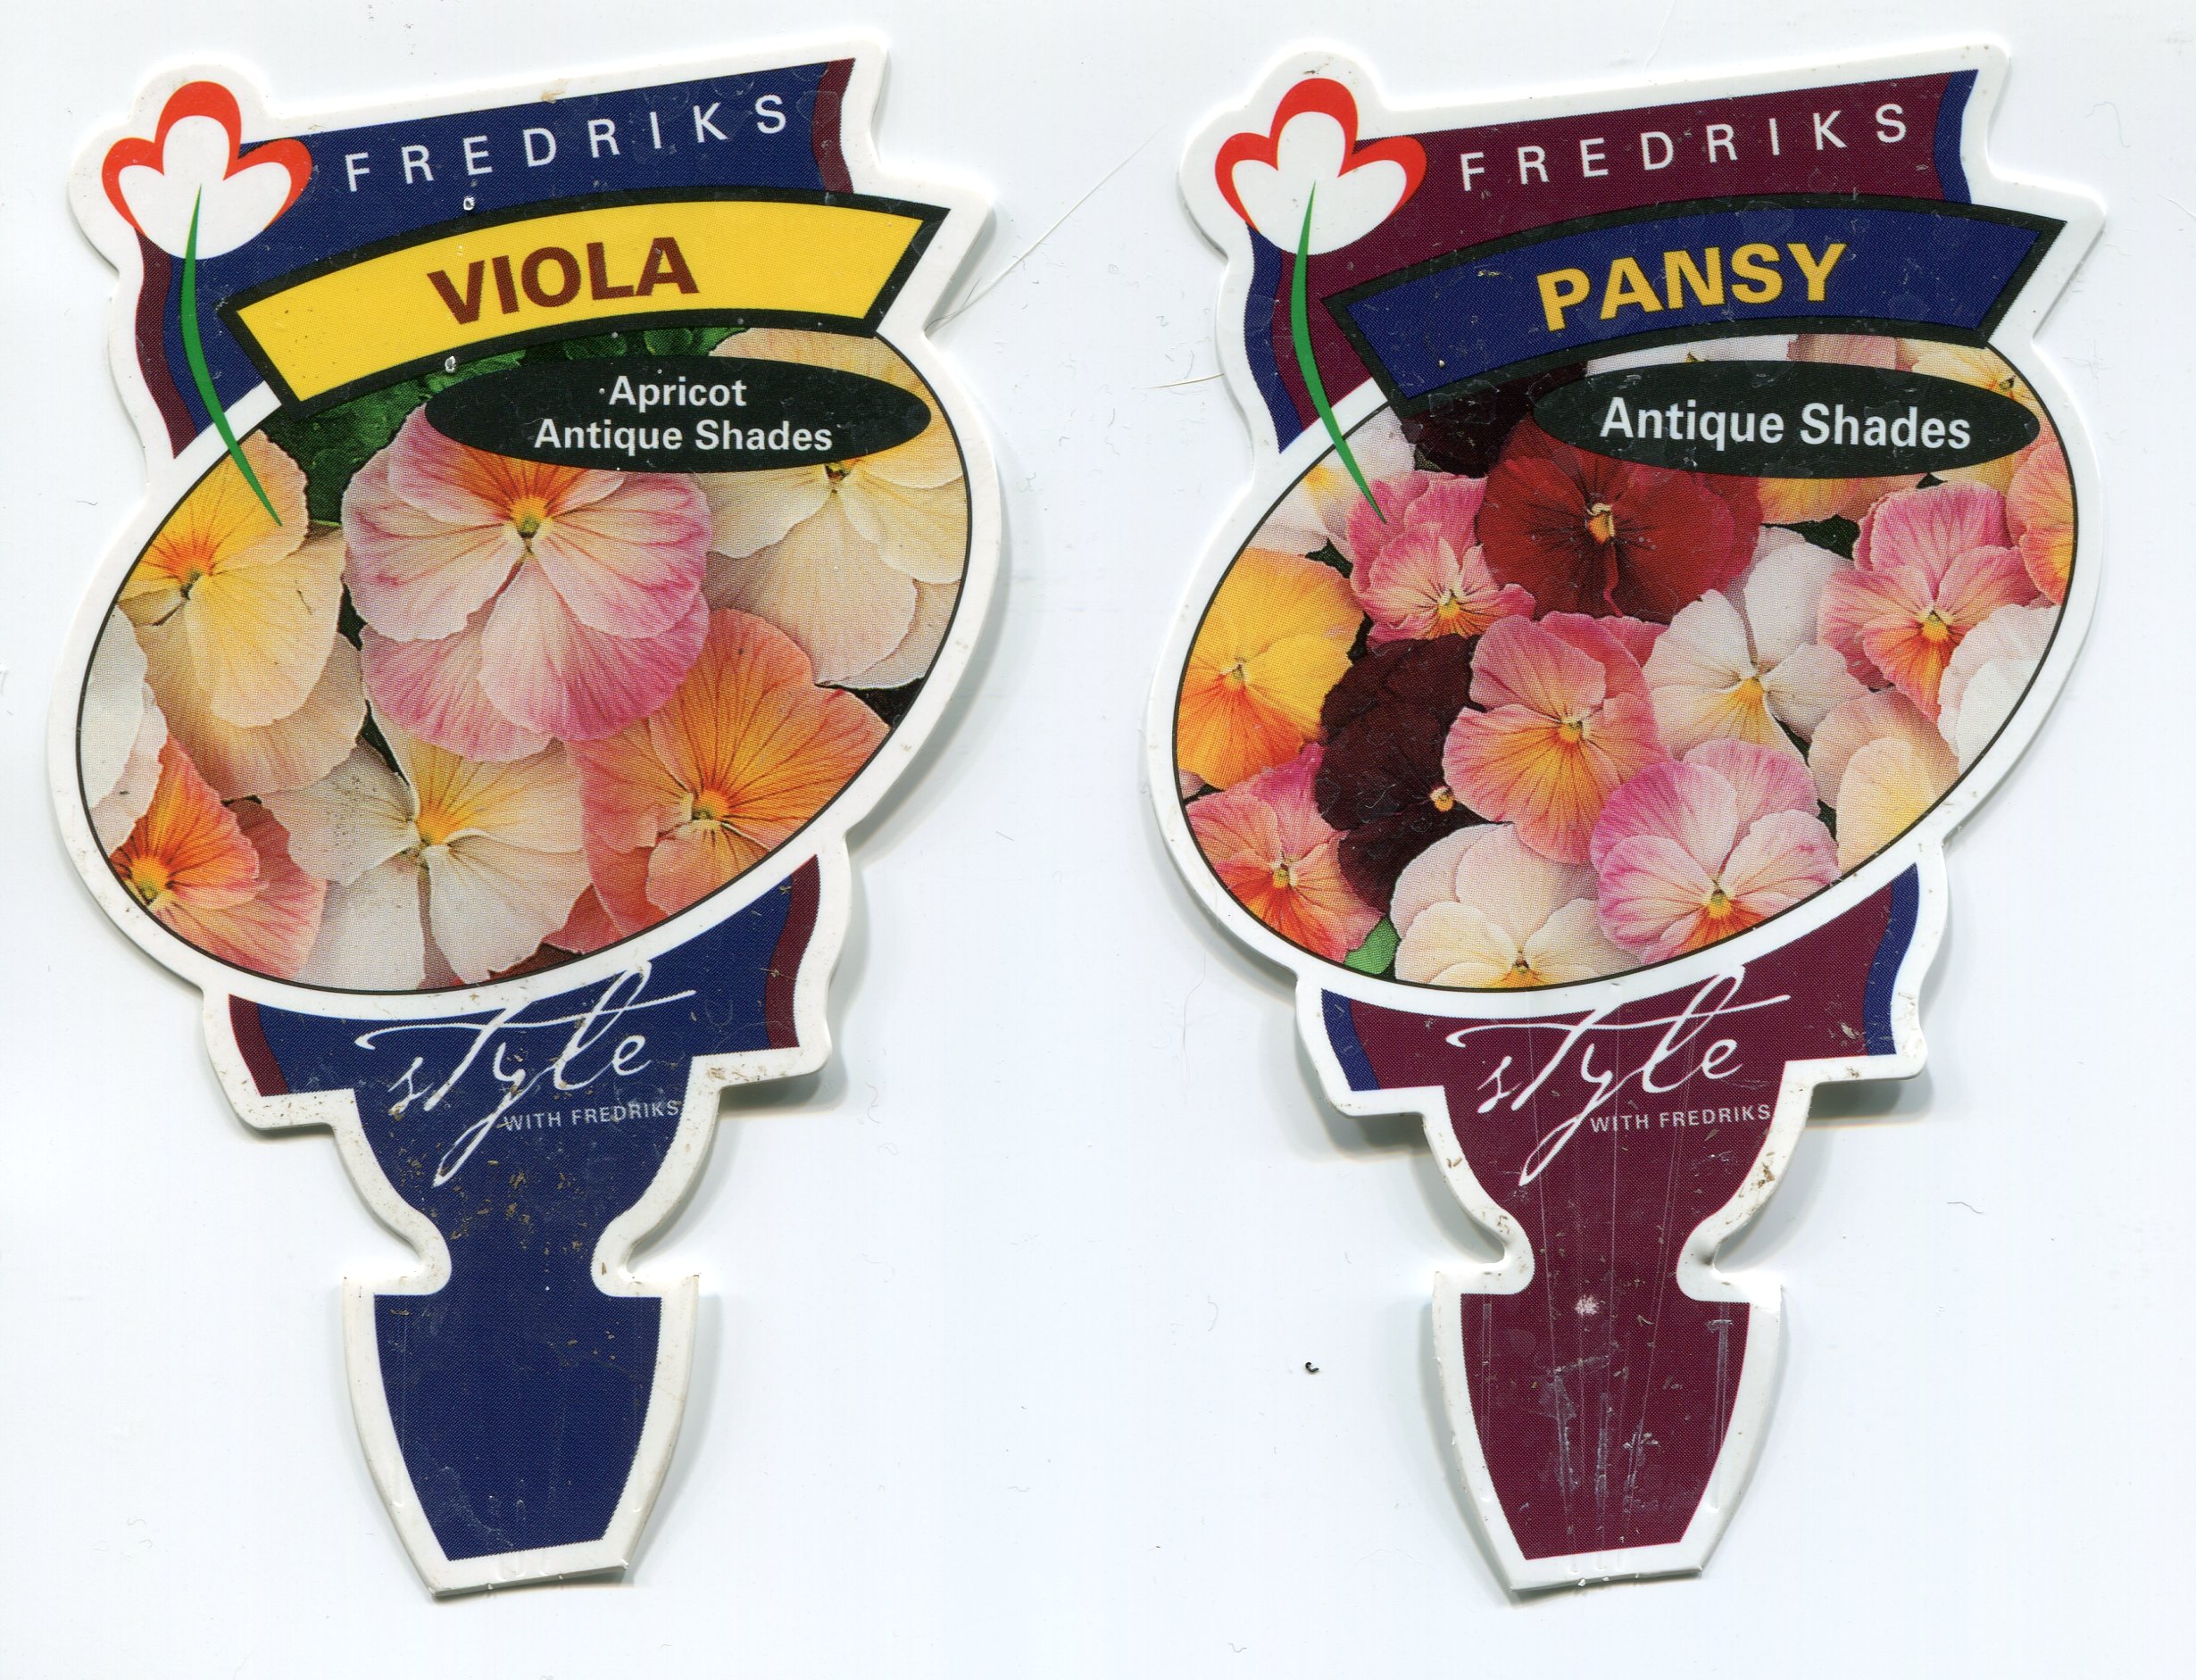
Viola wittrockiana 'antique shades' pansy W viola cornuta 'apricot antique shades'
Helleborous 'Pink Marble' specimen side aa
Helleborous 'Pink Marble' top aa
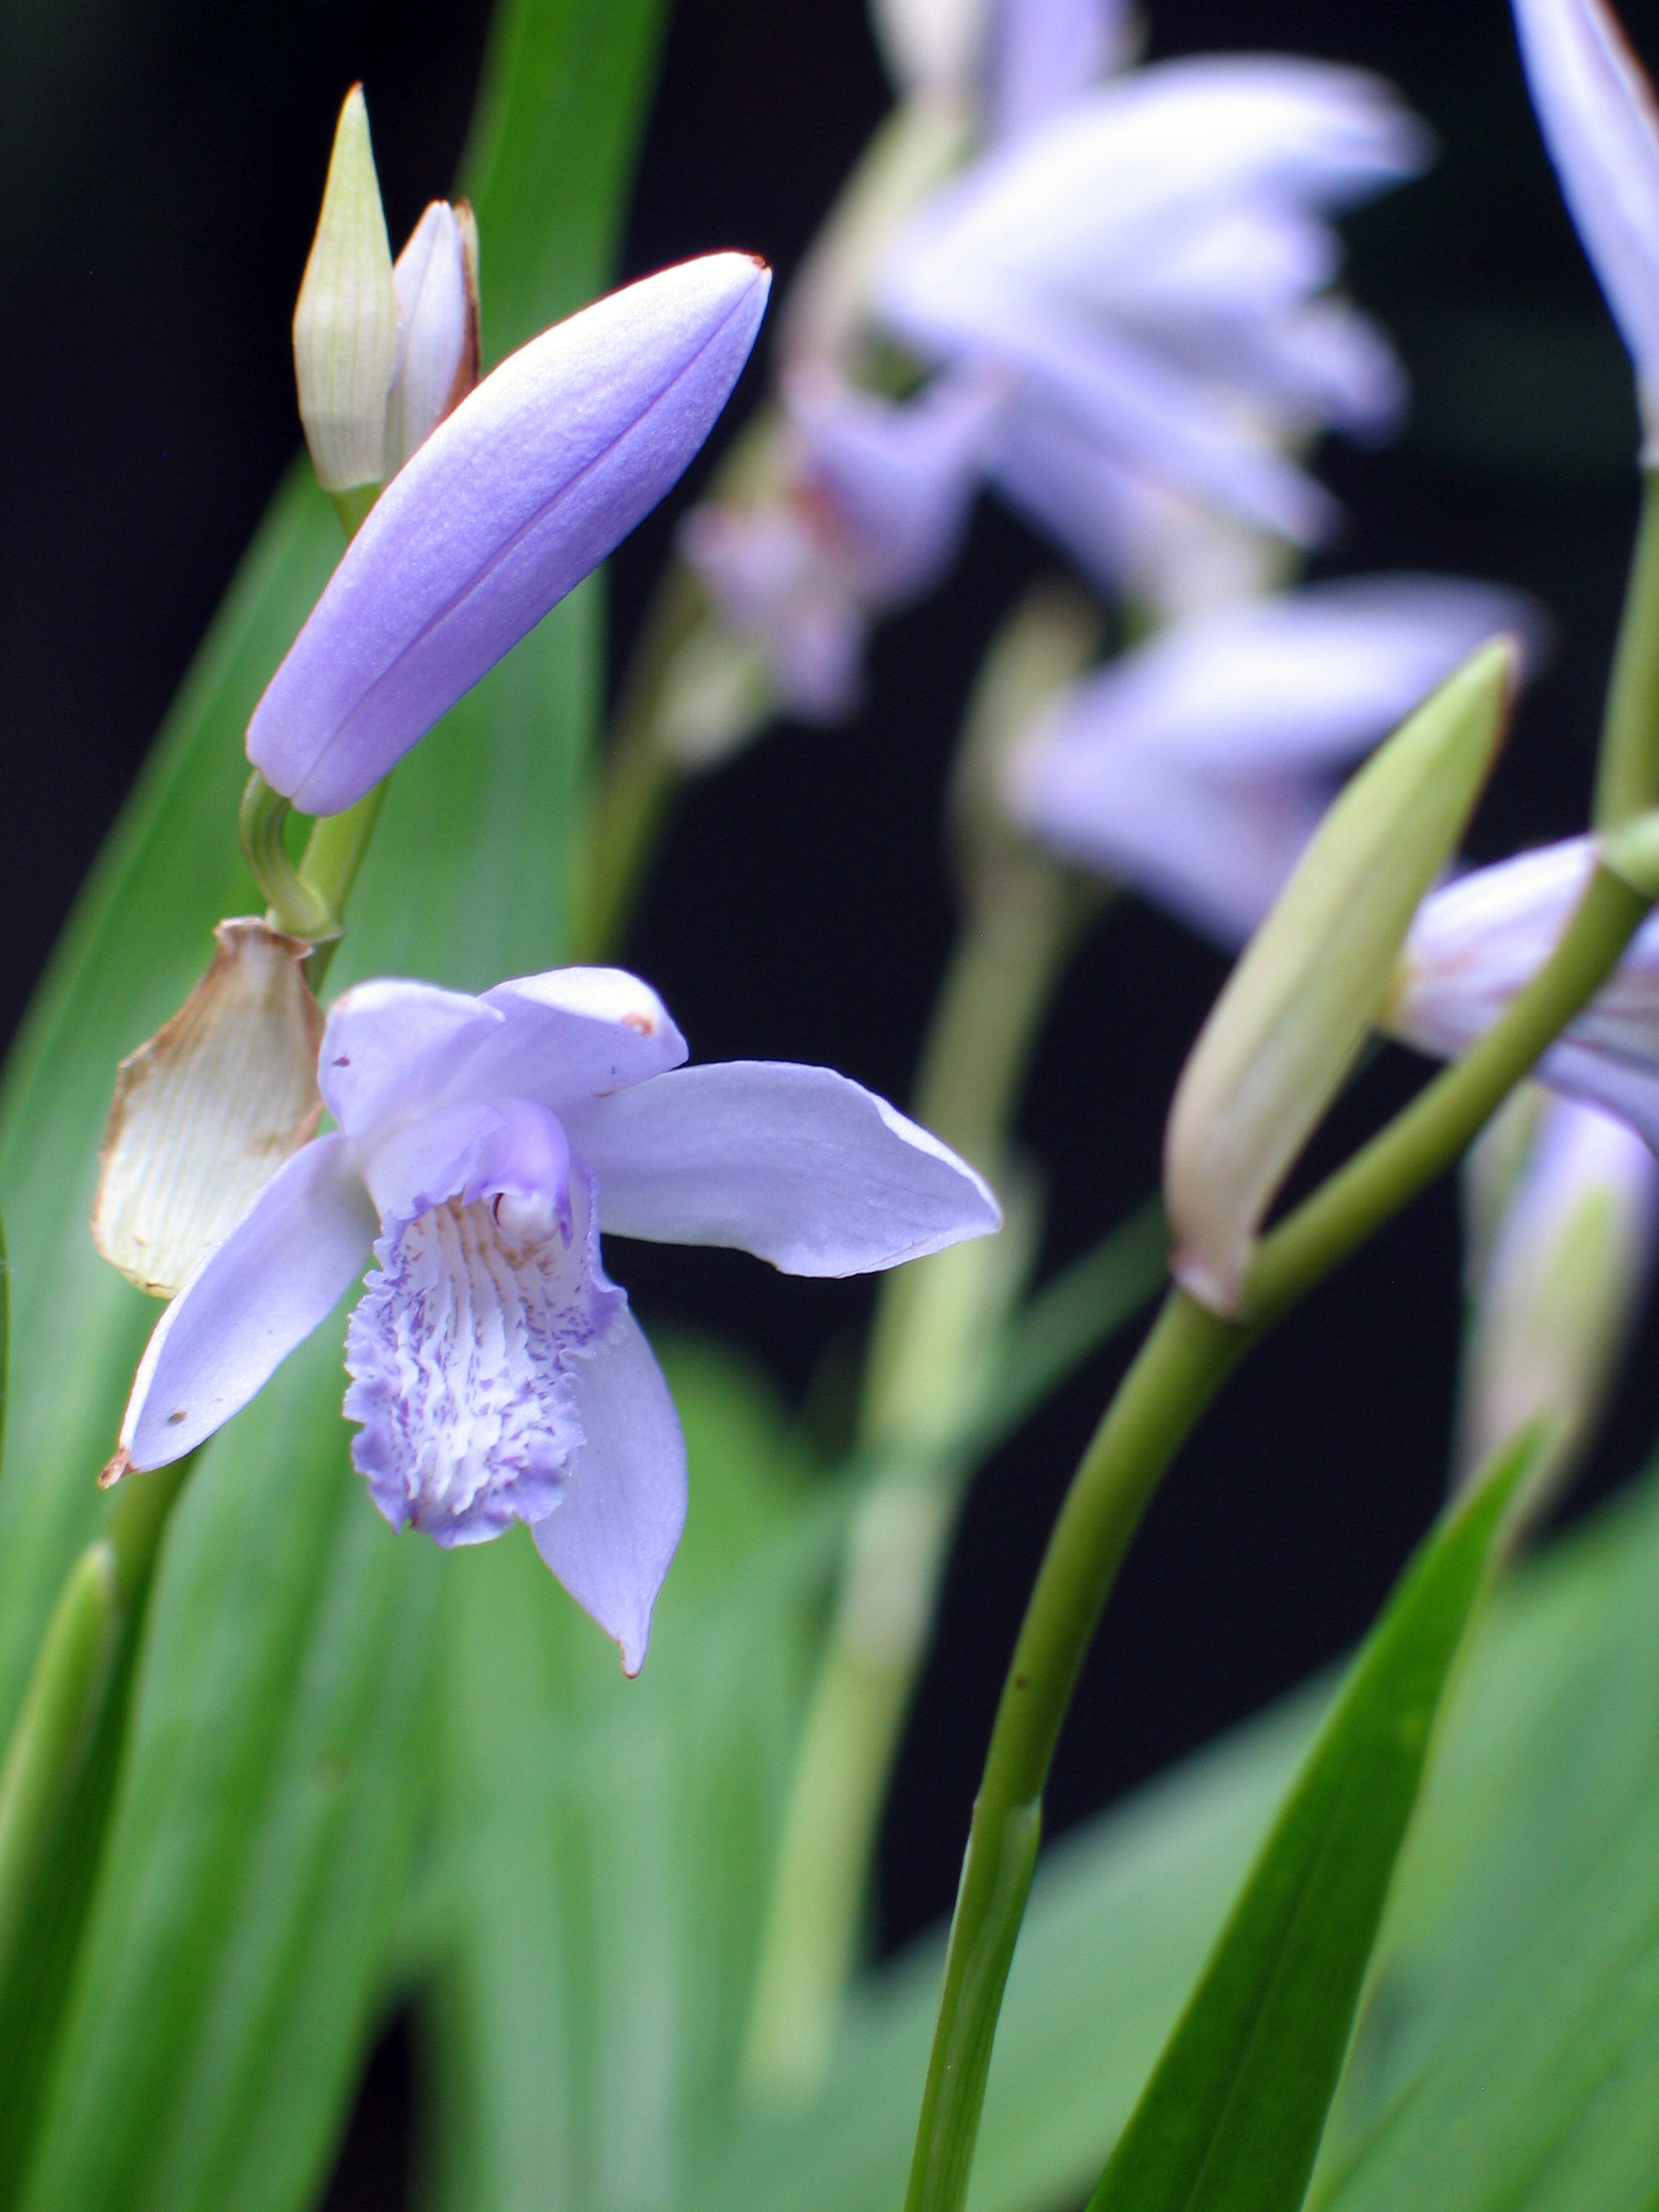
Bletilla 'murasaki shikibu' 15in FL pdn
Bletilla 'murasaki shikibu' 15in FO pdn
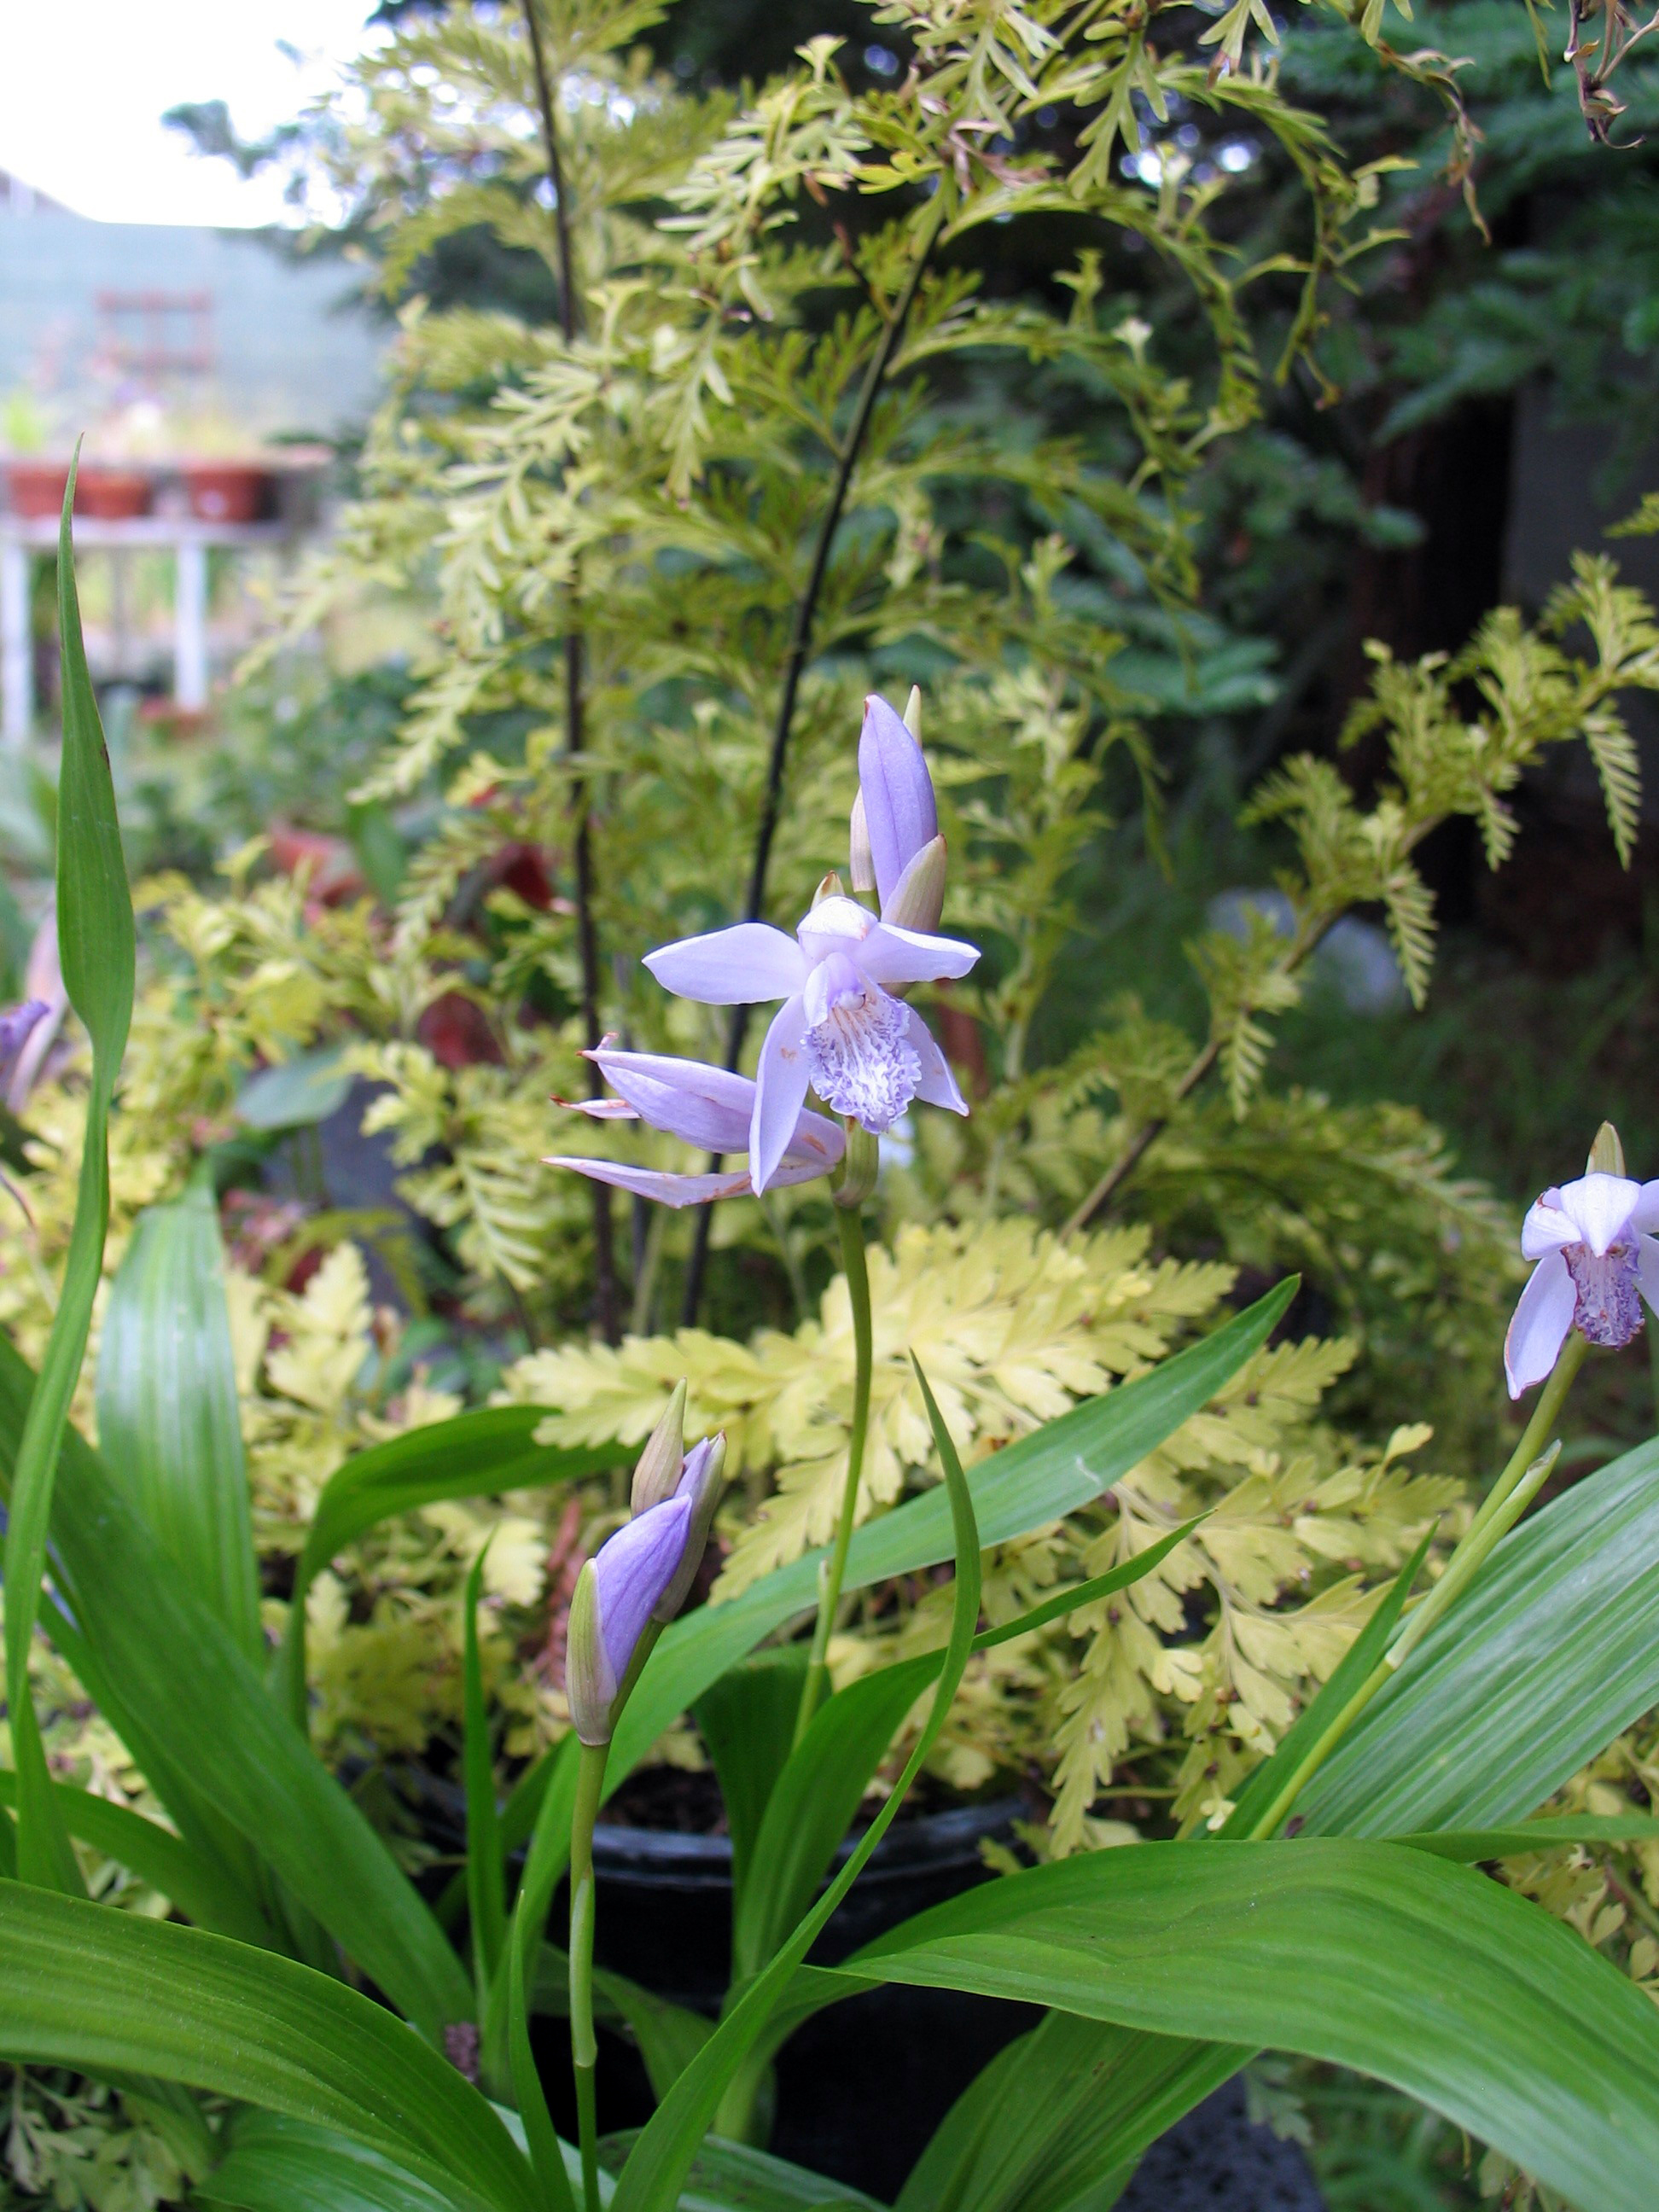
Bletilla 'murasaki shikibu' and Asplenum bulbiferum
viola plant tags front
viola plant tags back
Viola wittrockiana 'antique shades' pansy W viola cornuta 'apricot antique shades' 1
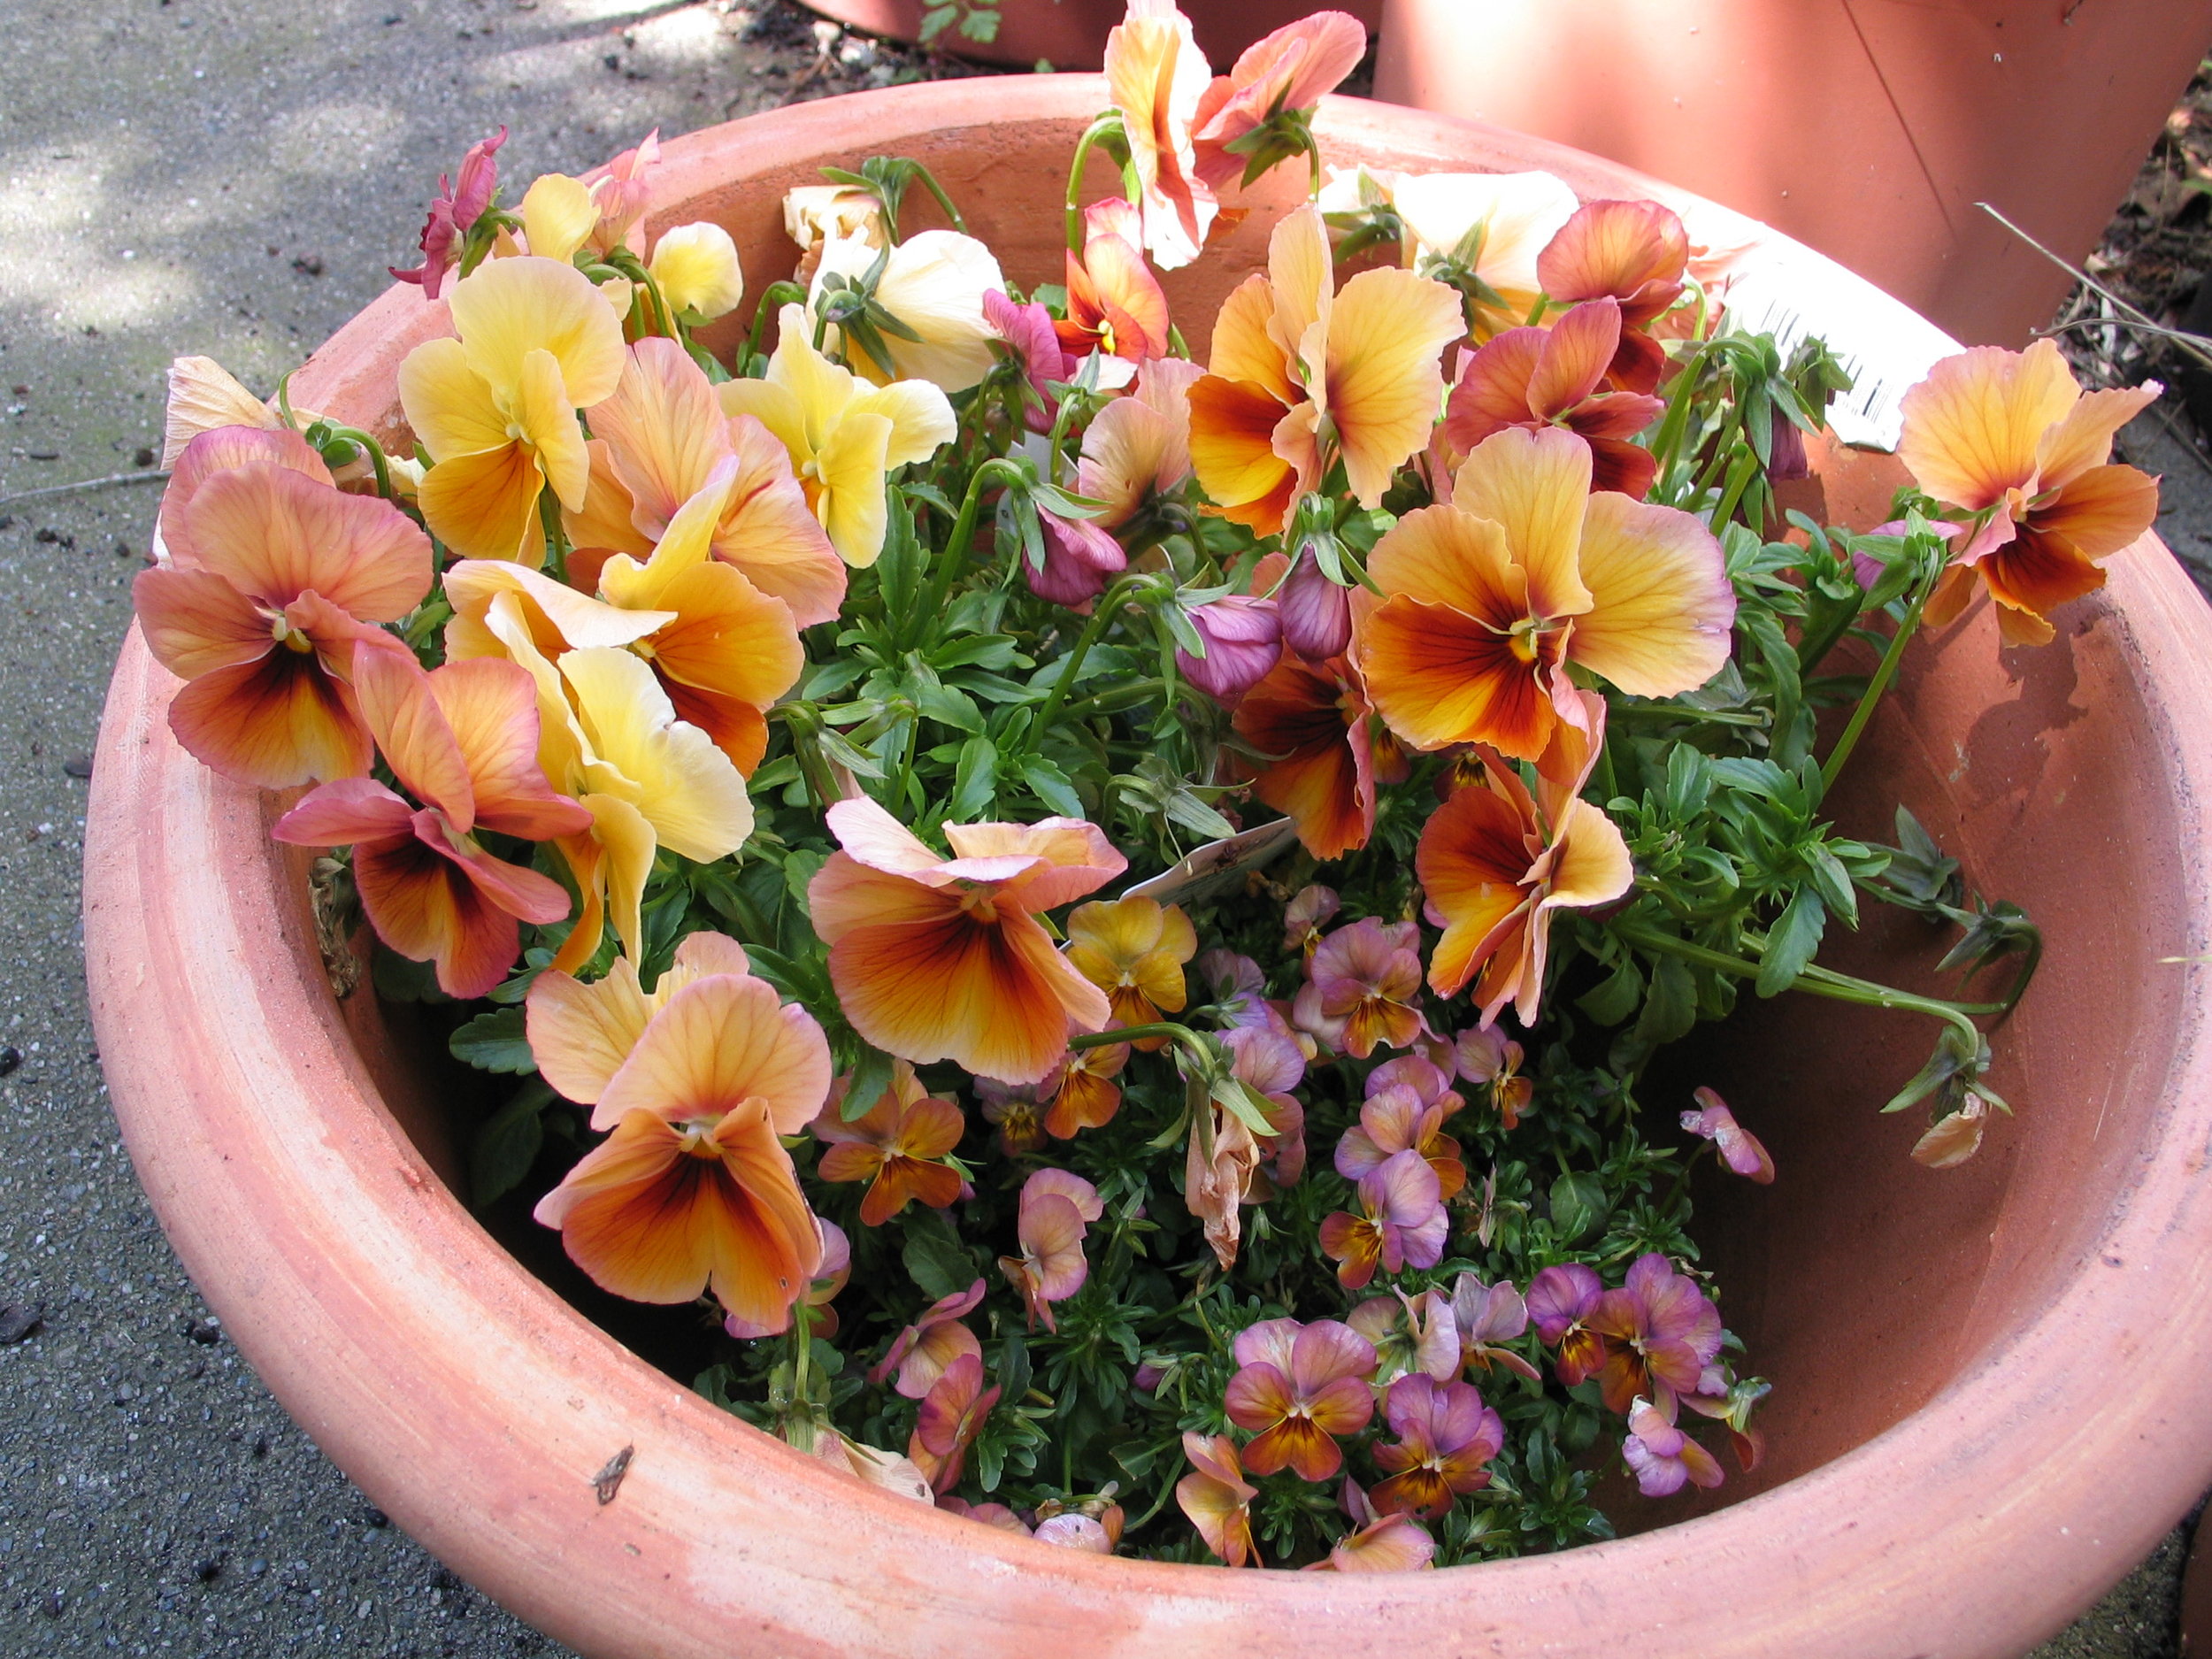
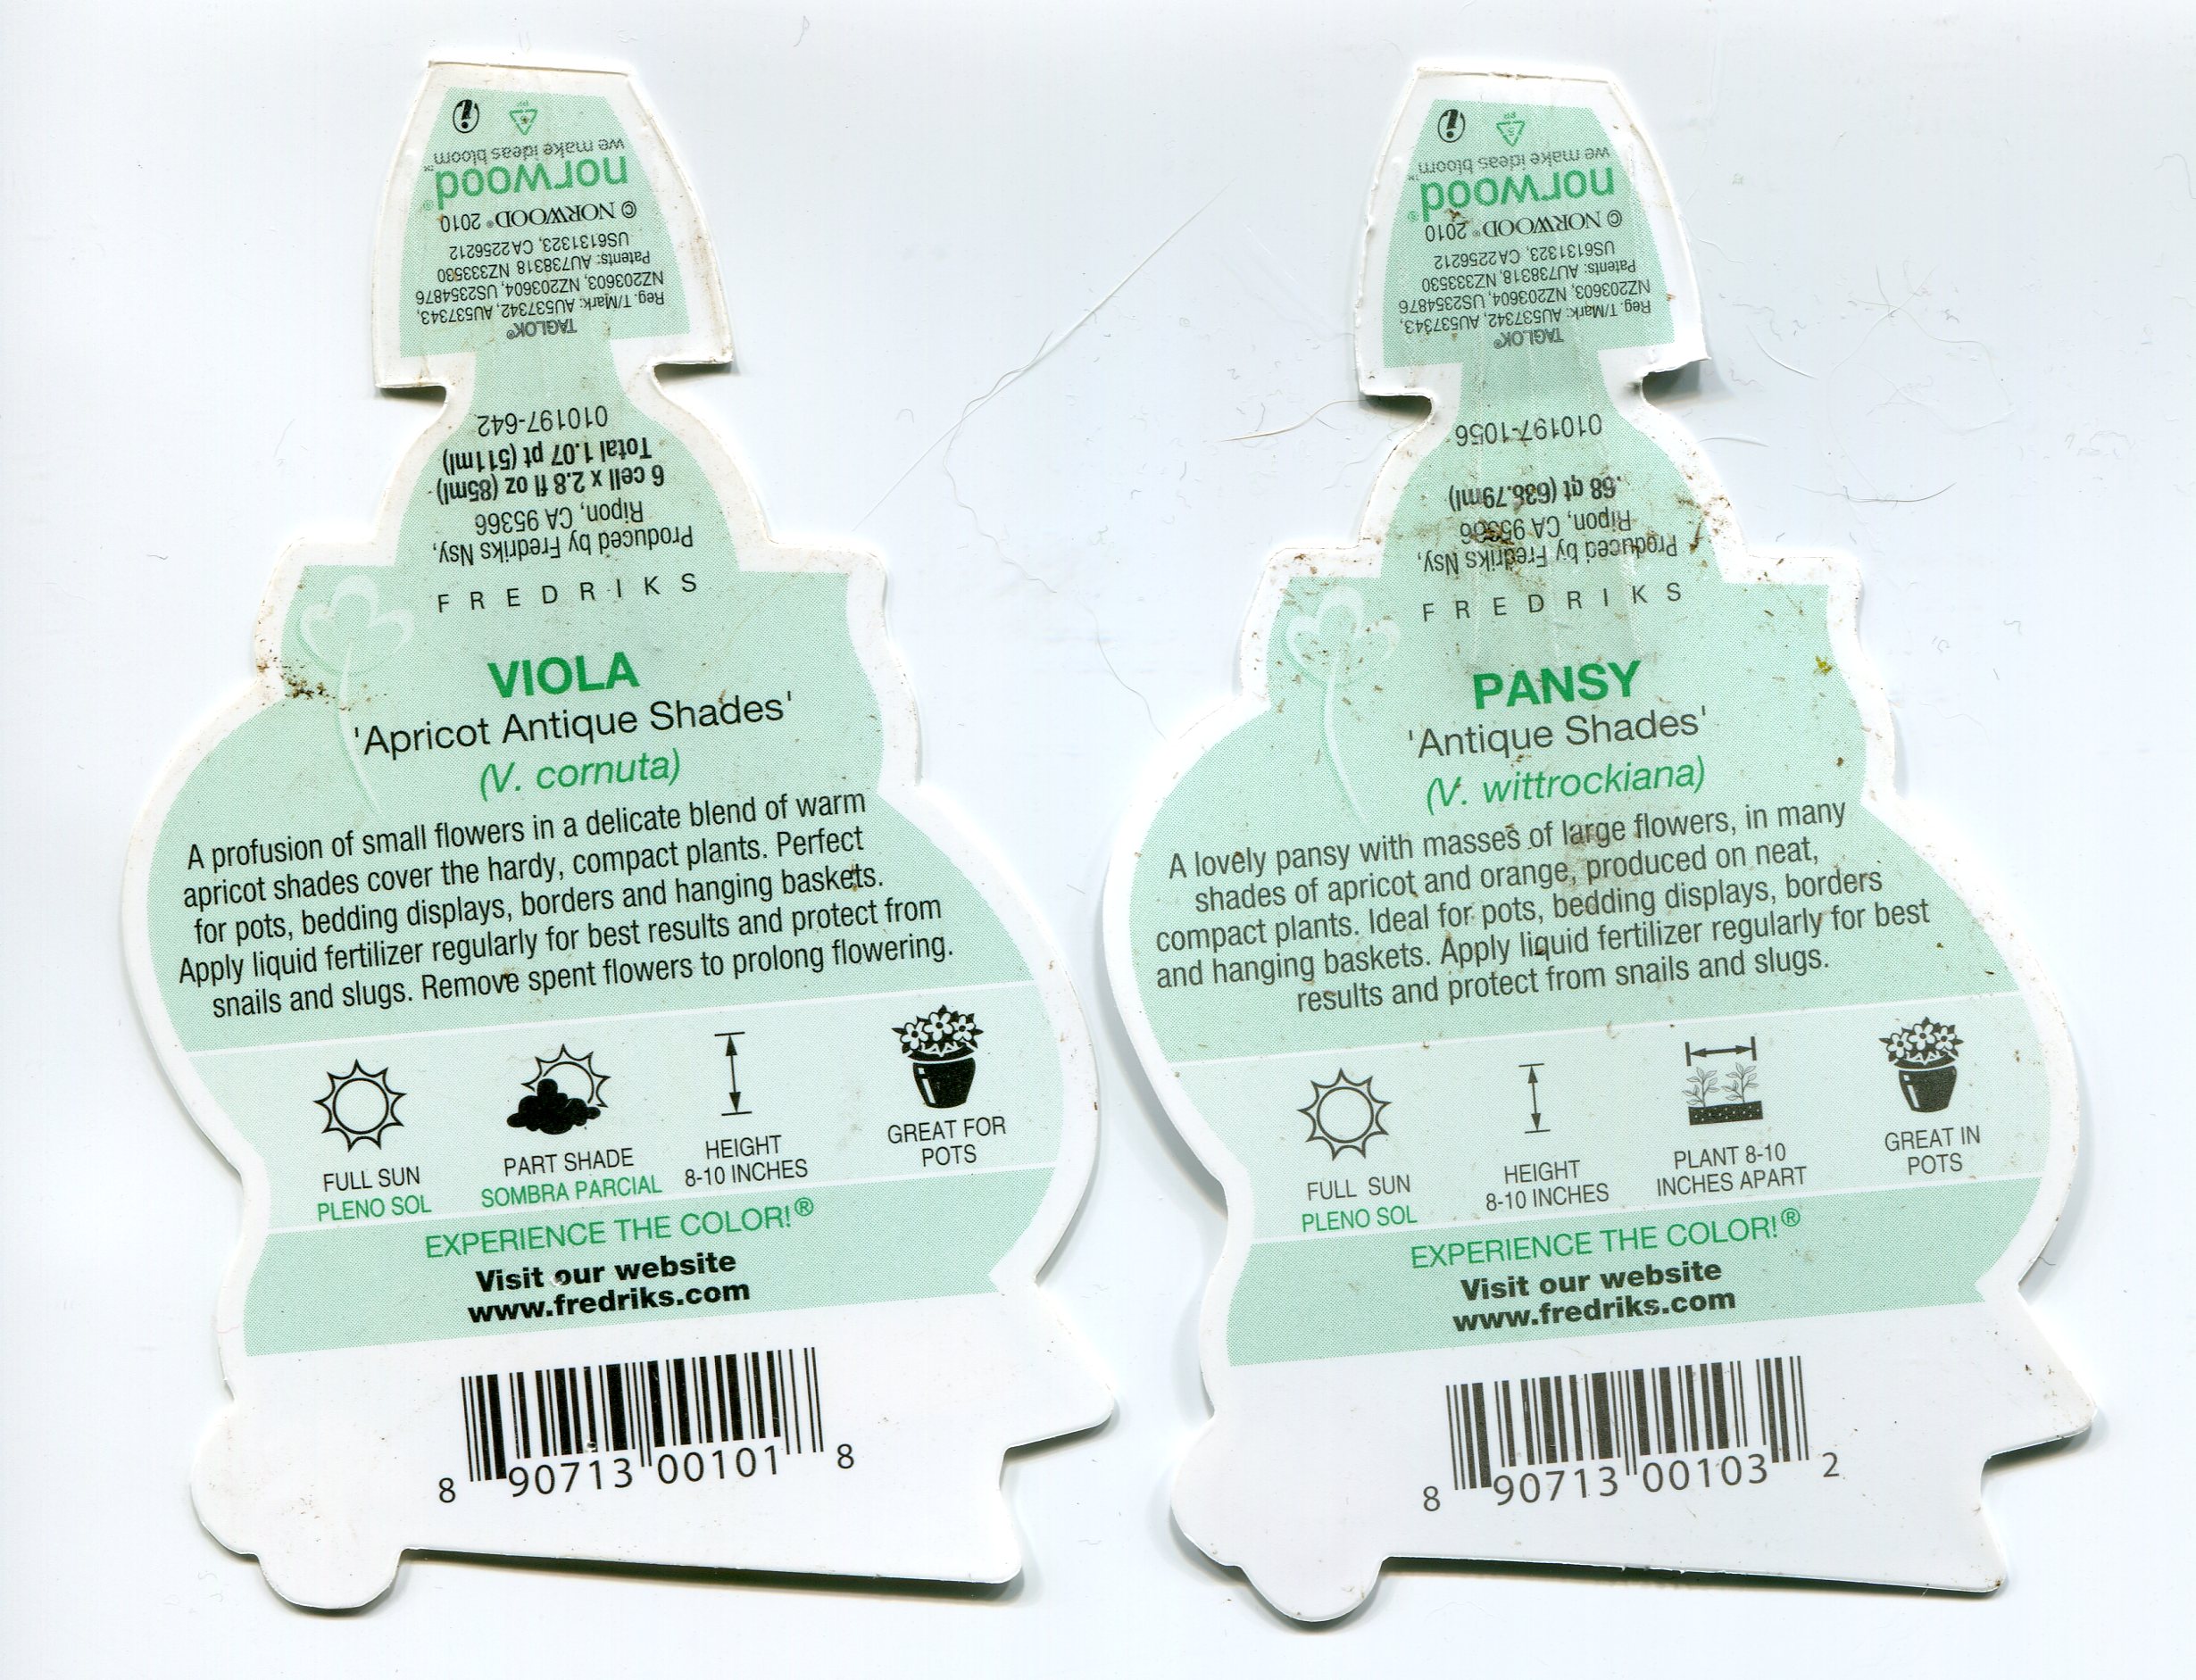
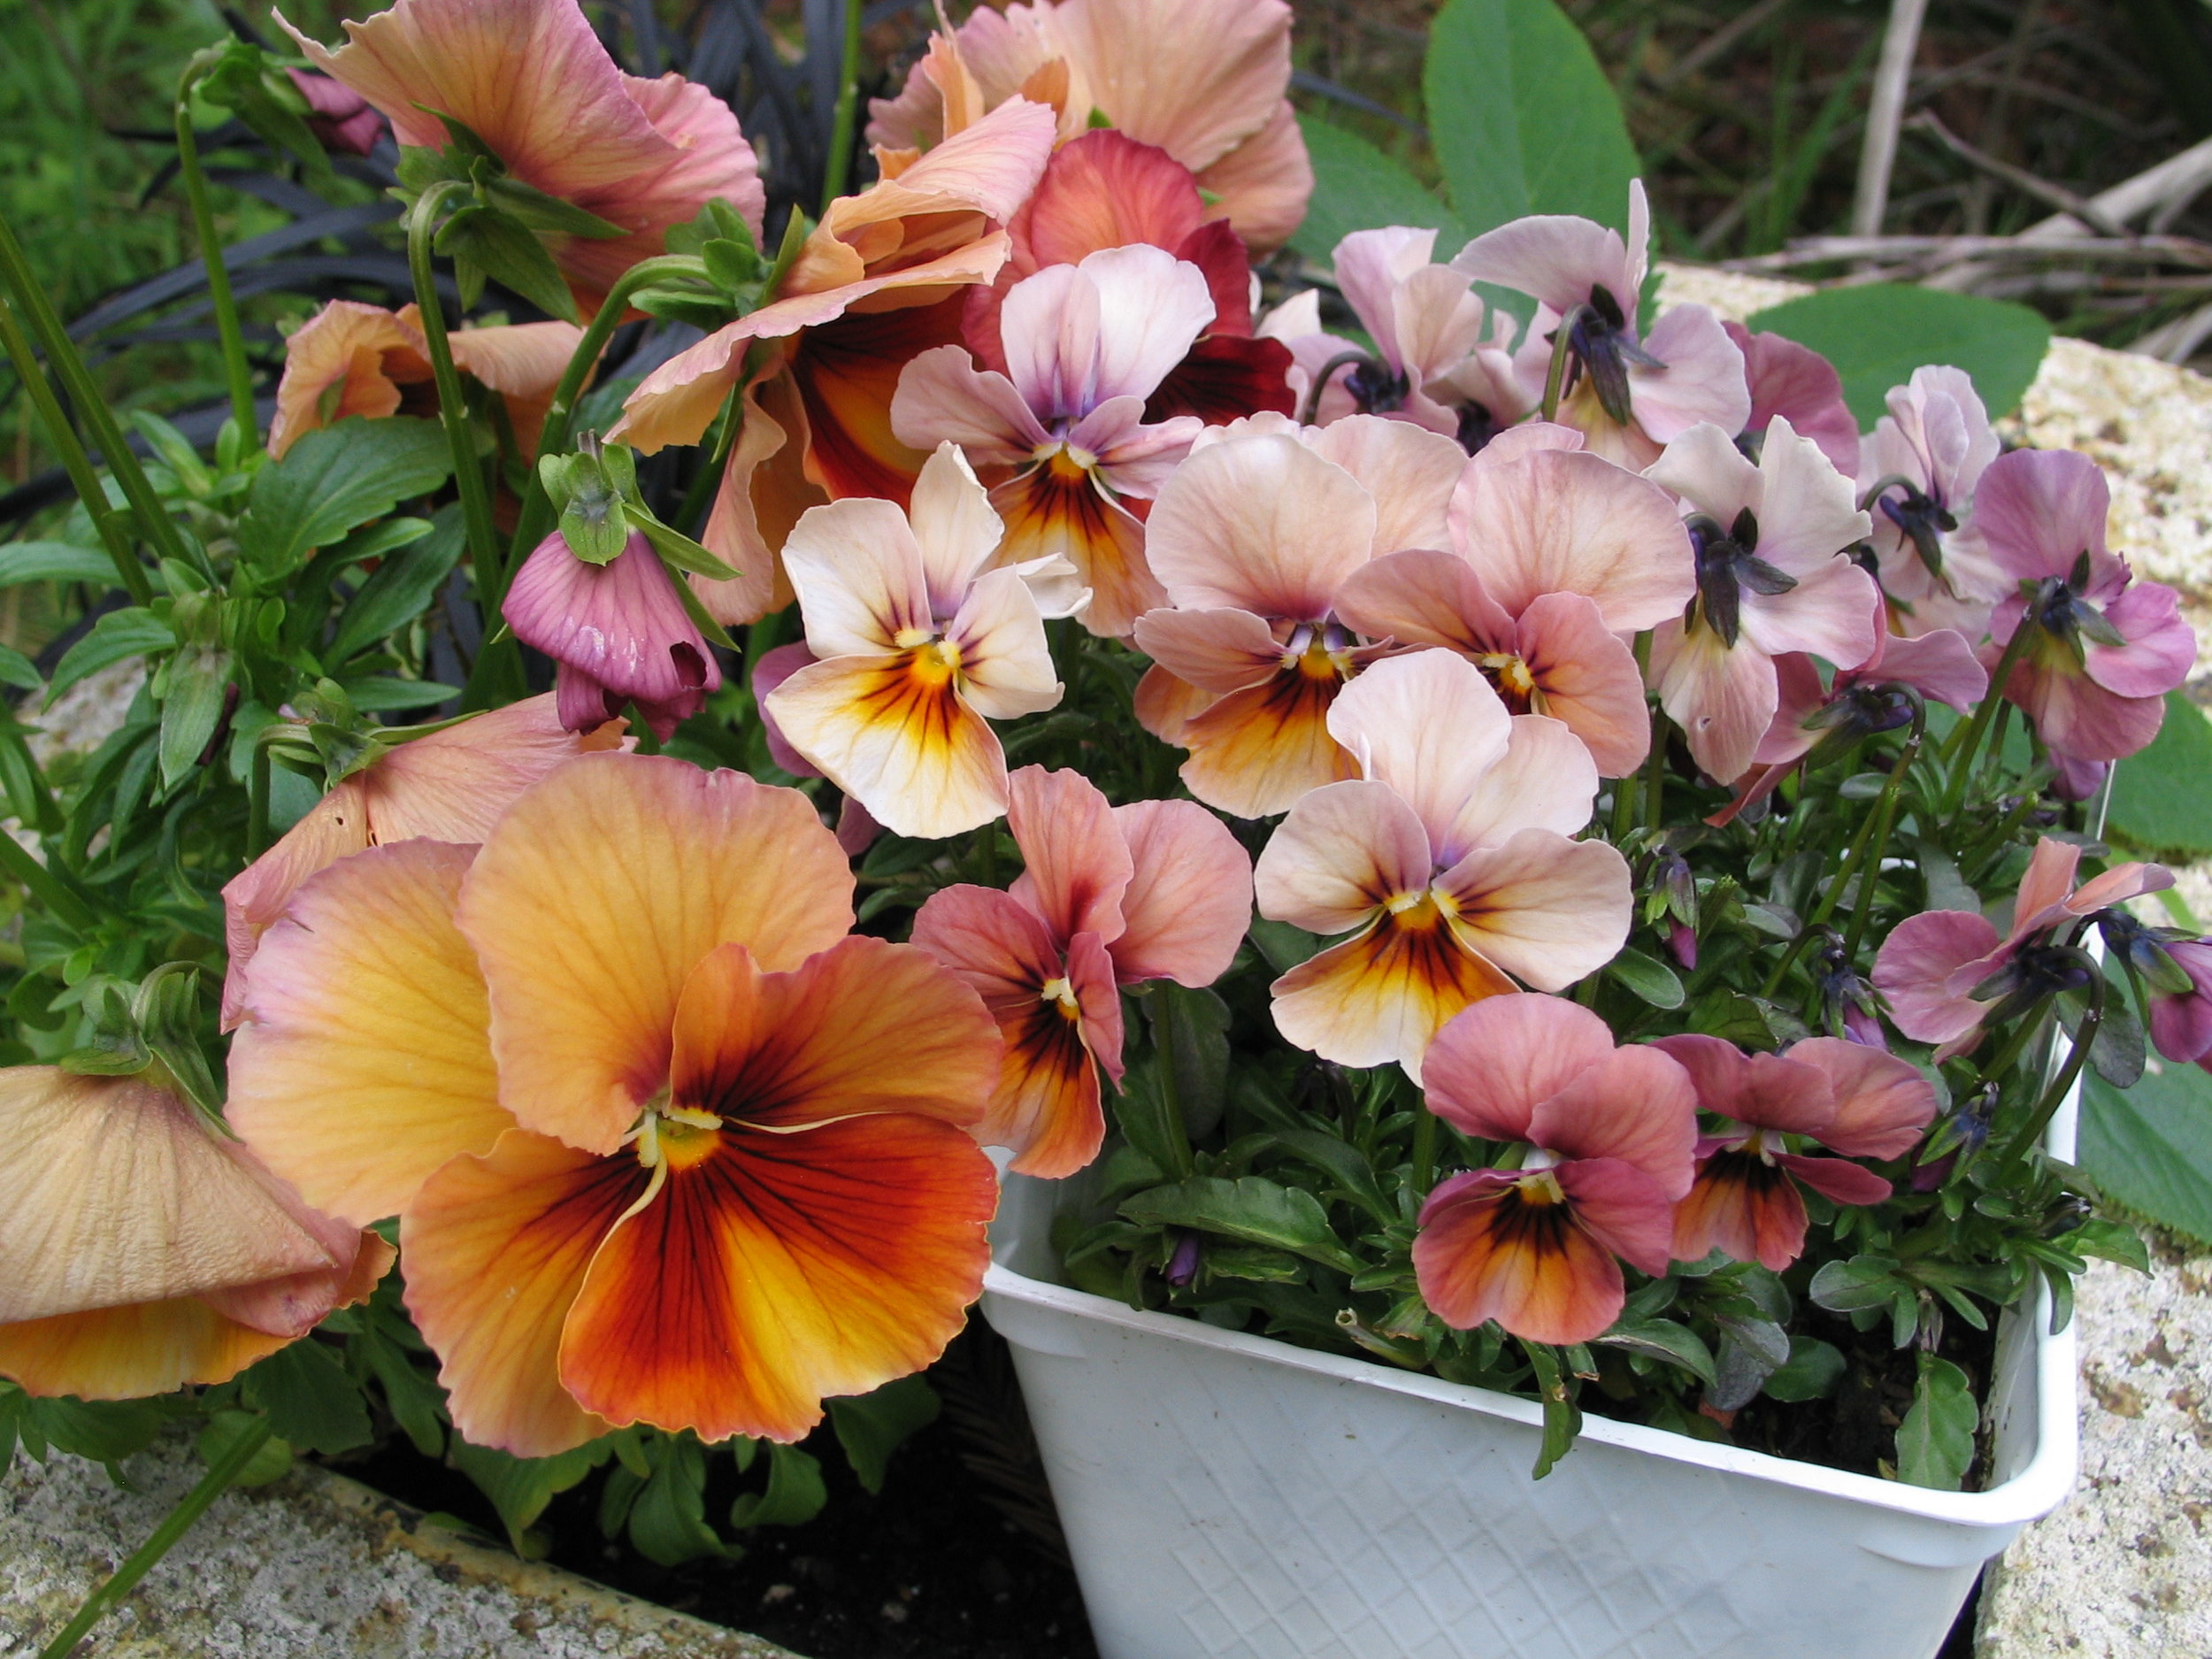
In my professional practice and in conversations outside the office, I avoid using common names for plants like the plague. It is common practice to put both scientific name and common name on a plant list, and this is so that the contractor can verify that the plant they think you're talking about is the one they've gotten for the project. Why would a contractor not be able to use scientific name and require common names as well?! As far as I can tell, the only confusion that might occur would happen when a plant has been re-classified by the trade to have a different name. For example, Ligularia changed to Farfugium years ago, but most people know it as "Leopard Plant" (regardless of the cultivar or absence of spots). Sadly, I suspect that the real reason we put common names on plant lists is because contractors don't recognize or know all the plants we might use belonging to those scientific names and they appreciate the extra hint. Residential clients often find scientific names too technical and feel more comfortable with the common names, but using common names can be very mis-leading as you'll see in the last few photos.Taking my own photos of plants is a huge benefit to me as a designer. Not only do I have the physical action of taking and naming photos to help my brain keep the connection, but I also follow some practices that help me understand the plants better for when I am designing with them in mind. Here are a couple of the things I do:Photo taking: When I am in a garden or at a nursery, I take a picture of the plant, leaf, flower (or whatever) first, then the plant tag. Plant, tag, plant, tag, plant, tag. With my trusty old digital camera, I can smash 300+ photos on one memory card at a time, and I have two memory cards. Once the plant photos are labelled with the correct scientific name, I delete the images of the plant tag. I also (usually in my own garden) take photos from different angles - a close-up of a low-growing plant from ground-level tells you nothing about what it would look like from above. A great example of this is this gorgeous specimen of Hellebore 'Pink Marble' I saw at the Annie's Annuals 2012 Summer Garden Party last weekend:Cute, huh? I am glad this person walked by at the right moment, because you can see how the plant relates to an upright person, and understand that I am sitting on the ground to take this. Now see how different it looks from above, the way you would see it in a garden (without sitting on the ground):Image file naming: I have a naming convention for the photos, too: Scientific name, then descriptive abbreviations (from my own list), followed by the abbreviation for the grower or source of the plant. For example, photos of this little Bletilla I got at Plant Delights Nursery last year are labeled "Bletilla 15in FL pdn" and Bletilla 'Murasaki Shikibu 15in FO pdn" (15in = 15 inches tall, FL = flower, FO = Form, pdn = Plant Delights Nursery):See how different the close up and the form photo look in color?! I'll take several photos of my plants because the way the camera processes color can vary a lot from image to image and depends on lighting, context, and where on the subject the camera focused. Because of this, I include other things in the picture when I can. I also use these images for inspiration for plant combinations in the future and keep copies of images in a separate "combos" folder for just that purpose. Here's a shot of the same Bletilla but with Asplenum bulbiferum (a.k.a. "Mother Fern", but you didn't hear that common name from me) in the background:Be Specific! I've already explained how I label my images, but here's a lesson from a purchase two weeks ago that I hope illustrates the need to use the whole name including the species even when it seems obvious. Take these two Violas:They look pretty similar. Both are Violas (Pansies are Violas too), both from the same grower. The big difference seems to be the name "Pansy" or "Viola" on the tag, and you might ignore this since that information is a common name thing, not scientific. The cultivar name is similar too, 'Apricot Antique Shades' vs. 'Antique Shades'. I could swear I see some of the same flowers in both photos, just turned upside down and enlarged on the Pansy tag (which is complete baloney as you'll see below). Now, flip those over and read carefully:Check that out! The Pansy's scientific name is Viola wittrockiana 'Antique Shades' and the other Viola's name is Viola cornuta 'Apricot Antique Shades. What neither of these tags tells you is how very different these two plants are in real life. The Pansy has much more orange and yellow in real life, and the smaller Viola is far pinker overall. The photo at the top of this post shows these little dudes the day I brought them home, and below I will leave you with a photo of them together in my patio while I was planting things. Thanks so much for reading, and HAPPY SPRING!So the lesson here is to not rely on catalog photos for your garden planning, take your own. Light, color, and real life differences are not always evident on plant tags or in catalogs. Designer beware!
Filoli March 2012
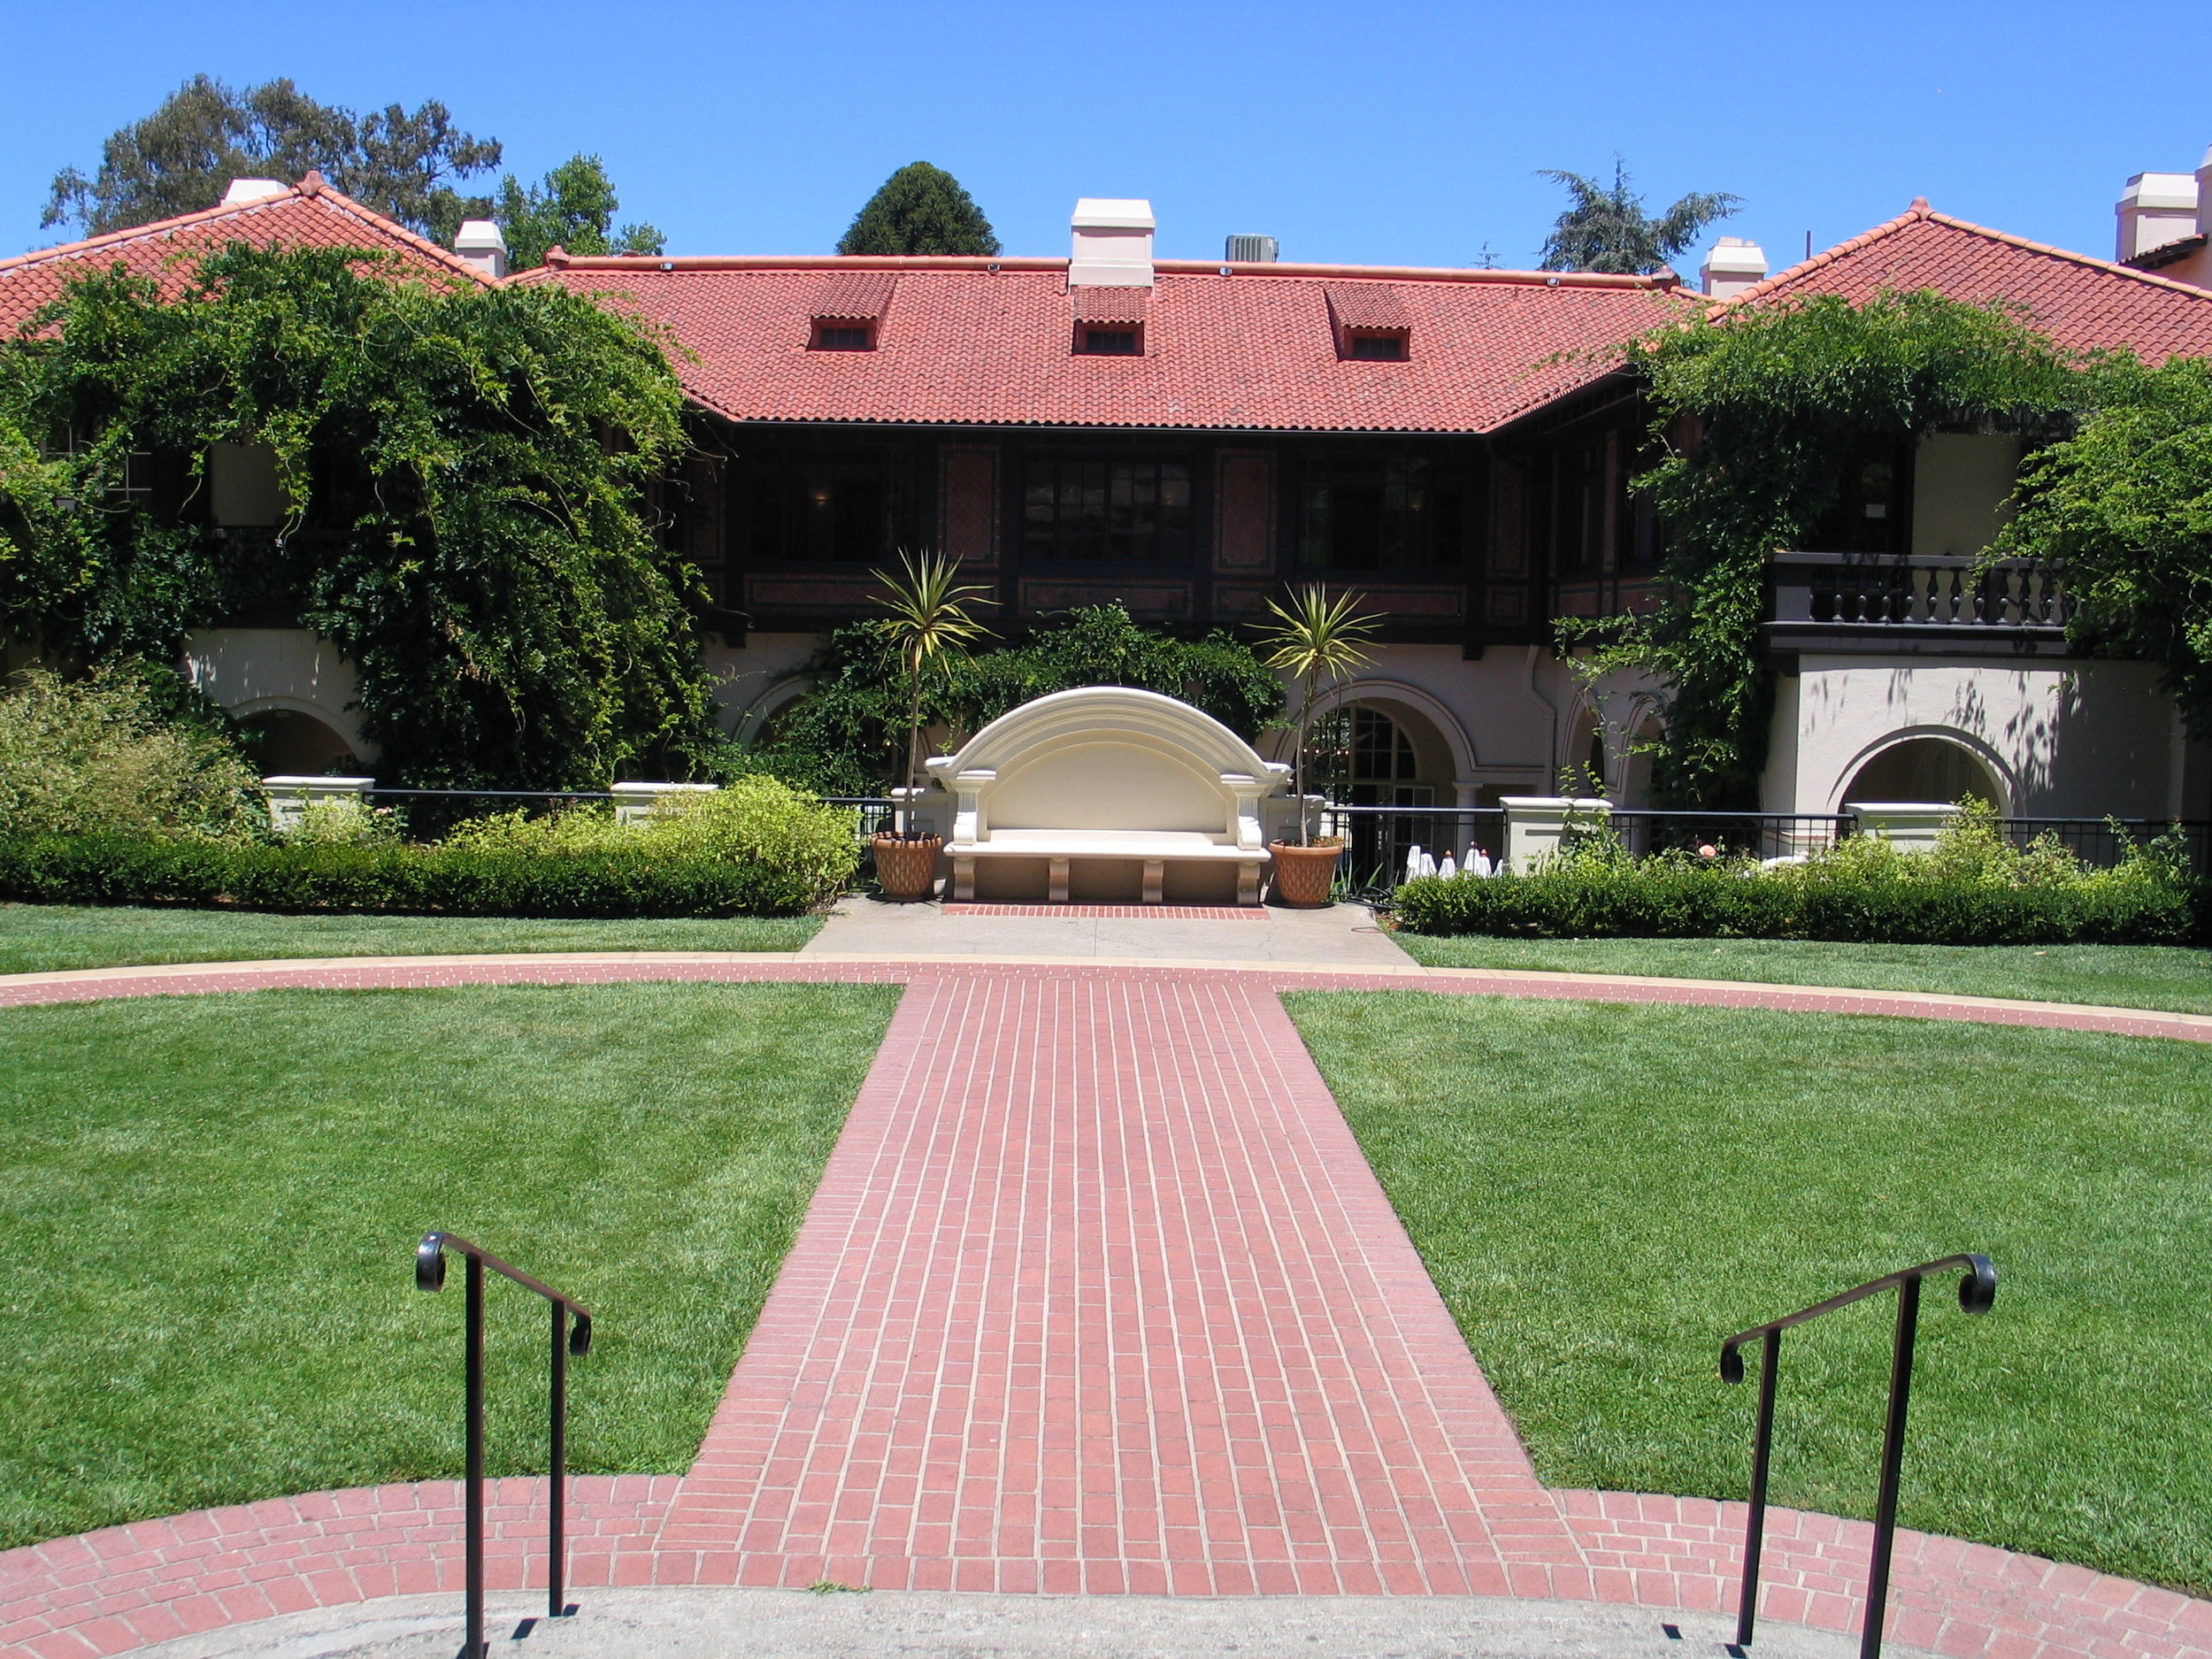
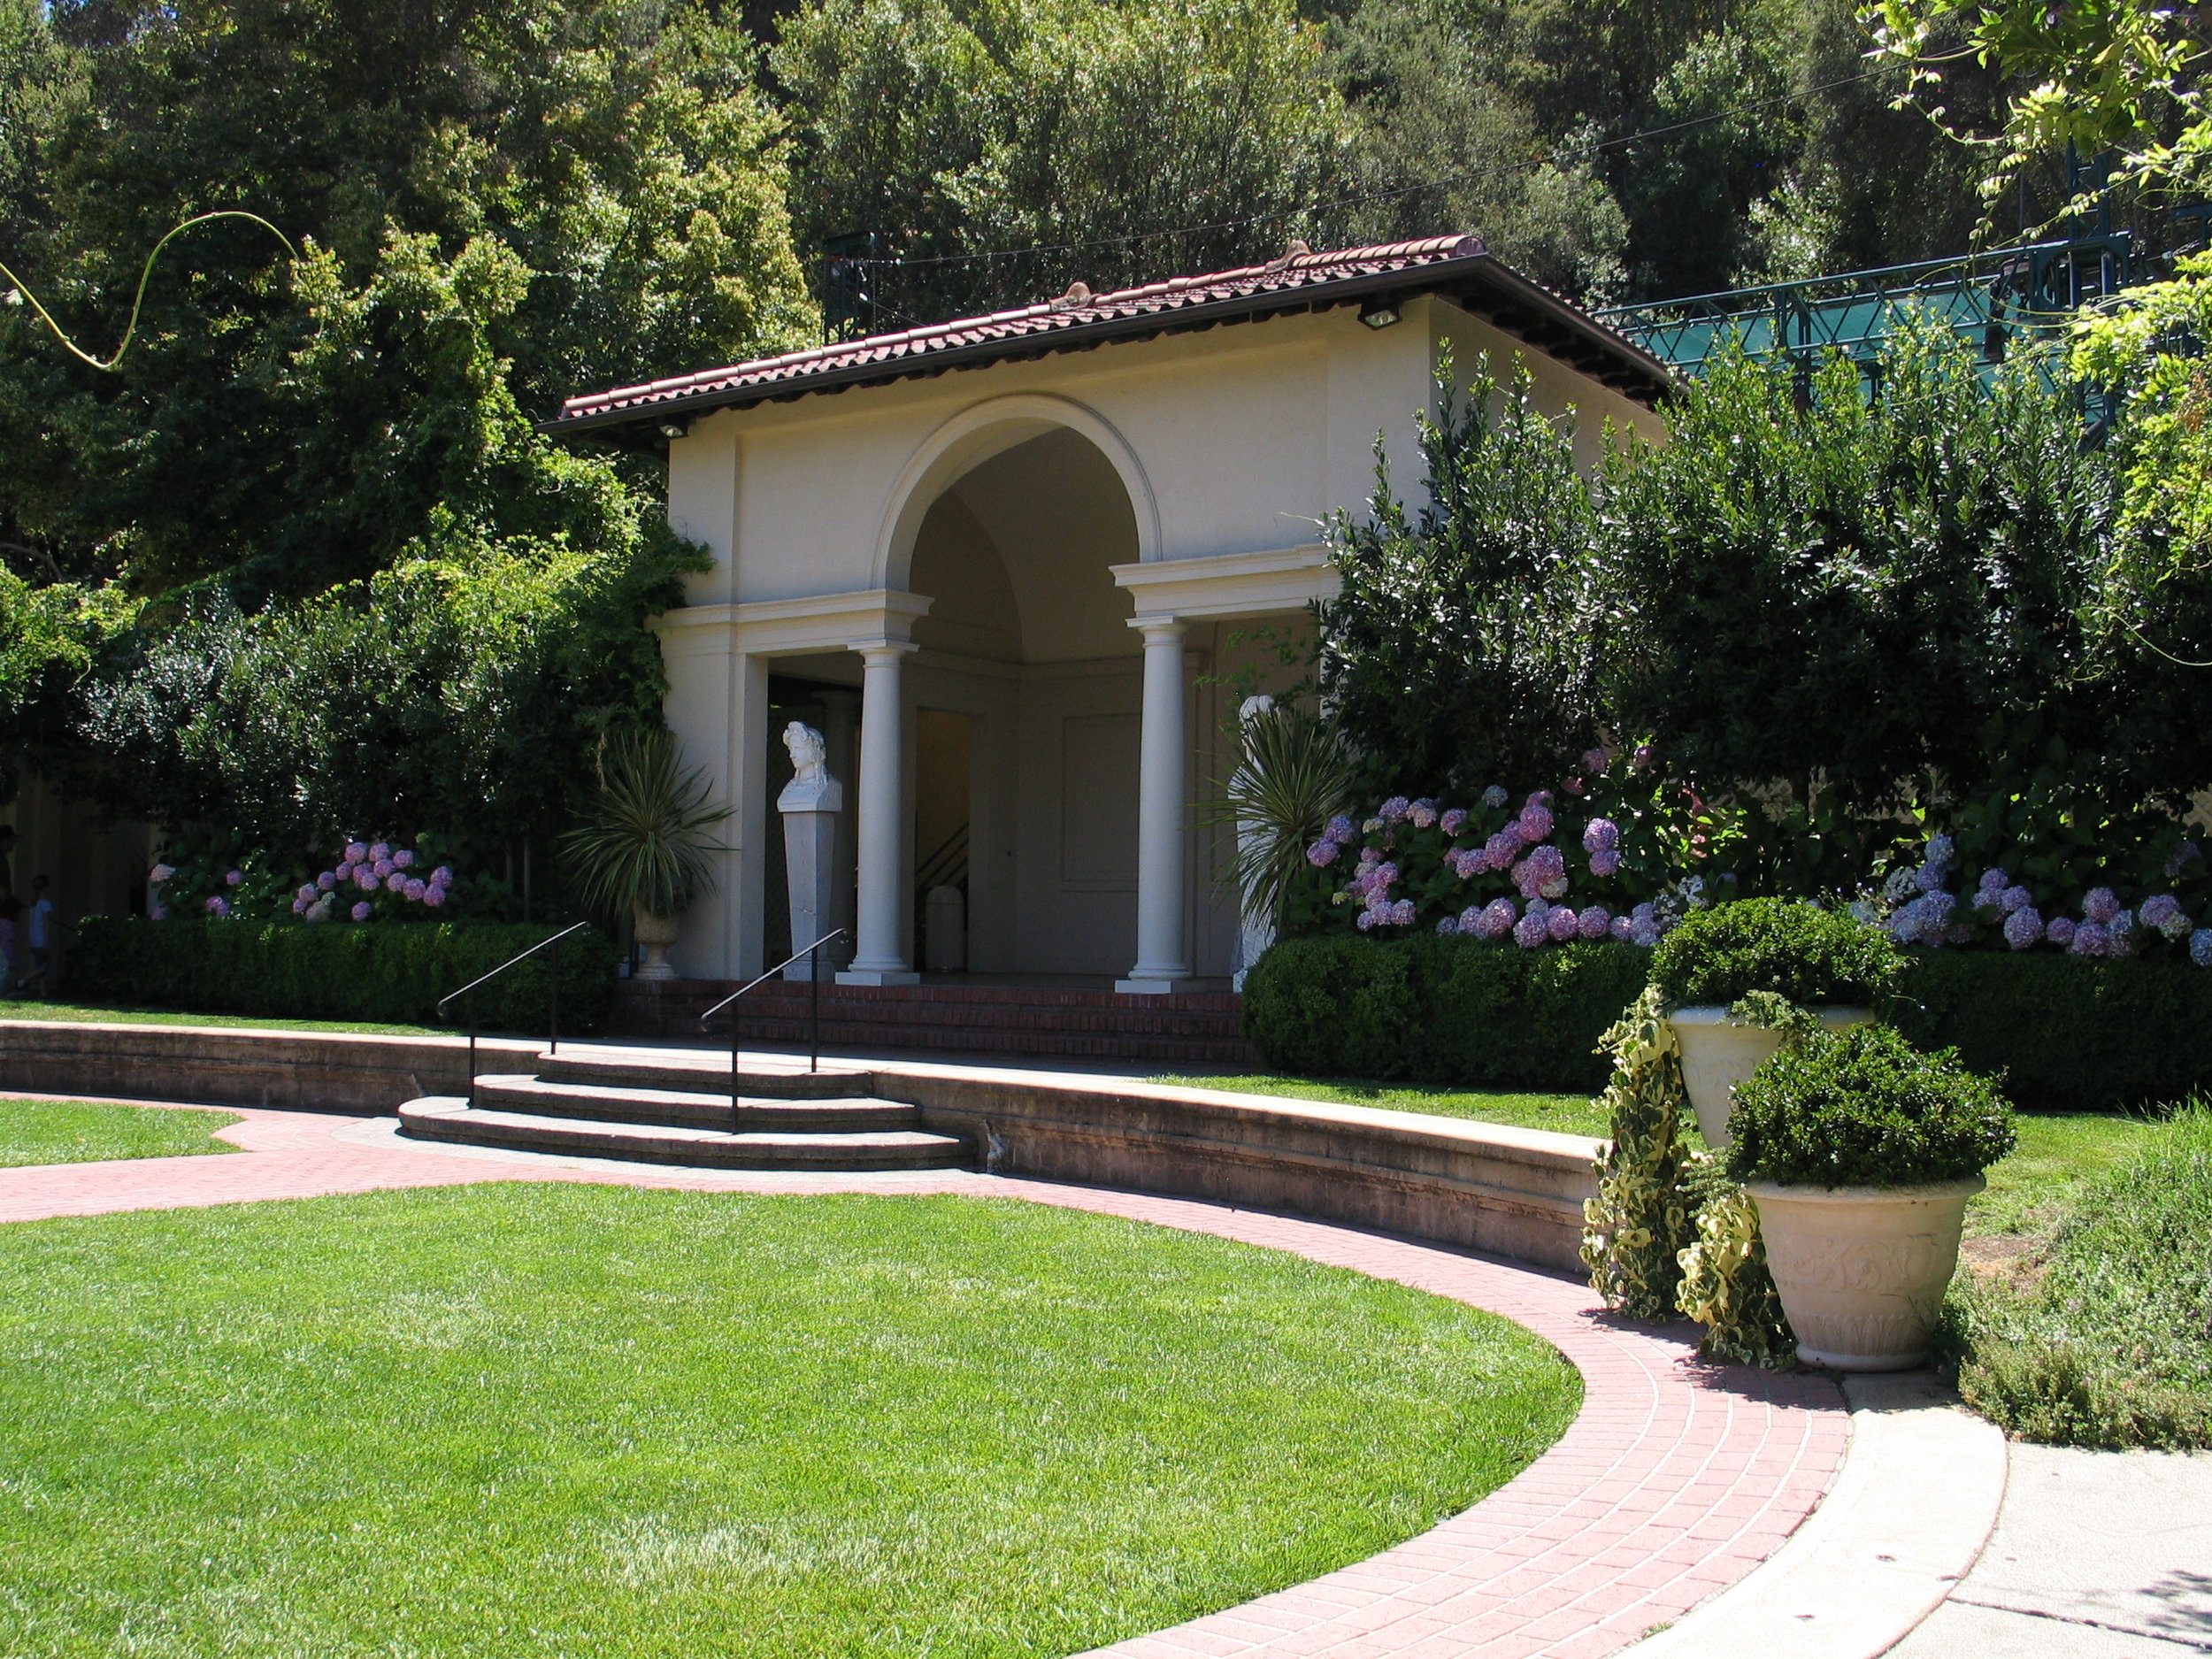
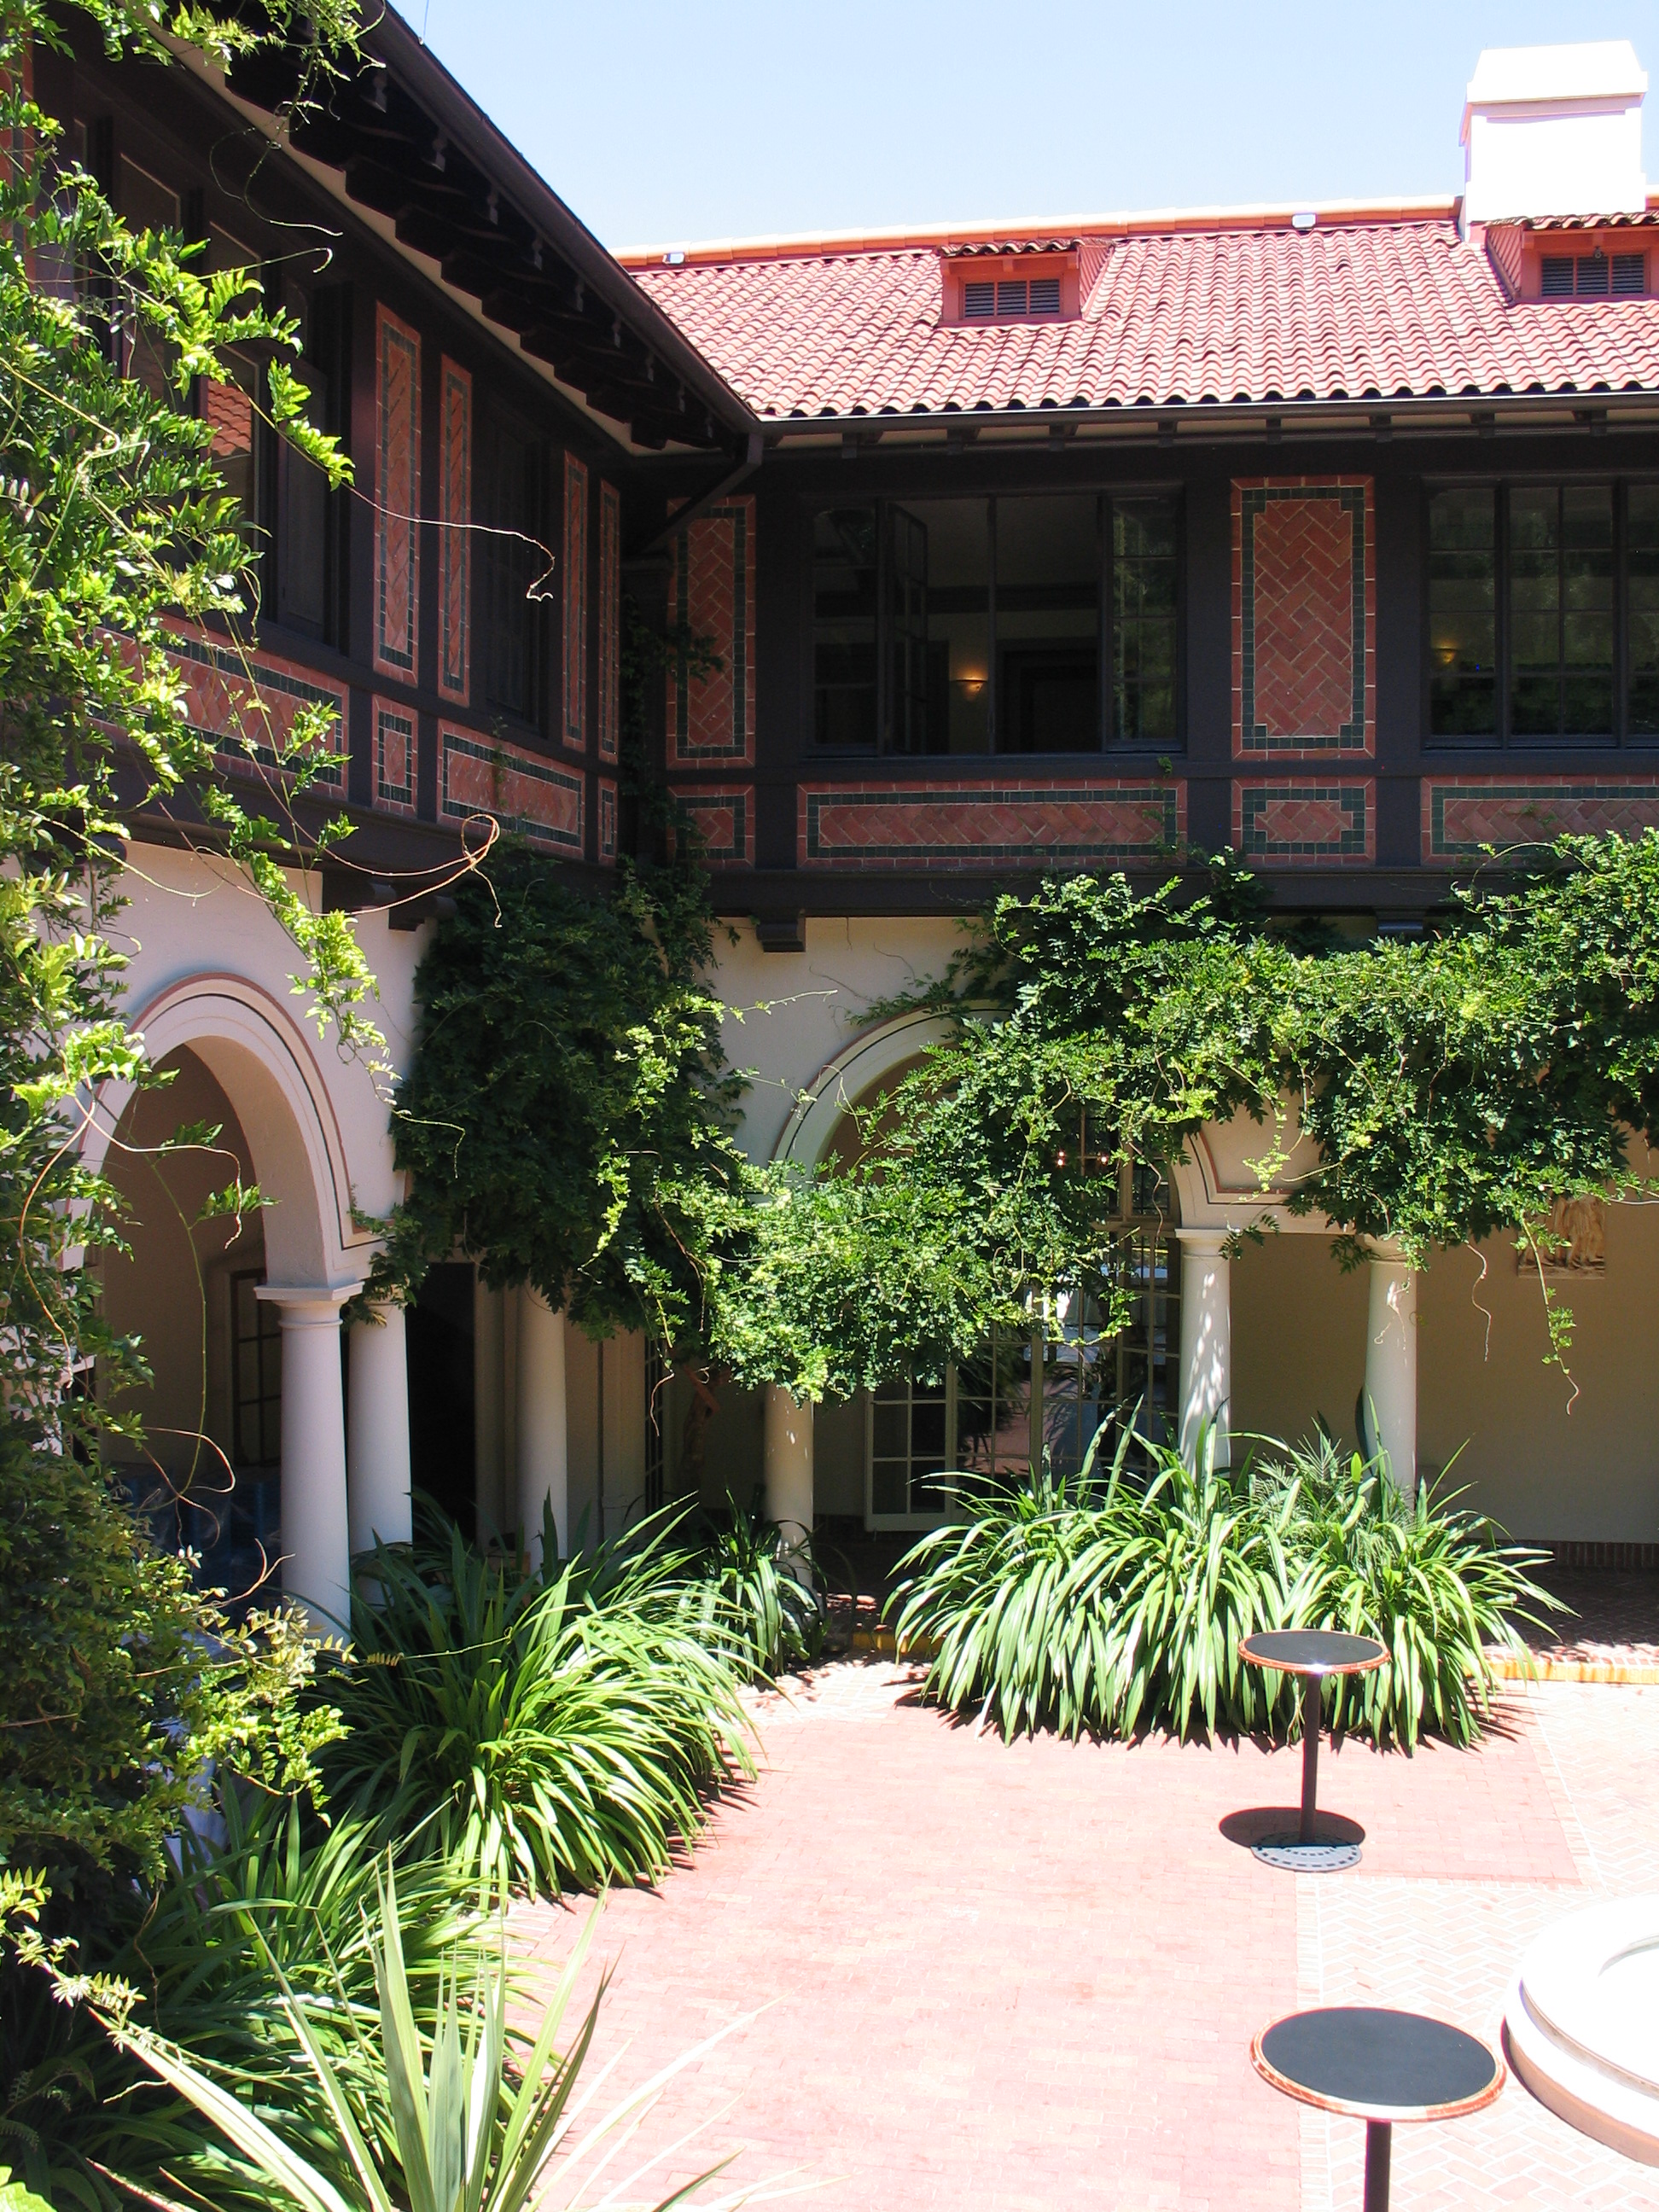
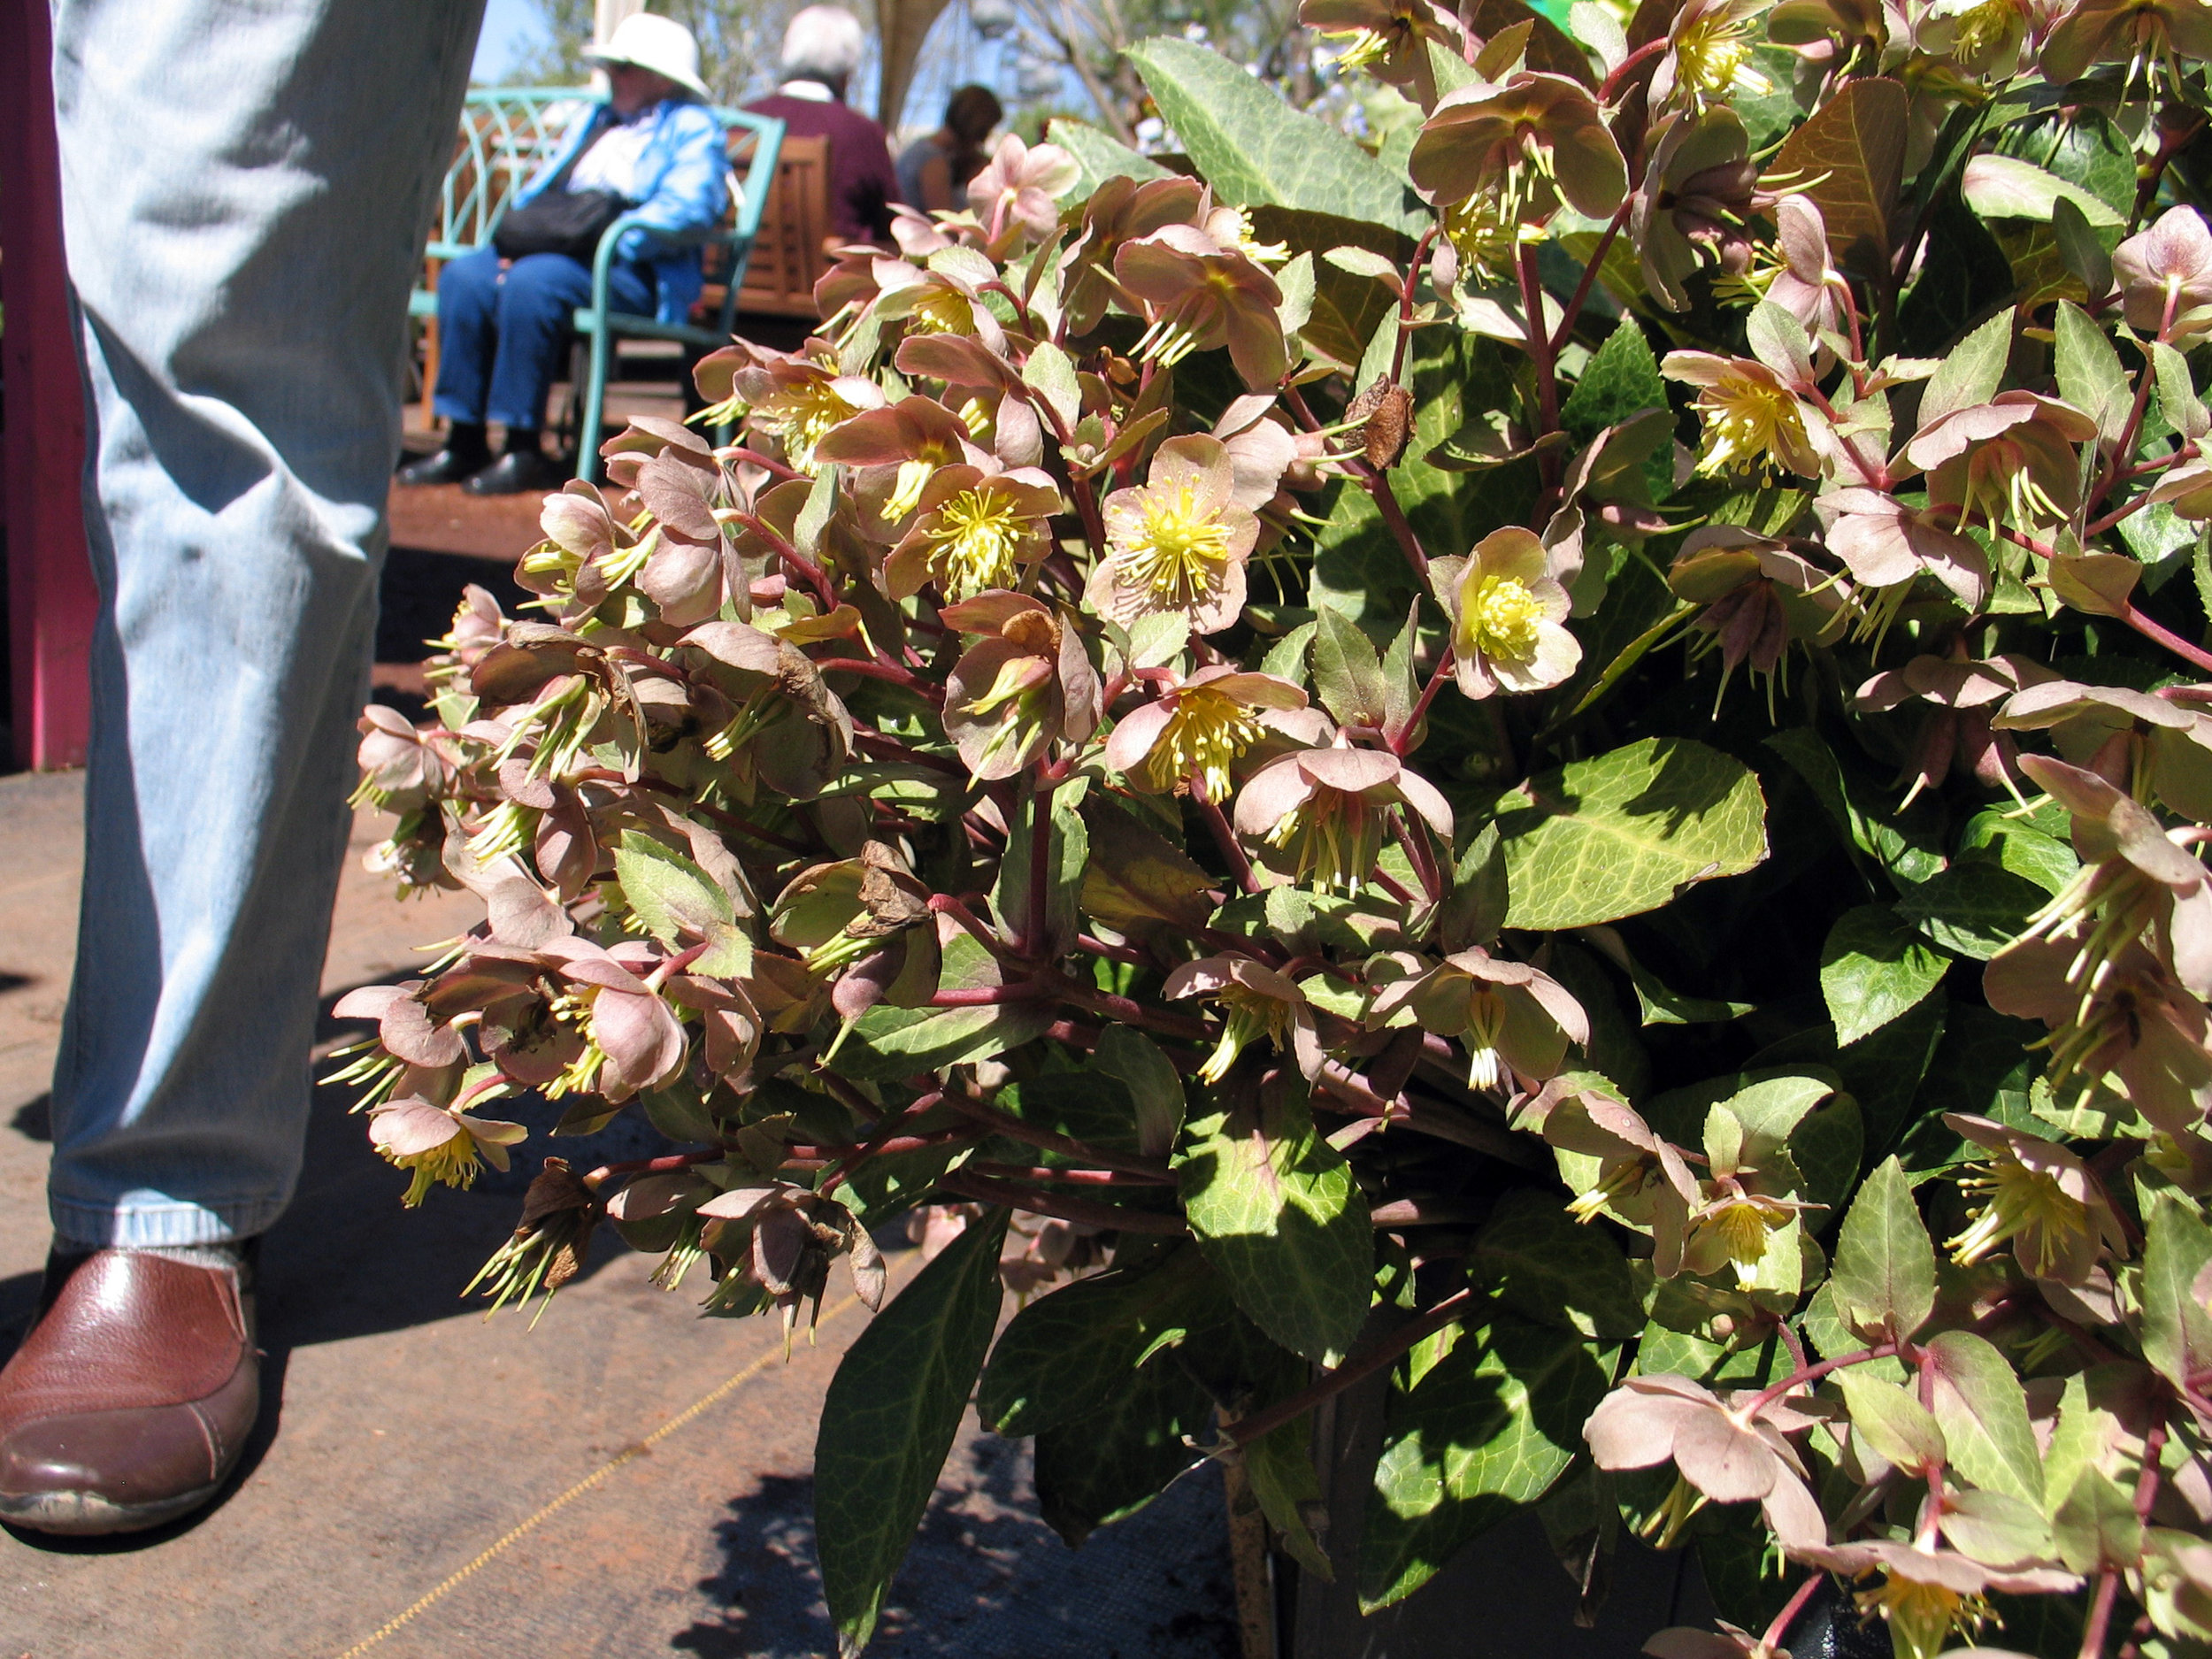
 I went to Filoli AGAIN! I know, I know, I don't put up any new posts for practically a year, then I go to Filoli yet again, and start a fourth post on how awesome it is. Pretty lame, but I have a new friend (and an observation about the nursery industry) because of this particular trip.Filoli is awesome and the people watching (really, people overhearing) can't be beat. Best line of the day came from an elderly gentleman to his wife near the parking lot: "would you like me to carry your bag?". There were some ladies settled on a bench behind the main house talking about something that sounded very personal. I also enjoyed the murmurings of tour groups as they responded to their tour guide's proclamations, and a few occasions where people were clearly seeing something new to them (a double flowered daffodil confounded one woman who wondered aloud if it was really three flowers that had grown together). One visitor was wearing a pretty lavender scarf that was perfectly in tune with this planting of bulbs behind offices (near the gift shop).
 So - while I was over here near the gift shop, I did a little poking around their plant selections and I just had to buy something that was new to me! I found a dwarf Wisteria called 'Kofuji'. It is supposedly a shrub form wisteria that will stay within 2-3' ht x sp (height by spread). I googled it and found very little information on it, but the label was from a wholesale grower, so there's hope of finding it again. I am going to stick it in a pot outside my back door and see what happens. Here's my new friend:
 Here's what I'm getting to: I've had my own garden on my mind lately (as well as those of clients), and have been visiting local nurseries to see what is interesting. I depend on nurseries to carry a wide variety of plants including the newer introductions so that I can take pictures for my clients (especially of certain plants together!) and test grow stuff in my patio, see how they do, get to know them personally. I like to think that through this process, I can not only suggest the exact cultivar I would propose for their project, but also have a reasonable expectation of being able to secure that plant when the time comes. Unfortunately, even though my new Wisteria friend originated at a well known wholesale grower, I had to go all the way across the bay to Filoli to discover it.Sadly, nurseries have been struggling along with the rest of the design and construction industries for the last few years. Last year, I noticed that they were under-staffed, under-stocked, and had extended seasonal closures. This year, what I am noticing is a lack of variety and larger materials. They're selling old standbys in smaller sizes and have reduced or eliminated the expense of ordering from a wider number of growers and also are not putting as much effort into creating big displays that I am sure ate up some money for them in the past (but was probably worth it when people were buying!). They seem to be avoiding the riskiness of bringing in less commonly known plants. I can't usually leave a nursery without buying something, but this spring, I've been through several - the Wisteria is the first plant I bought this year - which is saying something!So please - go and show your local nursery some love (not Home Depot). Buy a small plant or some seeds, let them know you're still out there. Your community and your garden will thank you. Meanwhile, here's some more of the wonderfulness that is Filoli:
Pinterest and Design Communication
 It never occurred to me until recently to use Pinterest.com as a communication tool in collaboration with a client. Granted, Pinterest can’t actually do the design work for me or my client, but it does allow for us to collaborate and understand each other in a common forum....which is proving to be so fun!Pinterest isn’t everyone's favorite tool, but for those who want to collect images and links in a web-based place, it is a lot of fun. Back in the day (like a year ago), I saved links as internet explorer's bookmarks and images were always saved to my hard-drive (which means I don't know where they came from). Now, I have links for non image-heavy things (like articles) on Delicious.com and images (with links!) are on Pinterest. I can access all this stuff as a resource from anywhere there's internet access. That's kinda handy! (What Pinterest is)I’ve only just tried using it with a client recently, and at one of our meetings, I asked what they thought. So far, so good – my client likes being able to share a photo with me, and we add comments back and forth for each other. It is so gratifying to see that my client has started a board for their project, and have “re-pinned” some “pins” from my various boards (with comments!) which helps me zero-in on exactly what they’re responding to.People can "pin" images from anywhere on the internet, and they can also upload images from their own computer... but don't mistake someone's pins for their own design ability or experience. The images come from all over the place, with and without express permission. There is some concern over permissions and Pinterest's user agreement. Several months ago, I did have the experience of re-pinning an image and then getting an email from Pinterest that the owner of that image had requested it be taken down, so they emailed me a link to the source and removed the image from every instance on Pinterest.So- if you're planning a project, or looking for an easier way to share images with your client or designer than saving and e-mailing both a link and the picture, this may be a useful thing for you!If you want to follow my boards, go ahead. I take no credit for the work you see there, though, unless expressly noted as my own.
Dahlias
 My poor Dahlia of unknown cultivar (above) died. My mom gave it to me, she said it would be easy to grow. I put it in a pot and it grew, then I thought it might like more consistent watering, so I planted it in the ground thinking 'hey, all plants prefer the ground to pots!'. Wrong-o. I have to admit, this is one plant that even I won't argue is "low maintenance".Rot. I learned how I killed my Dahlia when I went to Flora Grubb Gardens over the weekend to hear a talk given by the gregarious Mike Schelp of The Dahlia Farm (cut flower grower) in Half Moon Bay. What follows are my notes, posted here to help keep more Dahlias safe from harm:Climate and lifting: In colder parts of the country, Dahlias need to be lifted because they are frost tender. Where frost isn't a problem, they should still be lifted and divided because their tubers are both incredibly prolific and prone to rot. They don't like too much heat, either, so mild coastal climates are really great for them.Sun Exposure: Since they're not keen on very high temperatures, if you live in a warmer area, consider protecting them from full sun (or at least afternoon hot sun). The color of the flowers can be "bleached out" by strong sun exposure, so if a normally deeply colored cultivar is not living up to your expectations, this might be the culprit (or it could be any number of other things as they can be pretty variable).Soil: Dahlias like a light, slightly acidic soil that is well drained (so raised beds, containers, or in a well drained location). Containers should be at least a 5 gal. size.Water: Dahlias like moderate water when they are actively growing, but will rot out easily. In the container, mine had pretty good drainage, but one wet spring in the ground was enough to kill it. Mr. Schelp grows his in semi-raised beds for this reason, and he usually does his dividing in January (so they get lifted and divided EVERY year!). Be aware that if you grow yours in a container, that moisture can collect at the bottom, causing (you guessed it)....rot.Pests: They're susceptible to all the bad bugs and also to mildew. There was a lively discussion of mildew which I won't bore you with, but let's just say it can be a serious problem for some cultivars and any affected leaves should be removed immediately. The tubers are gopher candy, so he recommends that if you have gophers, plant the tubers in a wire mesh "cage" about 15" diameter with an un-attached bottom for easy lifting.Air Circulation: oh my! Mildew can be such a problem that he recommends a few things to keep the air flowing. Pinch off leaves in the bottom 6" of the plant to allow air to flow at the base. Take away stems or leaves that make the plant too bushy for air to circulate. Plant tubers 30 inches apart to keep the air flowing between individual plants.Feeding: This is one place where I did not entirely agree with the presenter. He is a cut flower grower, so his needs are different from mine. He uses chemical fertilizers (which kill good microbes in the soil). I wrote down that he recommends a high Nitrogen fertilizer beginning when the plants start coming up. That application should be applied, diluted, throughout the season, not at once, and taper off towards the end of the season or the Nitrogen will rot your tubers. He also switches to a higher Phosphorous fertilizer when the plants are starting to bloom. I will be experimenting with not doing this, opting instead for an organic approach (coffee grounds, anyone?). Dahlias are surface feeders, so apply nutrients accordingly, but be careful not to use too much to avoid scorching them chemically.Propagation: Dahlias can be propagated by several methods, too many to go into detail here. So I found someone else who covered this information HERE. A happy Dahlia tuber can multiply ten fold in one growing season, provided you don't rot it. Plant tubers 2-6" deep, but DO NOT let the "neck" break. A tuber with a broken neck is toast.Availability: Most garden centers sell Dahlias as tubers between winter and spring or as green plants during the summer. You can find them by mail order between (give or take) December and March, tubers should be back in the ground around April.Cut flowers: If you are still brave enough to grow them, you can keep cut flowers for about a week. I was impressed that his cut flowers are delivered to a local florist no more than two hours after being cut on the farm. I only wish he had said what florist! Here's how you can do it: cut the stem and dip immediately in hot water for about an hour (hot so you could wash your hands in it, but not boil an egg). Re-cut the stem at least every other day and place in tepid water (doesn't have to be hot anymore). Remove browning petals as flowers fade, keep flowers away from produce (ethylene gas from ripening produce speeds the aging of the flowers!). Keep your flowers in a cool room, away from direct sun. If you are cutting flowers for general enjoyment in a vase, cut them when the bud has begun to open but the center is still tight - an unopened bud will not open in the vase. If you are cutting for a specific event, wait until the flowers are at their peak before cutting. They won't last as long, but they will be gorgeous.Still not dissuaded from wanting to grow Dahlias? Me neither. This fall I plan to order a Dahlia tuber or two and try again, this time in a bigger pot with better drainage and more understanding. To find my new green friend, I will attend the 2011 American Dahlia Society show at the Santa Clara Convention Center this August. Show admission is free to the public on the 20th and 21st. I will write down the names of the cultivars I like and use the Colorado Dahlia Society's "Big List" to find a supplier for my favorites.At the end of the discussion, Mr. Schelp added what seemed to be a very personal note. He asked the audience to give away their extra plants and flowers. If grown well, you are bound to have extra and sharing is the best way to pass around some good vibes. He asked that we give our flowers to hospice centers and old folks homes, friends and neighbors. His voice quavered just enough that I could hear it in the front row, and I believe that this was a very personally meaningful message he was trying to send, so I repeat it here. I plan to do the same with my new Dahlias and I urge you to do the same.
Plant Delights Nursery Open House
I was delighted to have had the opportunity to visit Plant Delights Nursery and their Juniper Level Botanical Garden last week. There is SO much to love, but sadly very few decent photos. You see, that day was the first day of their Open House, but my last day in the area. I had only two hours before I had to leave for my flight, and a measly 36 image slots left on my camera's memory card (not nearly enough!). I didn't want to skip shopping, so I had to keep moving.... Let me start here: I've been reading Tony Avent's (the proprietor) e-mail newsletter and ordering from his mail order catalog for years. I read his book in college, and meeting him was (for doofy plant geek me) akin to meeting a movie star. Let me tell you - HE KNOWS HIS STUFF. Even though he lives in North Carolina, that dude is up to speed on Bay Area nurseries and gardens (including news items I wouldn't know about if I wasn't a member of the HALS North CA chapter). Despite having hundreds (think I'm kidding? you should've seen the big tour busses) of people wandering about, he spent a nice chunk of time chatting with me about gardens and nurseries in the Bay Area.
 His staff were equally accommodating, and this is the main reason I am posting about the trip. I cannot emphasize enough how remarkable the staff is. I met/talked to no less than six people, each of them asked me if it was my first time at the gardens, and where was I visiting from. When I saw that person again, they made sure to make eye contact, wave, smile, or otherwise say something like "hey, you still here?", "what plant are you getting now?" or "have a safe flight!". I bought only THREE plants, all in 4" containers, so it wasn't like I was being recognized for pigging out on the greenery. I bought an Arisaema (I've never grown this before, so we'll see if Tony was right and it likes my patio) that had been rooted in the pot next to it, so when they were picked up, each had exposed roots. I went to pay for it, and the nice man who wrote up my sales ticket directed me into one of their holding/shipping greenhouses so he could nest the 4" pot into a 2 gal pot with potting soil to protect those roots until I could get it home and safely re-potted. There was no extra charge for this, but it sure illustrates how much they care about the plants and what they'll do to make sure they aren't compromised.
 Plant Delights specializes in some very cool stuff, making their own introductions as well as cultivating rare and unusual plants from all over the world (responsibly, too!). They've got the most Zephyranthes cultivars I've ever seen in one place (and mine are doing well, I've had them a few years now). I don't personally grow Hosta, but check out one part of their Hosta seed trials below:
 The people there know about their plants and soils, and they sure as heck care. I overheard an impromptu lecture on soils and the evils of commercial fertilizer (organic is the way to go, no matter what you read anywhere else), and I learned that even they get their soils tested annually. They take good care of everything, and to get plants of this quality from people of this quality....well....I have no need to go to Home Depot anytime soon.
 Maybe someday I will try Pitcher plants again....I love how they look in bloom and with other plants (above).
 Thank you, Plant Delights Nursery!OH - and what did I carry home in my carry-on bag? Bletilla striata 'Murasaki Skikibu', Arisaema costatum, and Lycoris x 'Elsiae'.
Inspiration Insanity
A good friend recently sent me a link to Pinterest.com. I had to wonder if I really needed yet another online account, another place to find or keep inspirational images and links. I'm already swimming in images and ideas, oodles of mental jumping-off points......I mean, really:- Digital images on my computer (tens of thousands of images)- Binders stuffed full of clipped images from magazines (an entire bookshelf)- Flat file with posters, more clippings, and materials (full, I could use another)- Filing cabinets with articles (four cabinets....at least some of it is bills)- Online: Flickr, iGoogle, Delicious ... (let's not even go there)- Bulletin boards with stuff tacked on (not to mention the fridge)- boxes of paint color fans, fabrics, stone samples....- and never mind the magazines and books....But, after spending a couple of hours (admittedly about four) on the site this morning and saving a few dozen photos, I gave-in and e-mailed them for an invitation to join. Its not like I don't appreciate more (and more and more) inspiration.....but escaping the computer long enough to eat breakfast would be good, too.